LEGO Storage System
I have always been a fan of LEGO, and nowadays I have many parts that I need to store. I want them to be neatly organized so that I can quickly find the ones I need when I want to build something. Since 2019 I have also been running an online shop on BrickLink where customers can order individual parts, and good organization is critical.
At first, I used a commercial solution, which helped me get started but eventually showed its limitations. After that I undertook to create a custom storage solution. Over several years, I have designed and manufactured boxes out of wood with a LASER cutter, learned woodworking and built custom cabinets, upgraded the box system with 3D printing, and designed custom modules for IKEA shelves.
This is the story of that project.
The pros and cons of Papi Max StackX Drawers
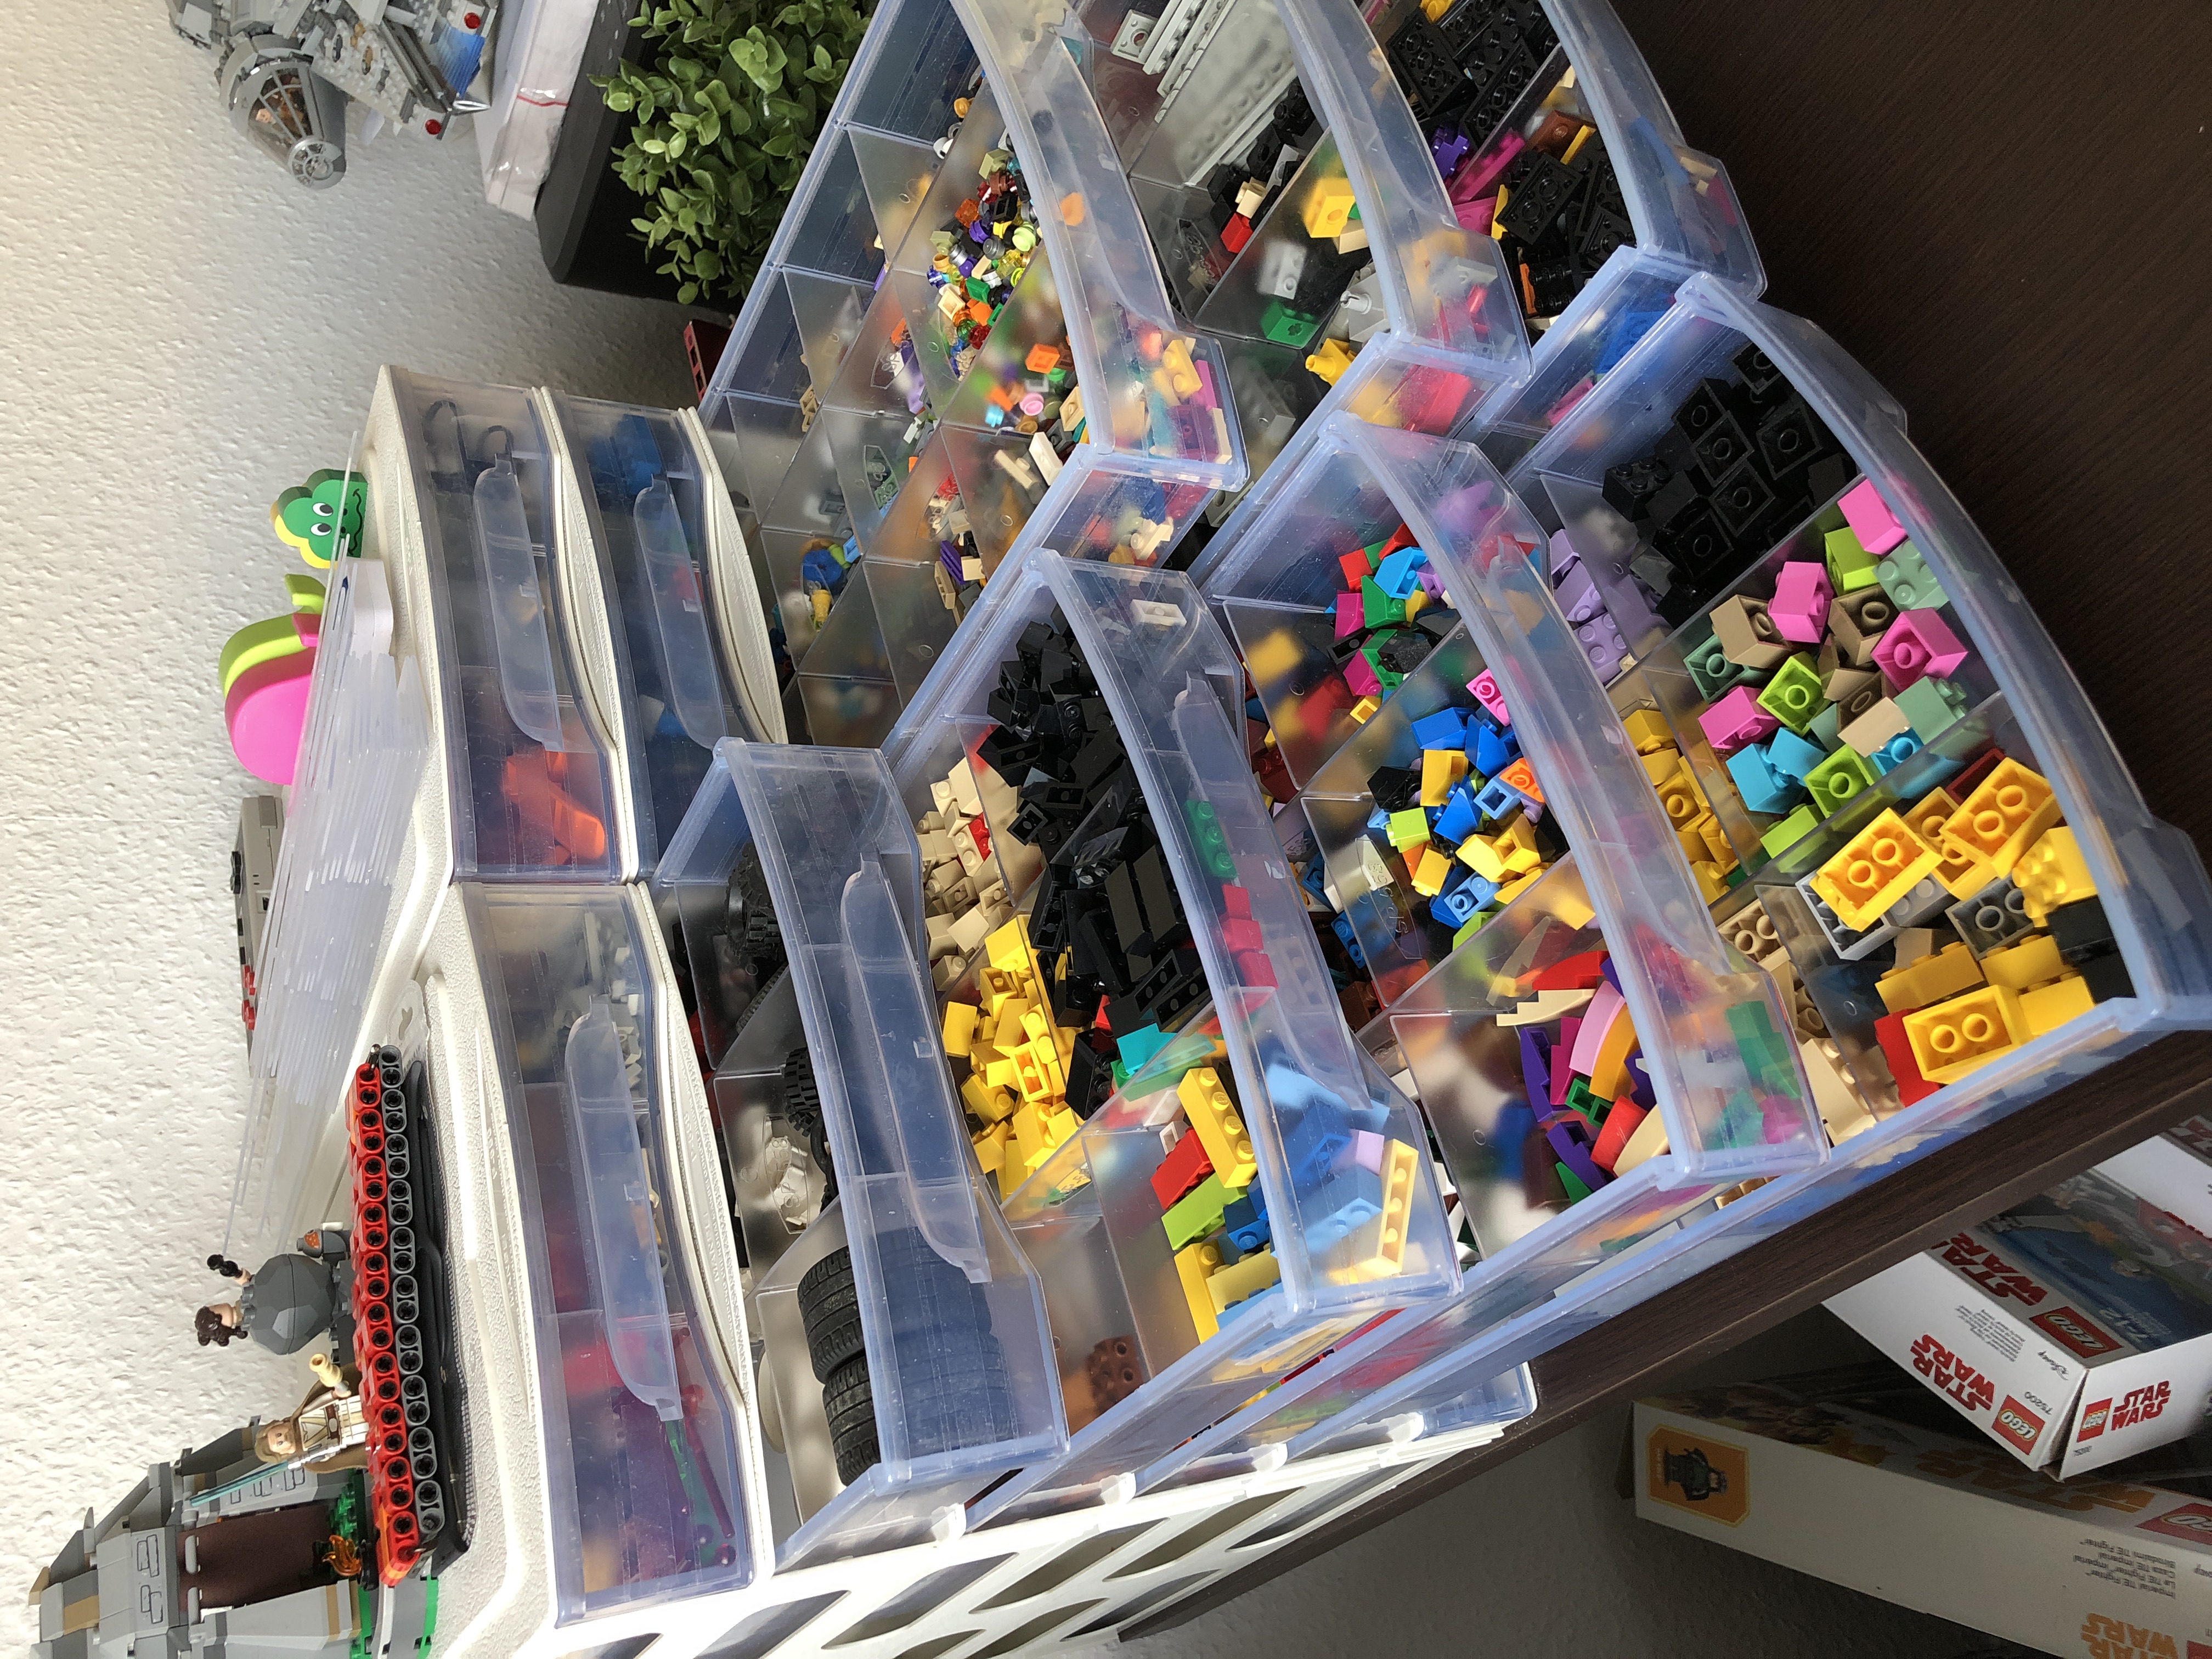
Papi Max StackX Drawers is a product specifically designed for LEGO enthusiasts, promising high storage density. The system consists of individual modules composed of an external case in which a drawer slides. The cases are available in white or black and can be stacked and assembled together. The drawers are transparent and equipped with a handle at the front. Up to four dividers can be added in width and two in length to form up to 15 compartments.
A detailed review of the product is available on the Brick Architect website
The pros 👍
- Sold as individual elements, allowing to form an overall structure of any size and shape
- Adjustable internal layout
- Possibility to completely remove a drawer to take it to the work area
- Drawers can come out almost completely allowing easy access to the entire surface
The cons 👎
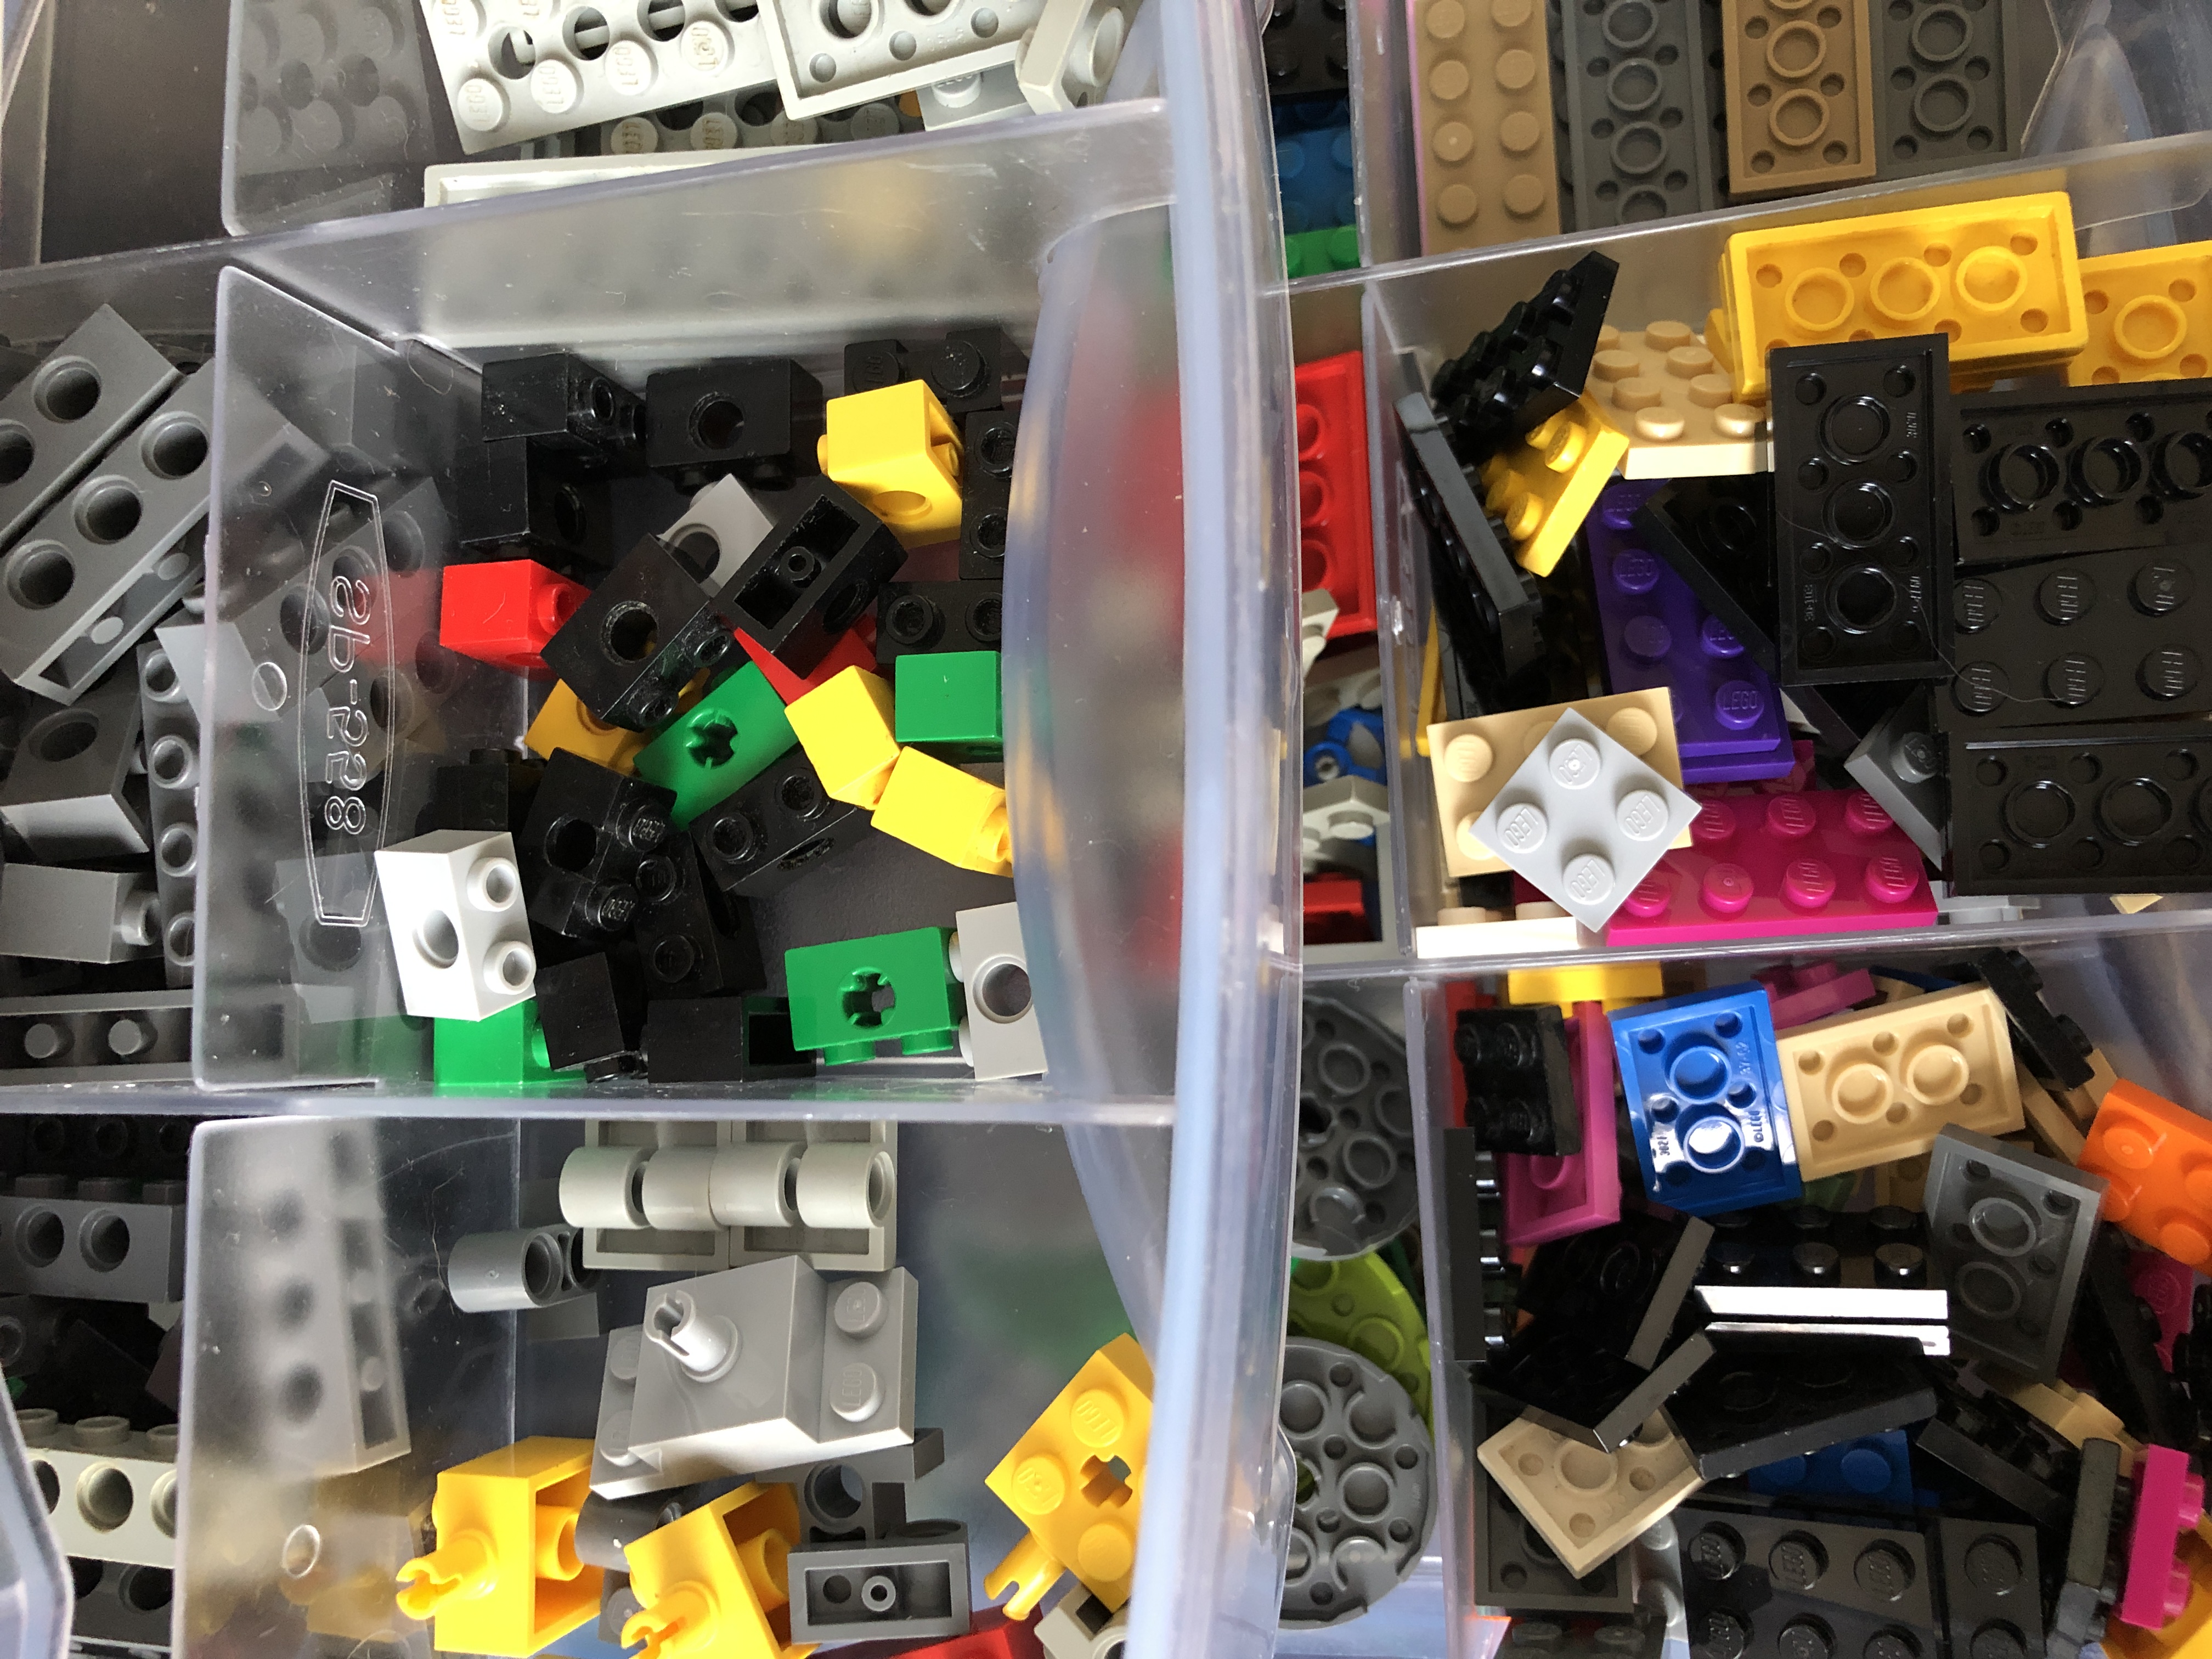
- Impossible to extract an individual compartment to bring it to the work area or empty its contents (this makes moving pieces from one compartment to another very tedious)
- Difficult to reconfigure dividers when compartments are occupied
- Dividers are not locked and can lift up and let pieces leak into neighboring compartments
- The drawer easily gets stuck or blocked if not handled carefully
- The transparent plastic of the drawers is subject to yellowing in sunlight
- High price
At the end, the removable divider system was appealing on paper but impractical in use. Furthermore the low build quality and high price were prohibitive to continue with this solution.
LASER cutting and modular boxes
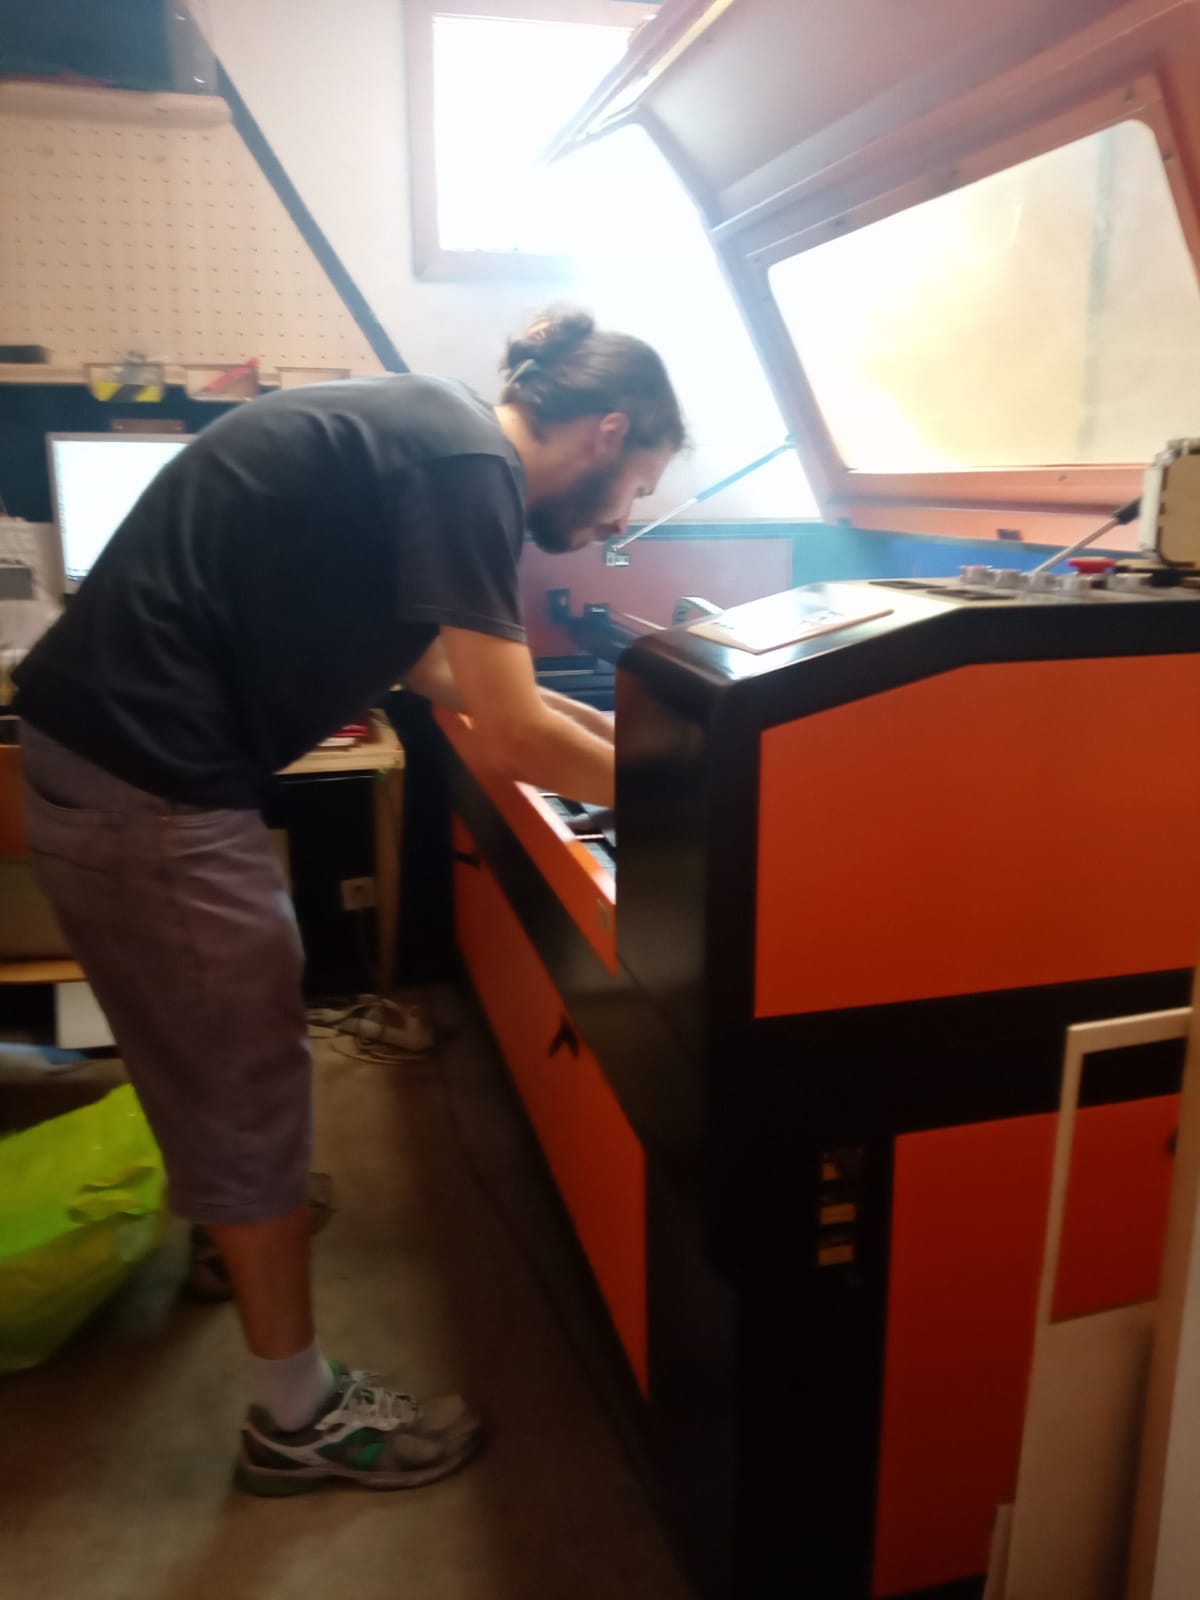
In 2021, I had the opportunity to learn LASER cutting in a makerspace near my home. After a training session, I started experimenting with this machine, and I quickly grasped its potential for making boxes that could serve as the basis for a custom storage solution, where you can carry, move, and arrange compartments in drawers at will.
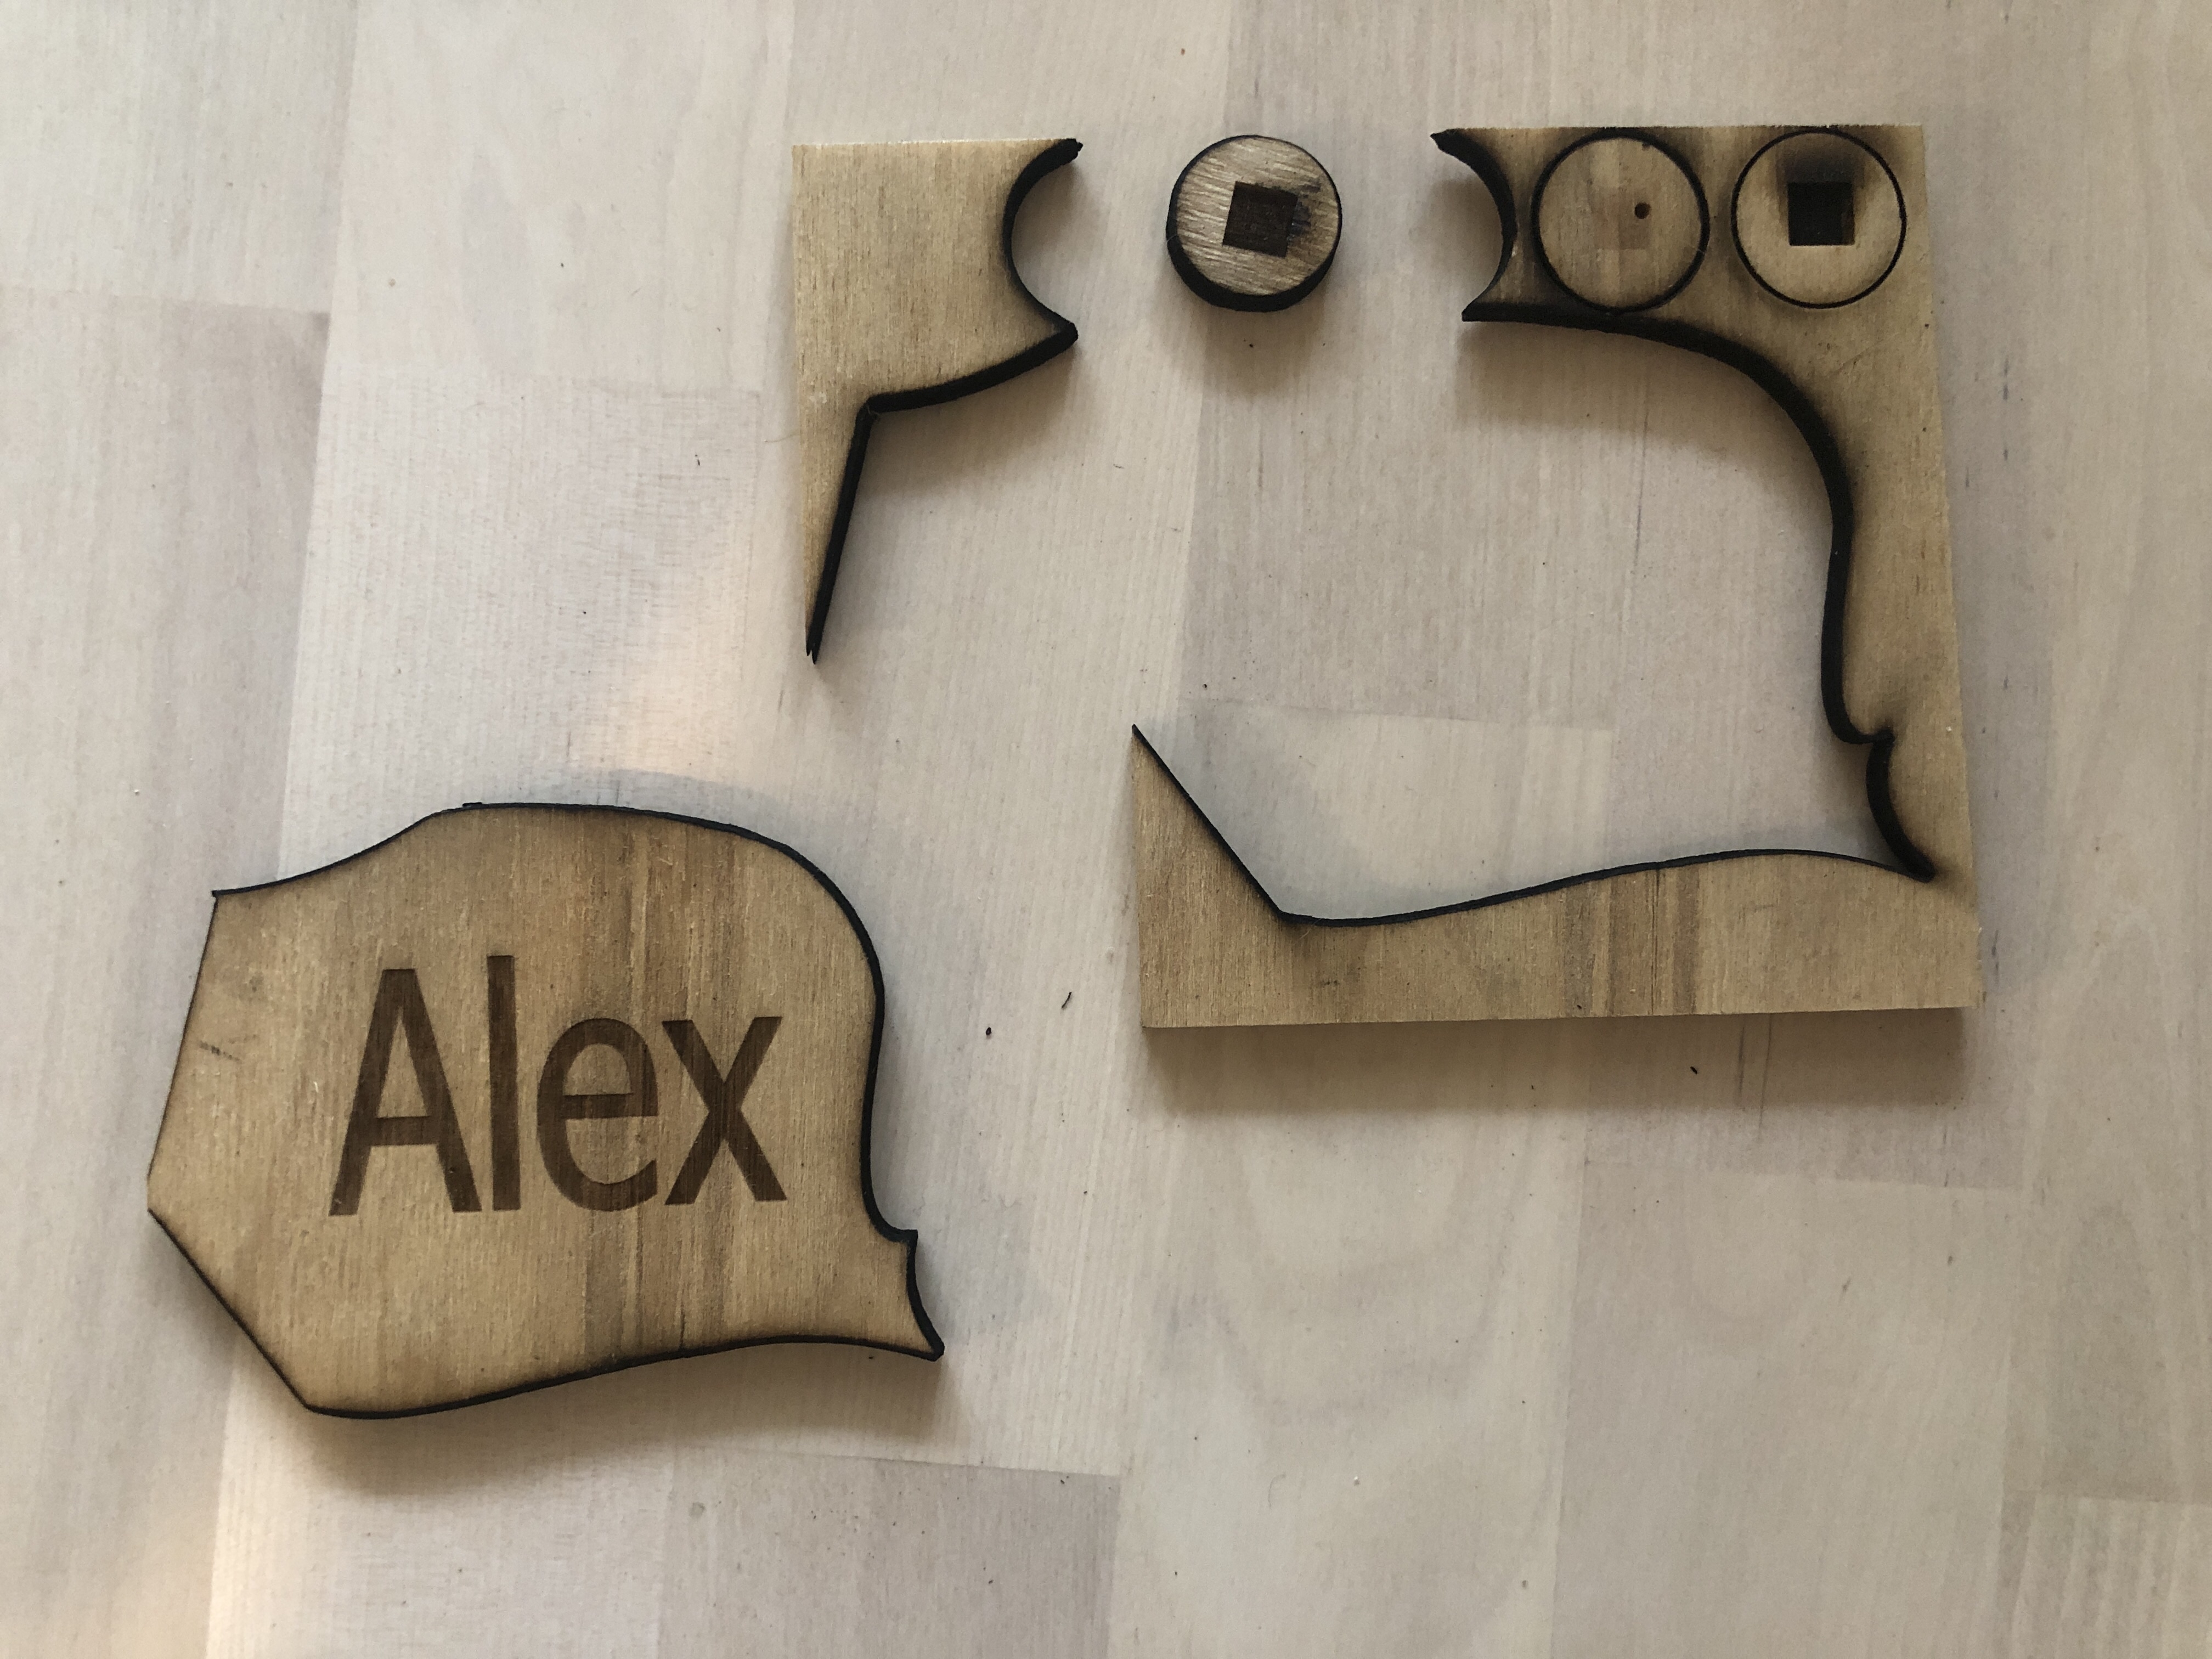
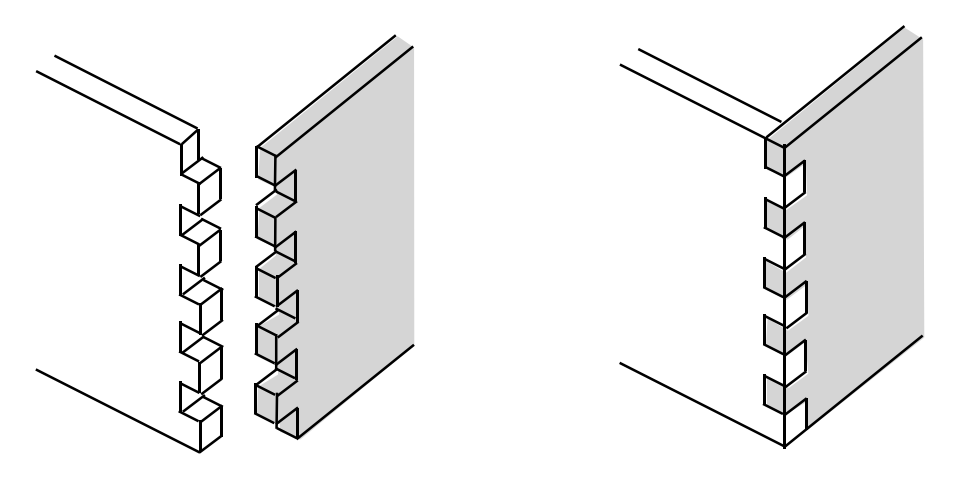
After exploring different box assembly and construction techniques (which you can read all about here), I settled on a tight notch assembly. By adjusting the relative size of the notches well, it’s possible to assemble the pieces with a mallet and it holds perfectly without glue. A simple solution as I like them.
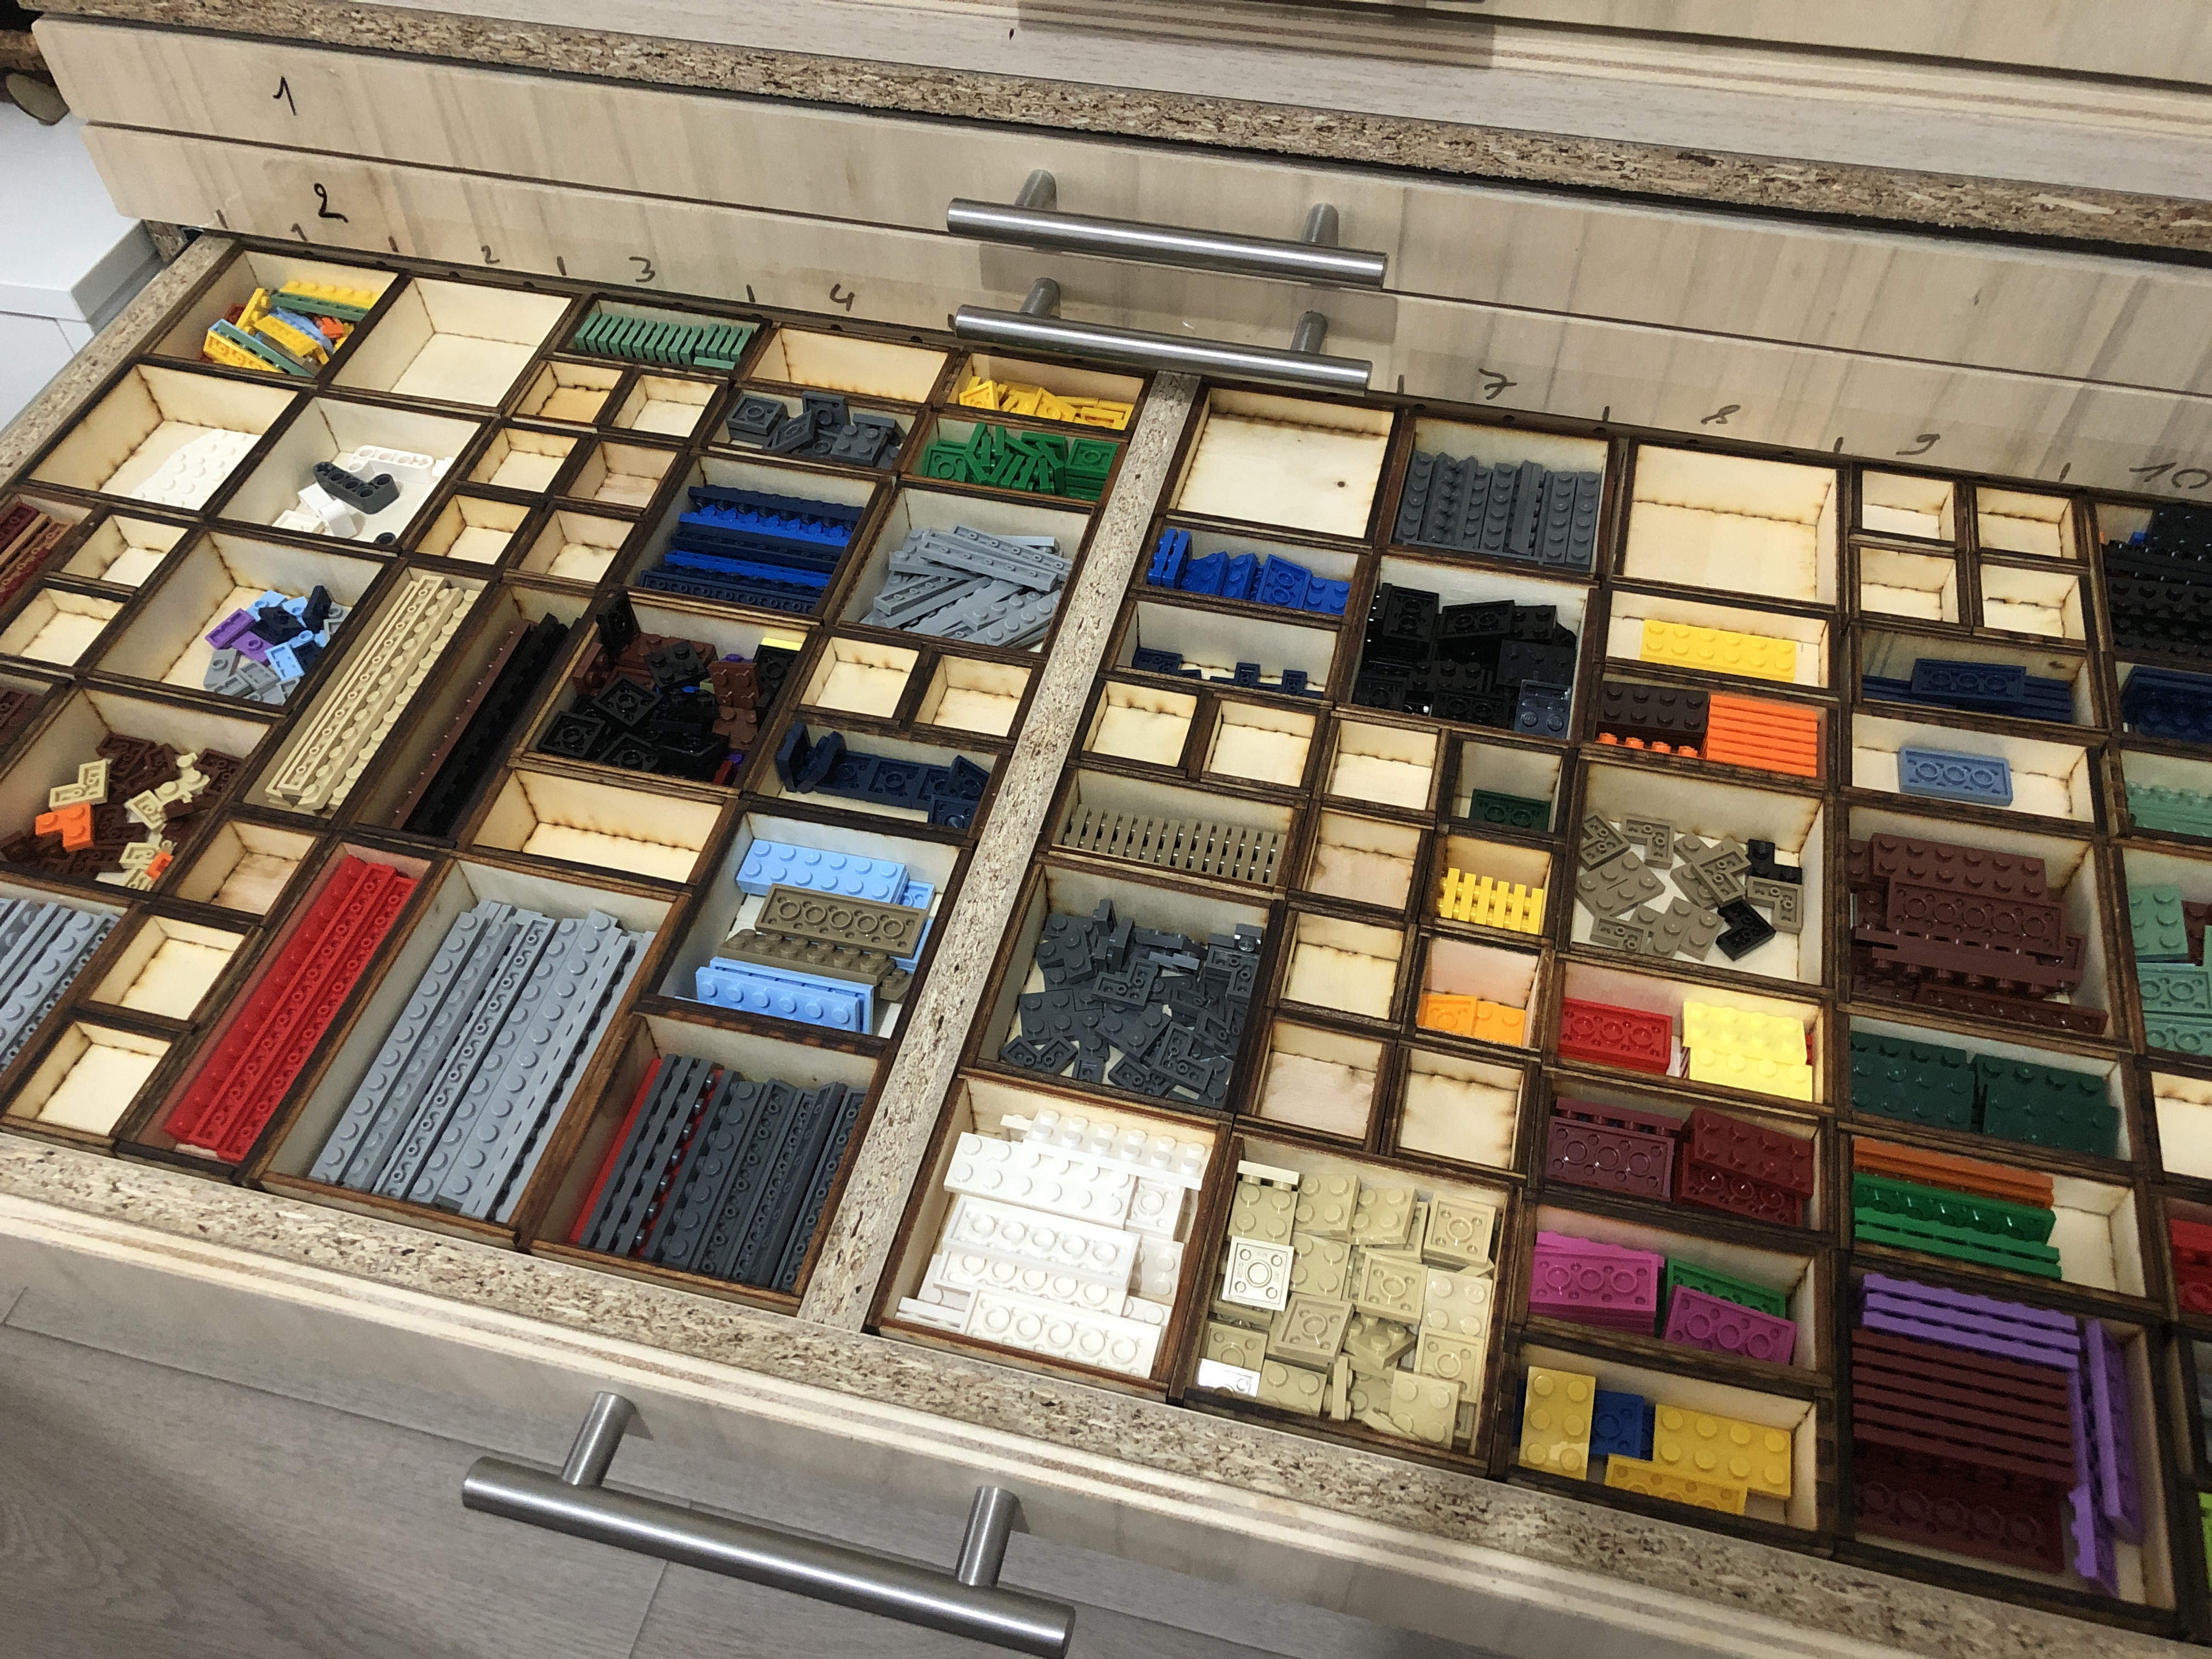
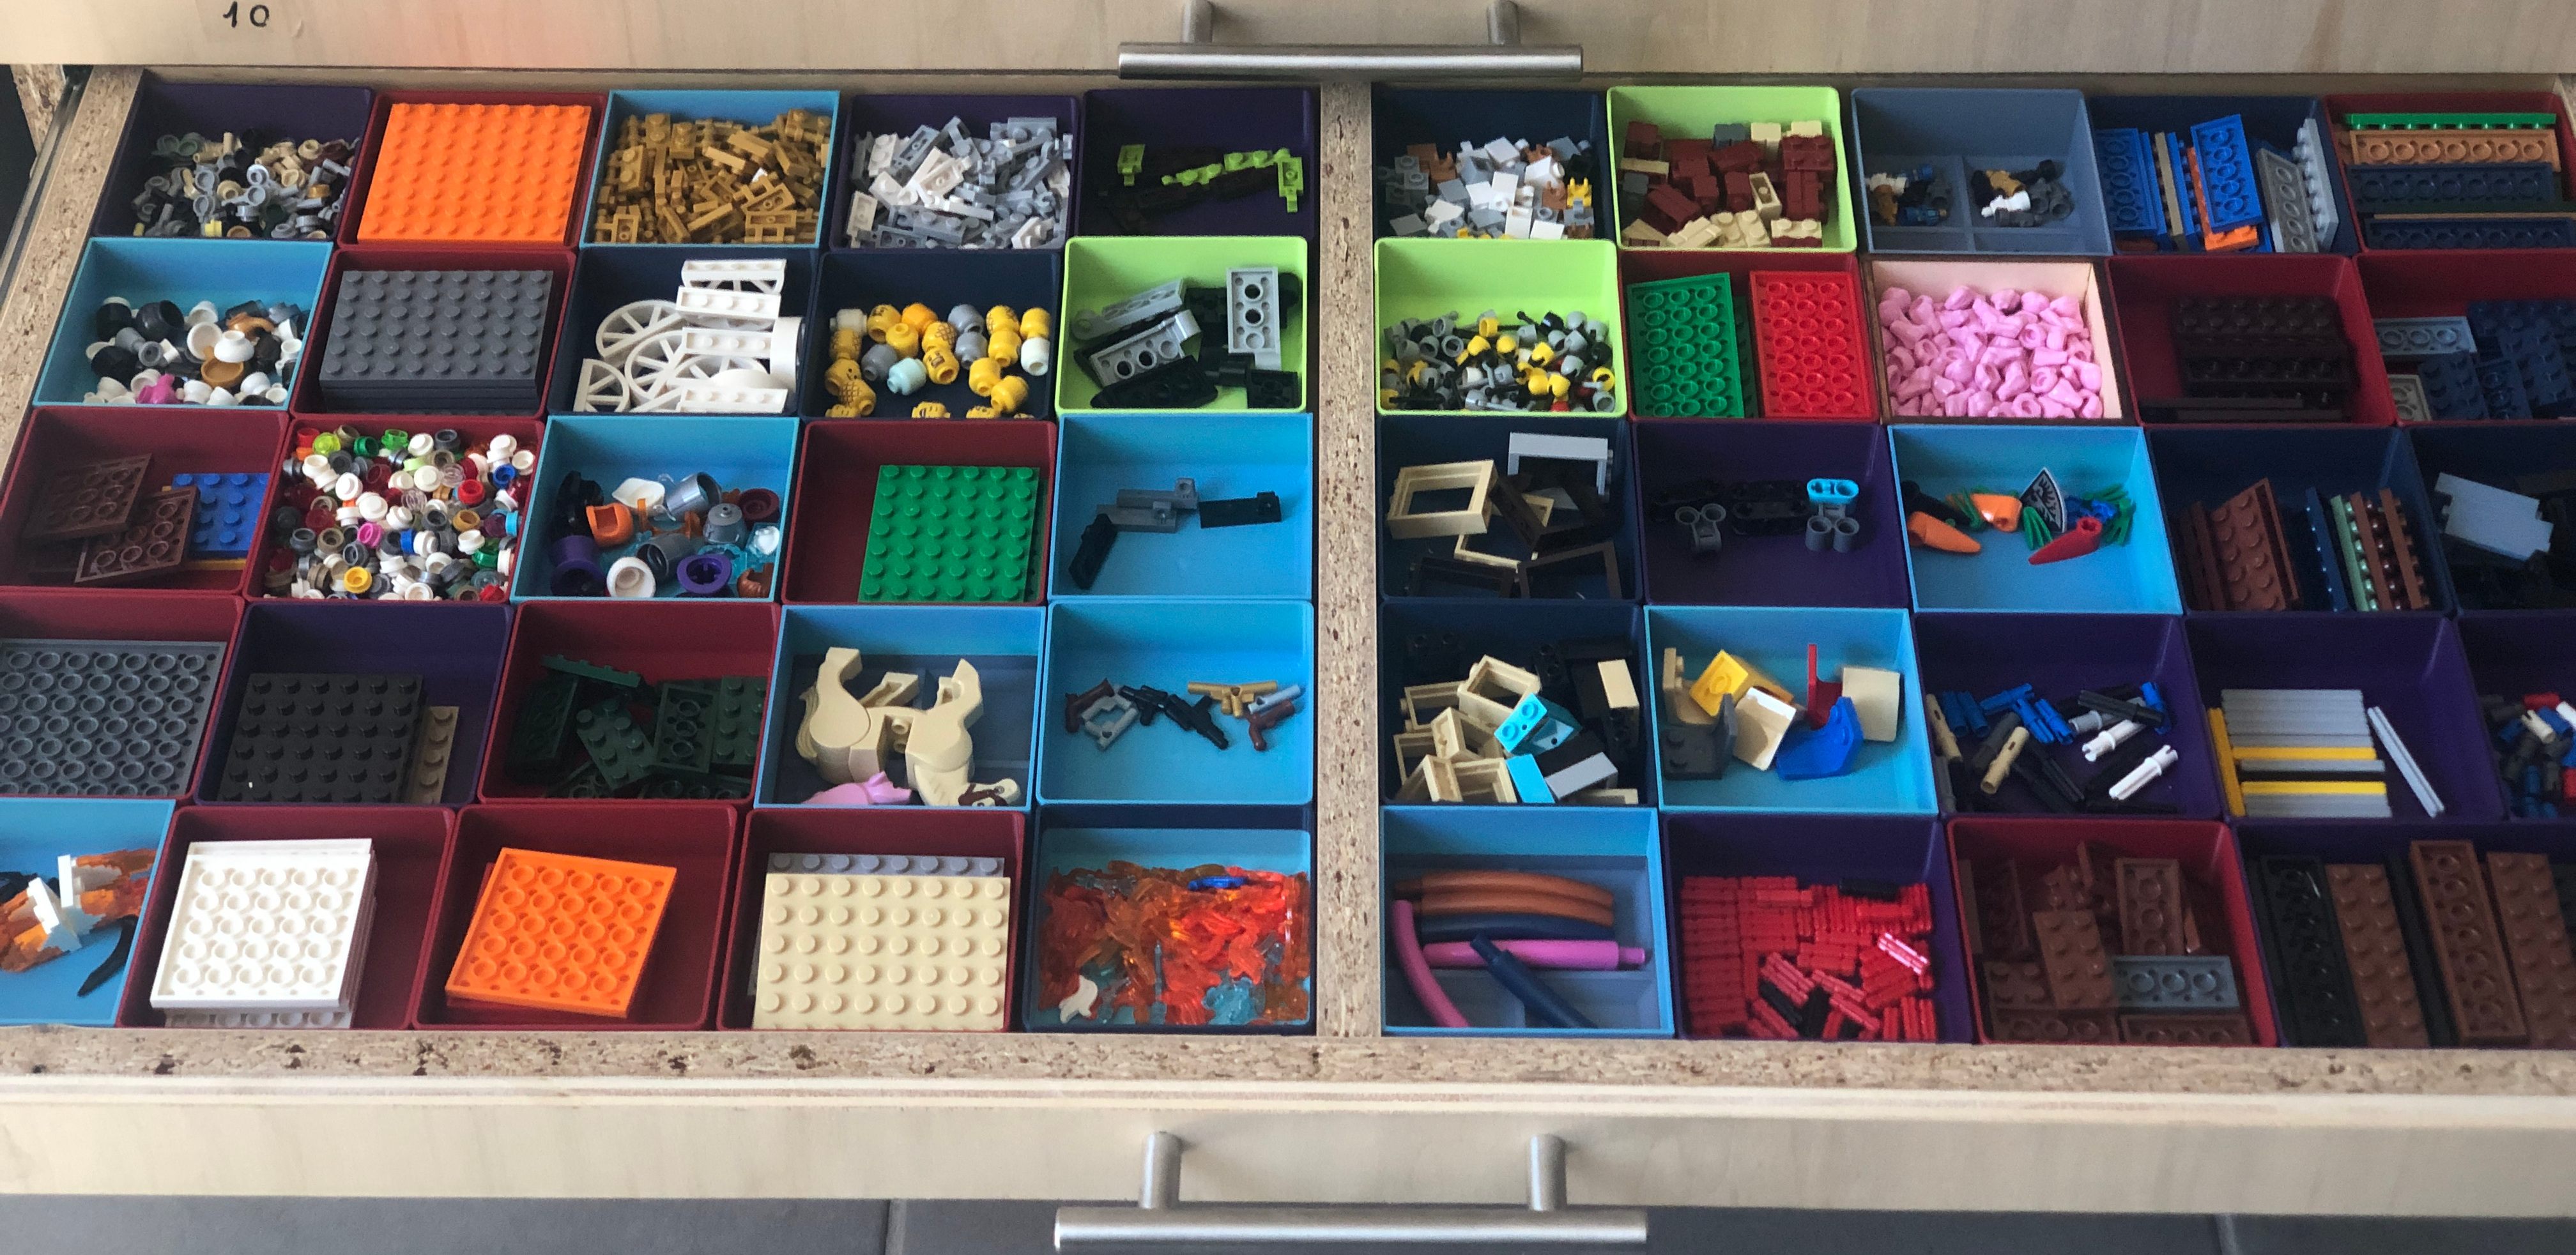
The idea then was to make a system of modular boxes that can be arranged freely in large drawers. This system allows easy carrying, moving, and emptying of compartments.
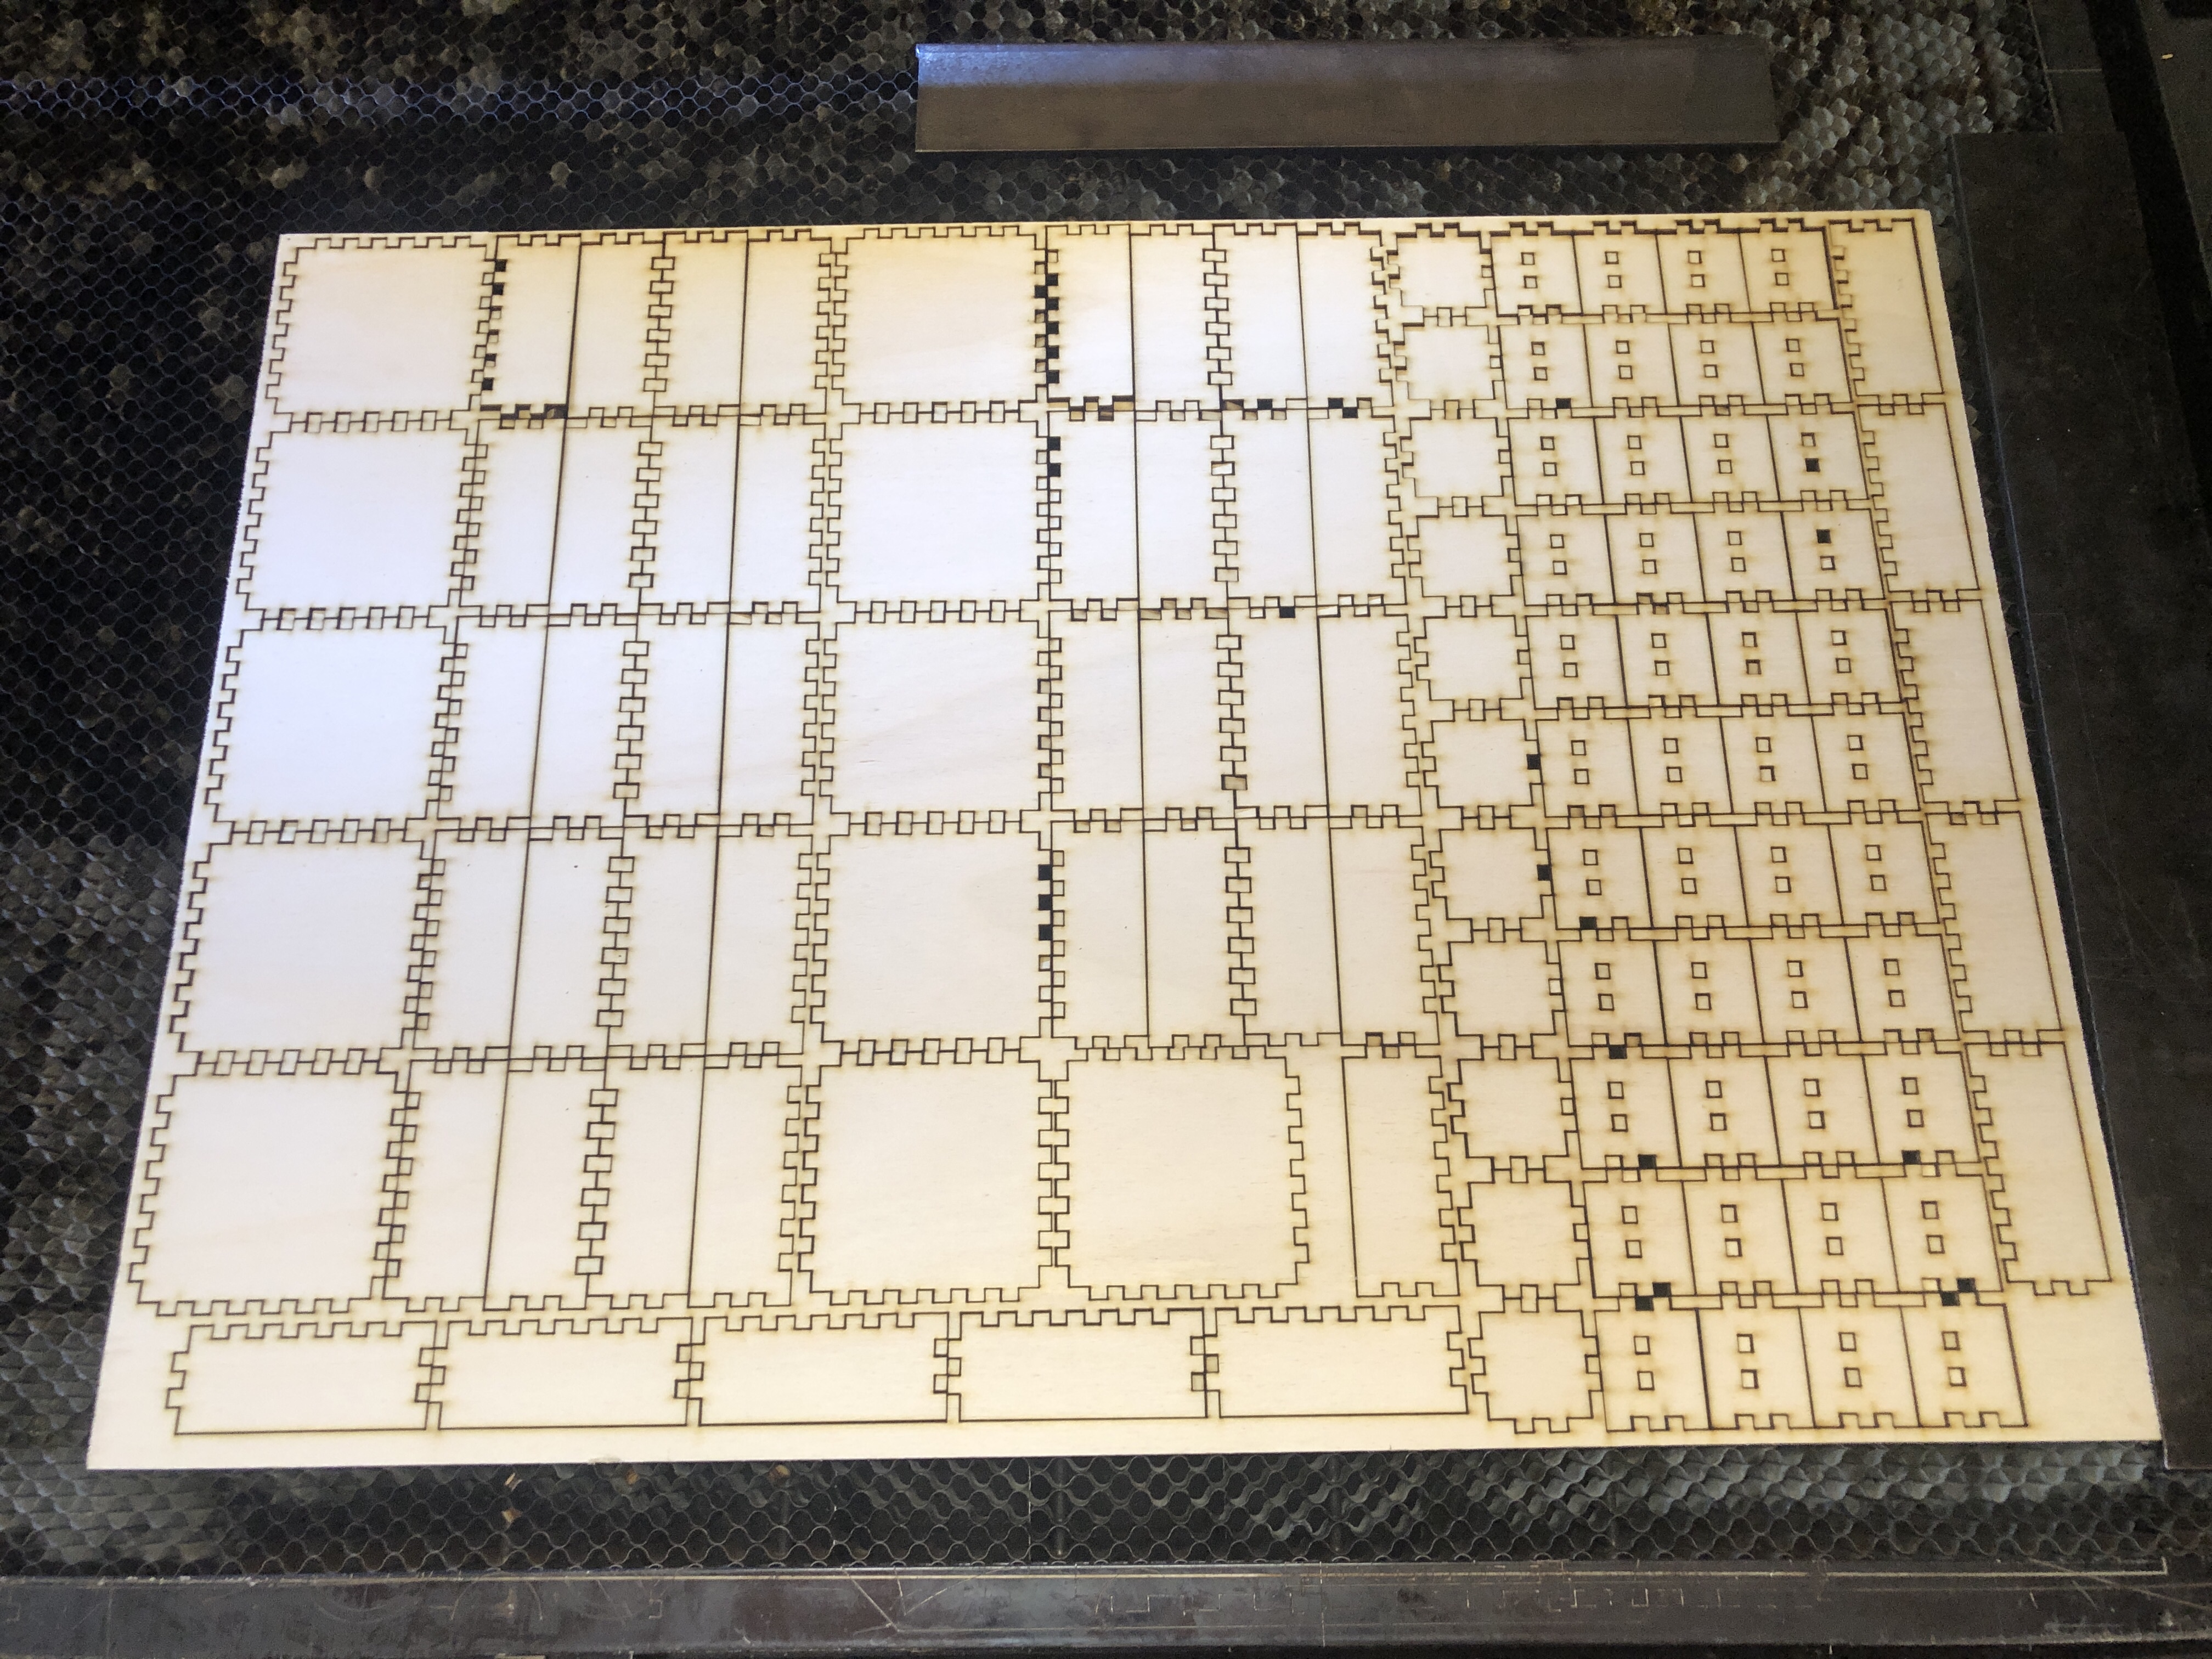
I based the size of the first boxes on the size of the previous compartments, resulting in a square box of 75mm per side. A box with these dimensions can accommodate a LEGO piece 8 units long with just enough margin. For the height, I wanted to respect the LEGO brick ratio, considering that my box was equivalent to a 2x2 brick. LEGO experts know that the height of a 2x2 brick equals 3/5th of its width. For a 75mm side box, we thus get a height of 45mm. I found this too high, so I removed one third (which in the LEGO world corresponds to going from one brick height to two plate height) which gives 30mm. I find this to be the perfect ratio.
From there, assuming my base box is 2x2 units wide and 2 plates high, I experimented with all kinds of variants in 1x1, 1x2, 2x3, 2x4, 3x3, etc. in versions of 1, 2, 3, or 4 plates high.
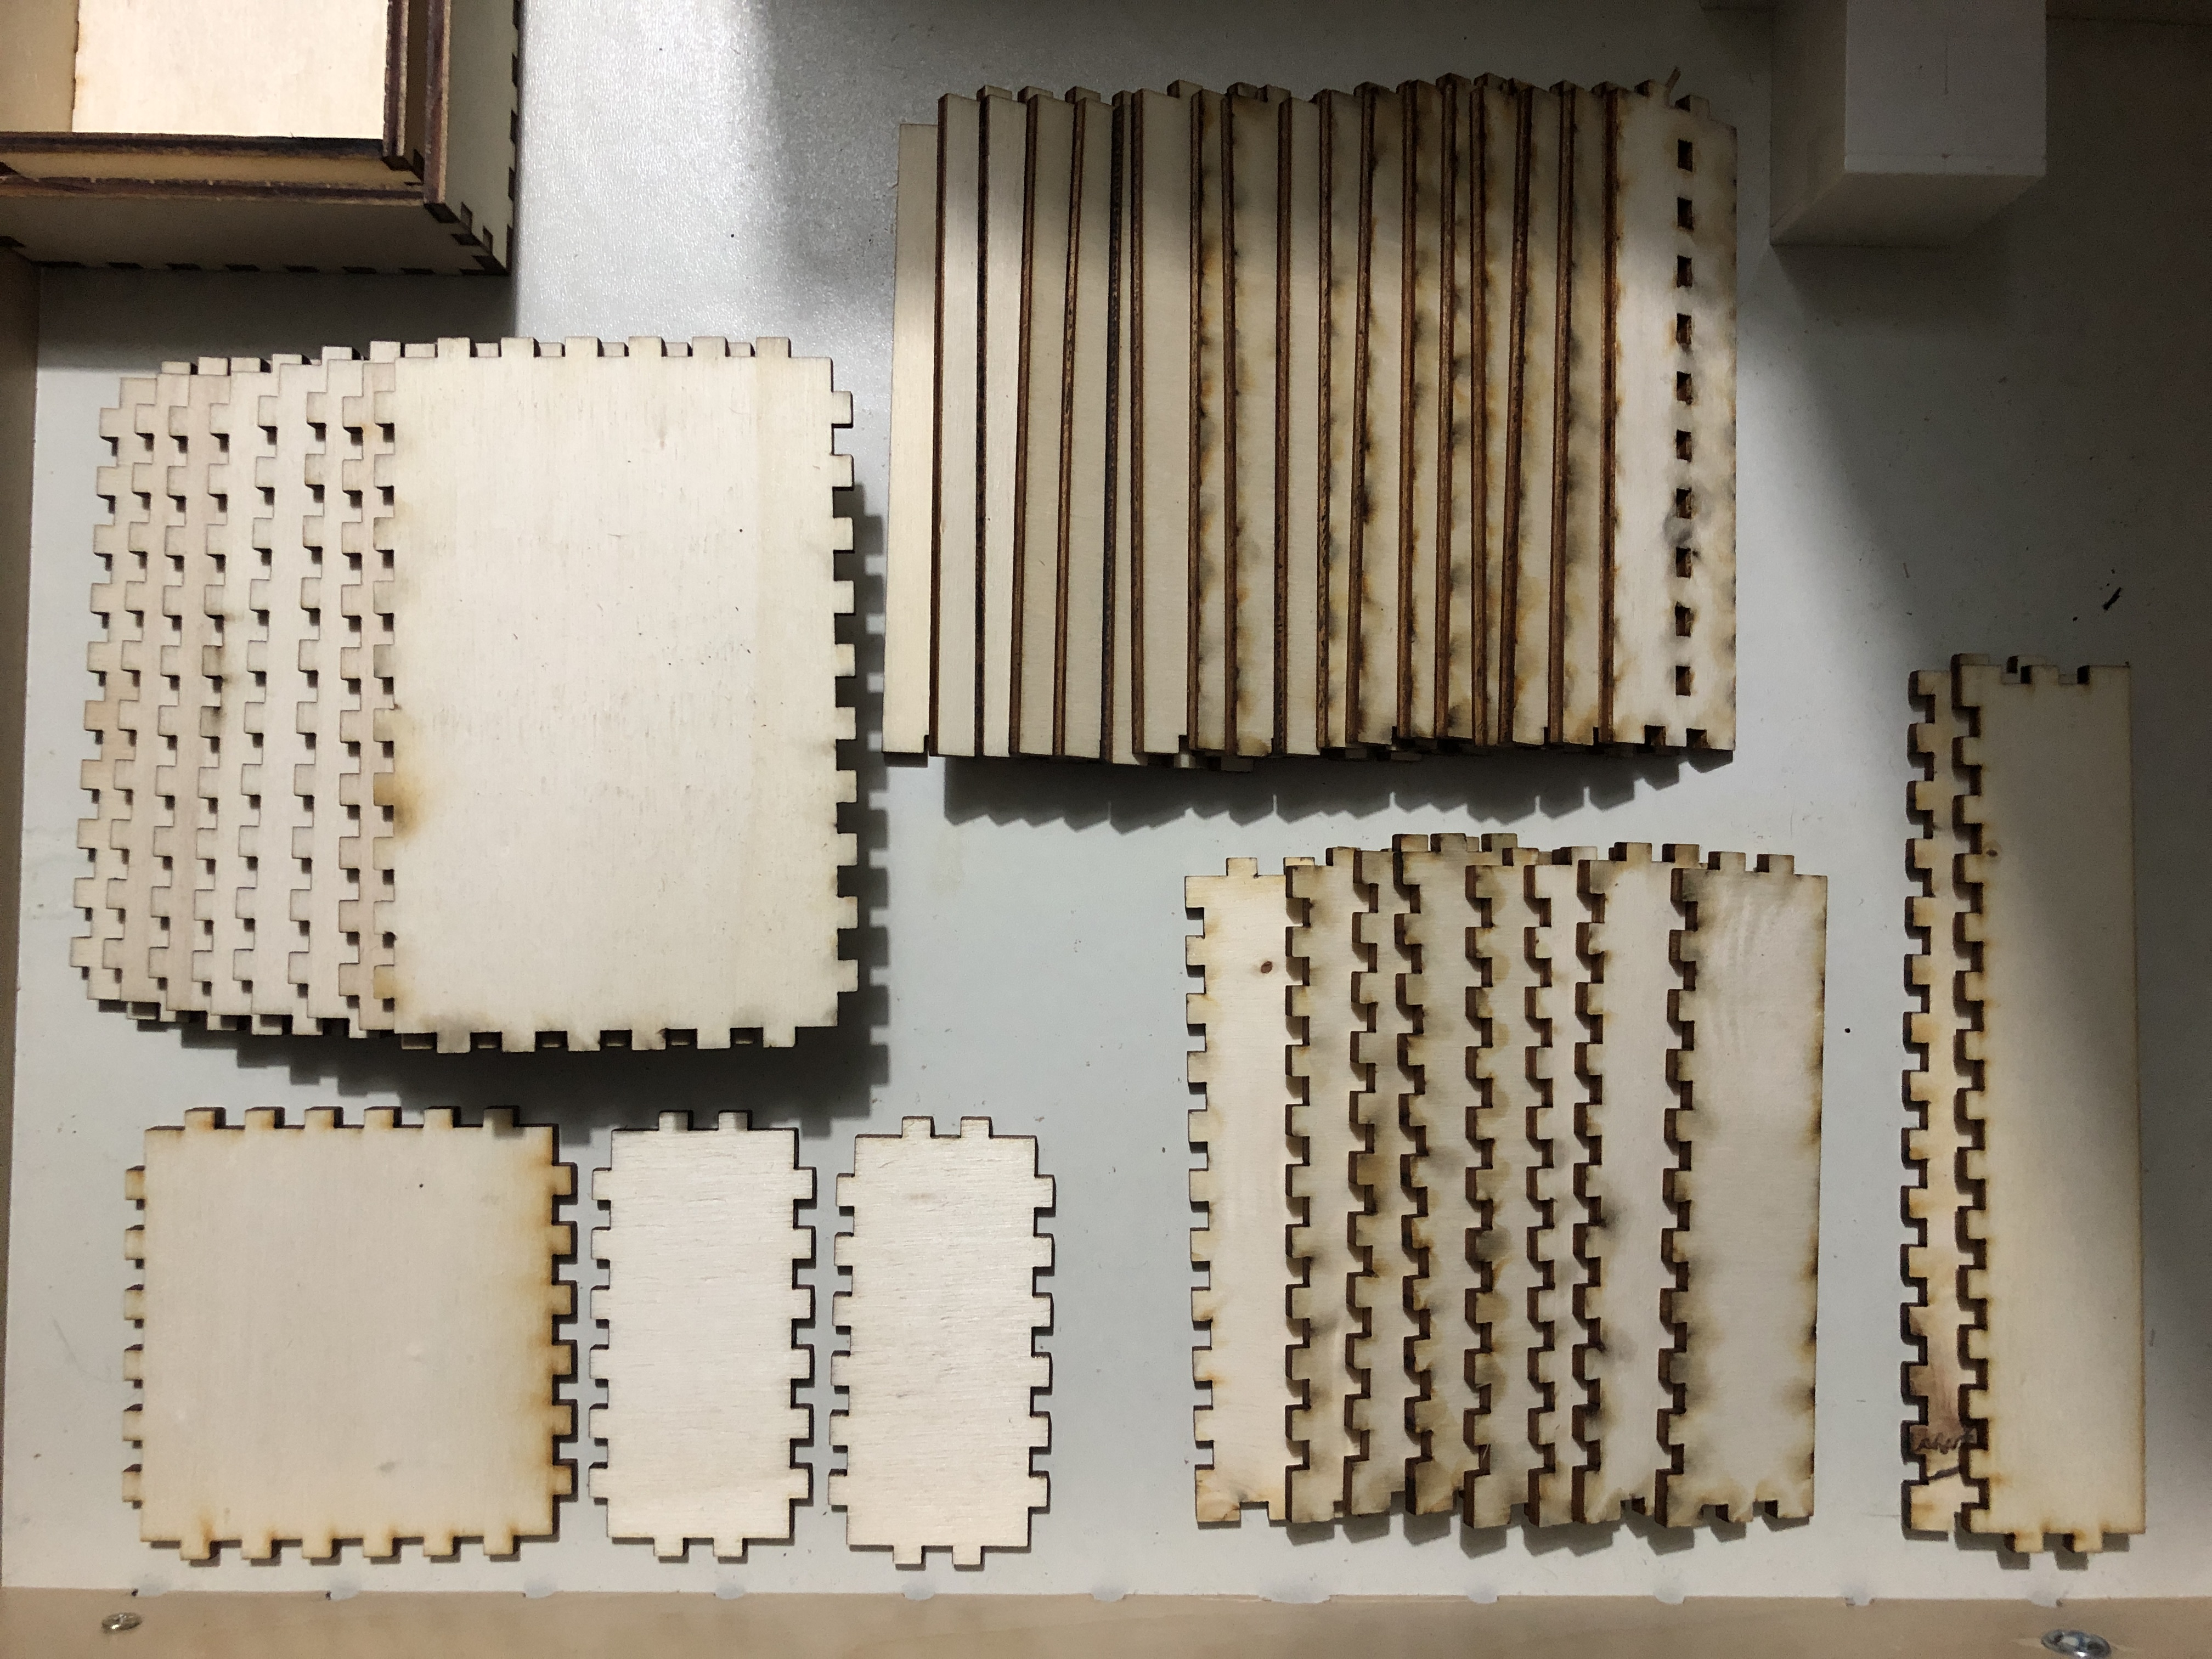
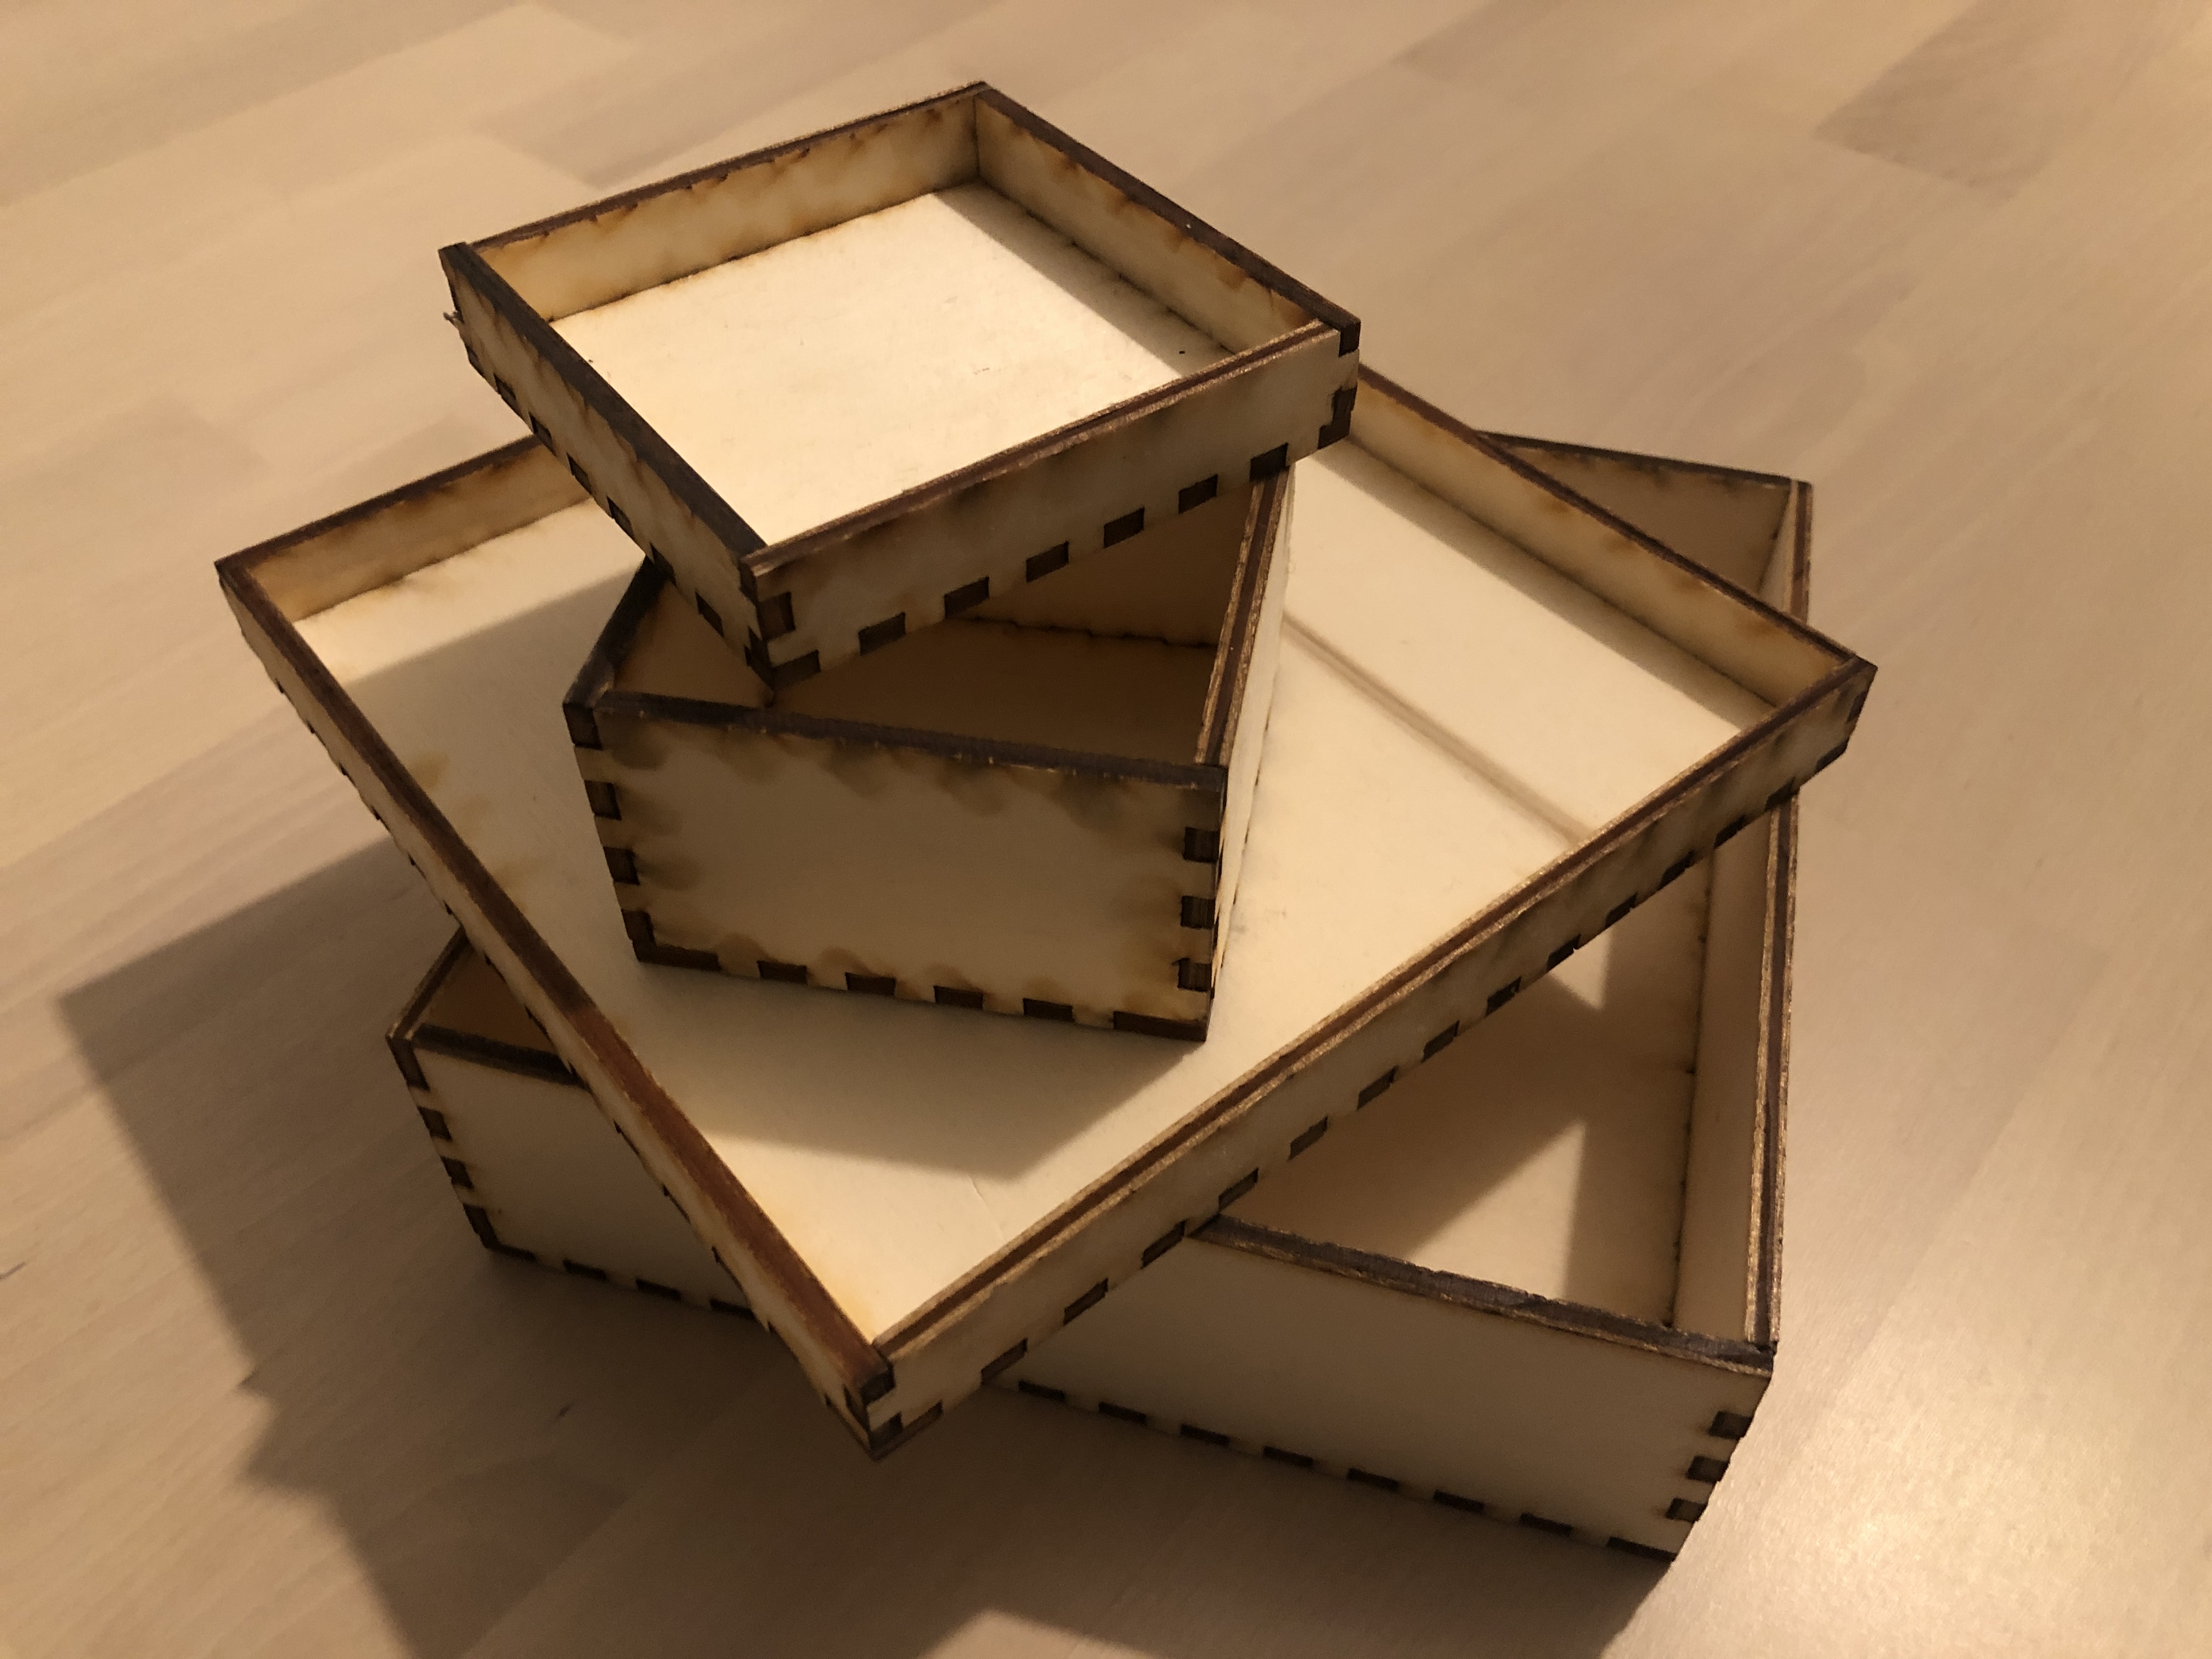
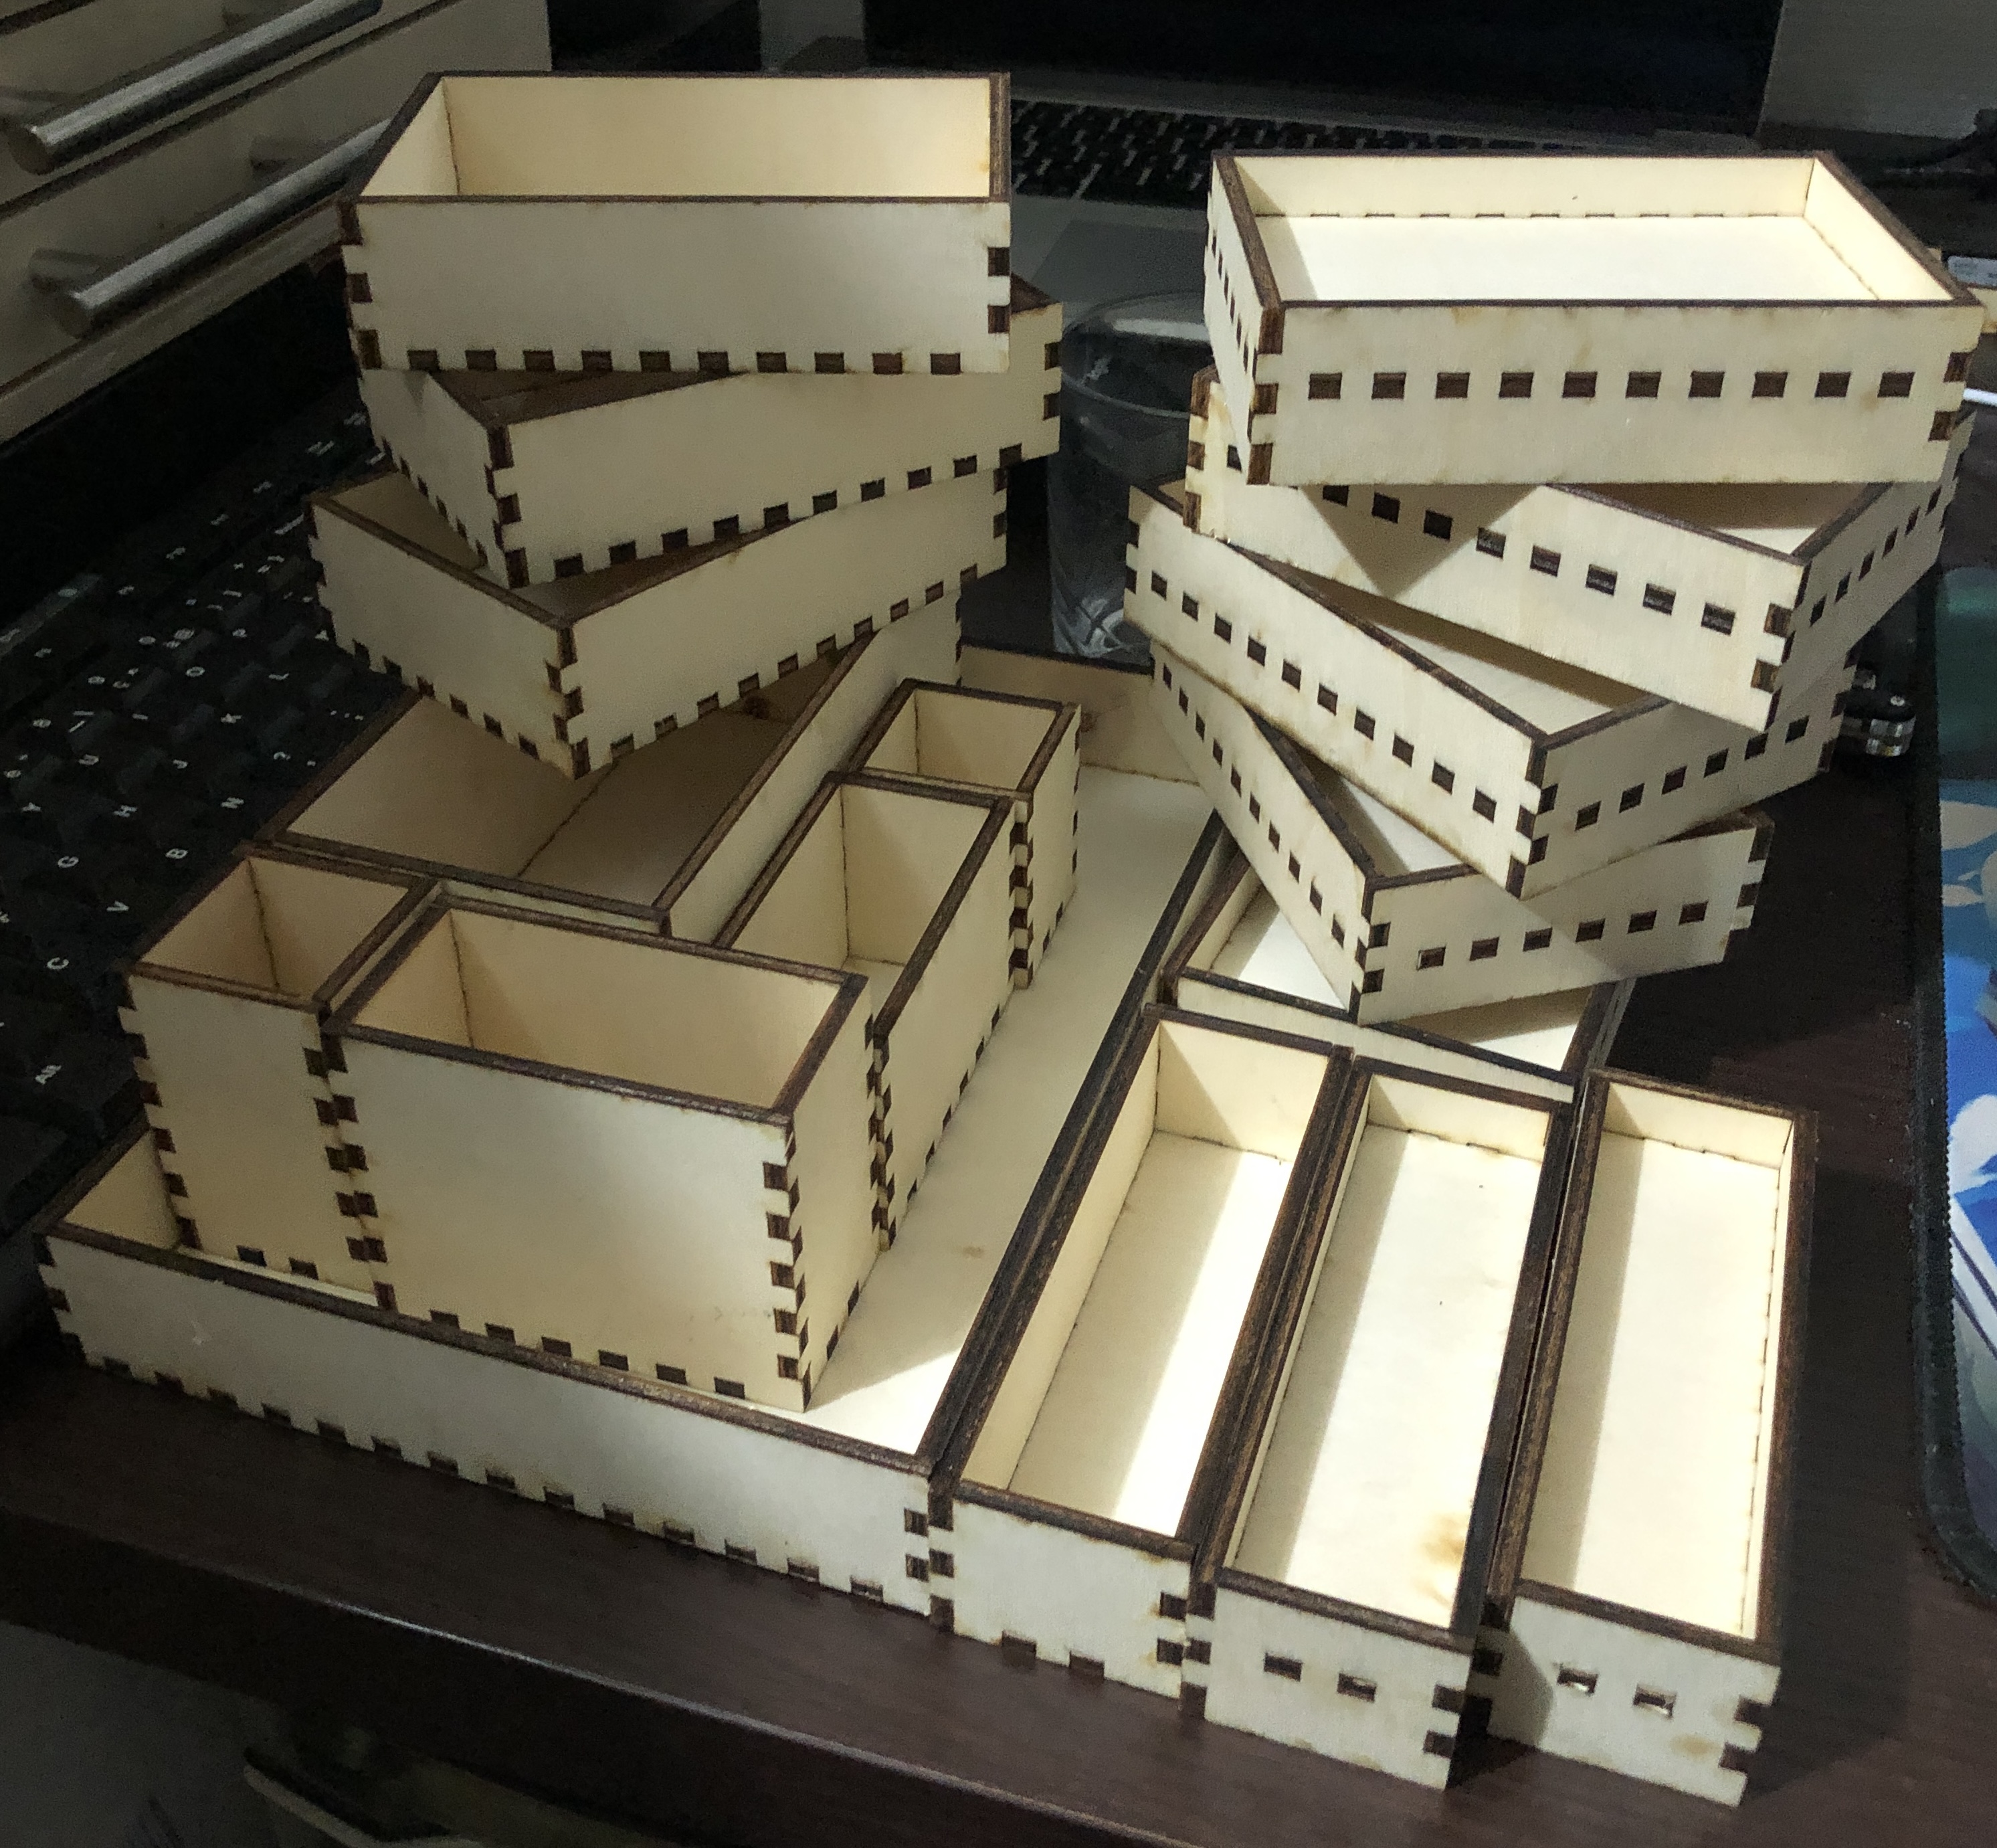
I quickly realized that large size and low height models are useful as trays for containing pieces during construction, for example. I made bigger ones, which I still commonly use today.
Detailed read: LASER cut boxes
Drawers to store the boxes
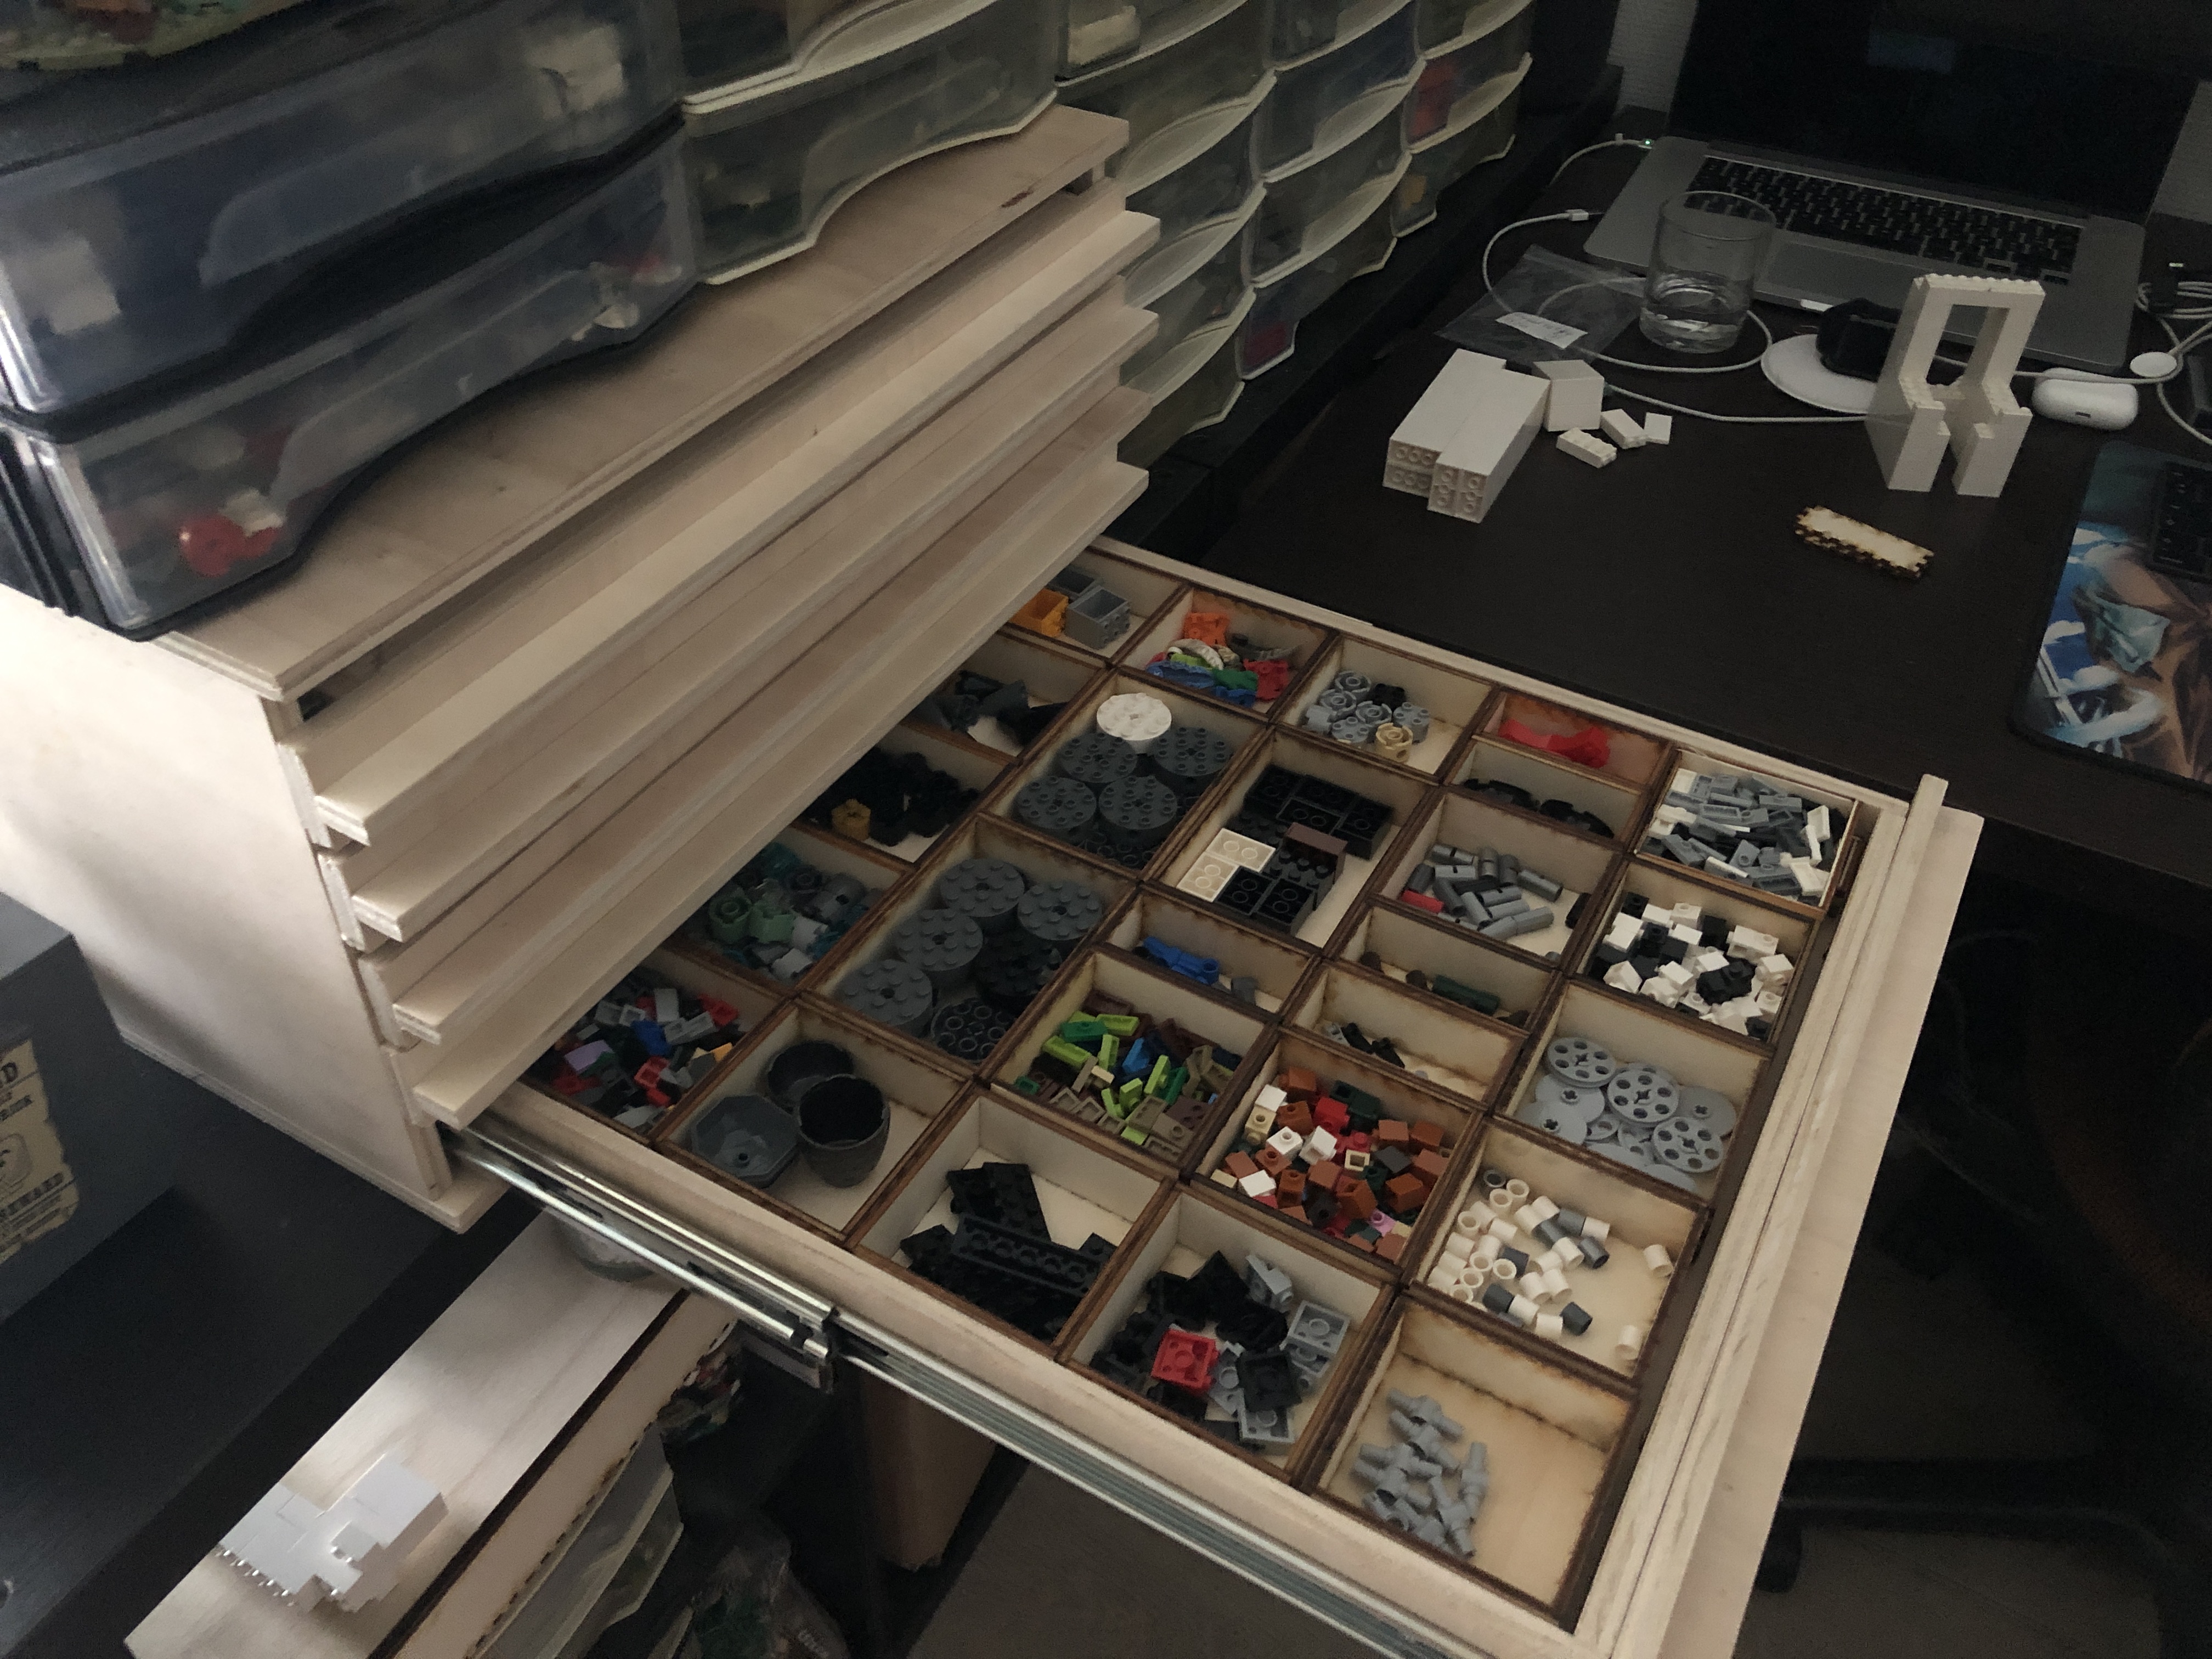
The boxes were a good start, but now I needed a place to store them. I started experimenting with a module system similar to Papi Max, using the same LASER cutting manufacturing technique as for the boxes. It wasn’t perfect but it was very encouraging and motivated me to continue.
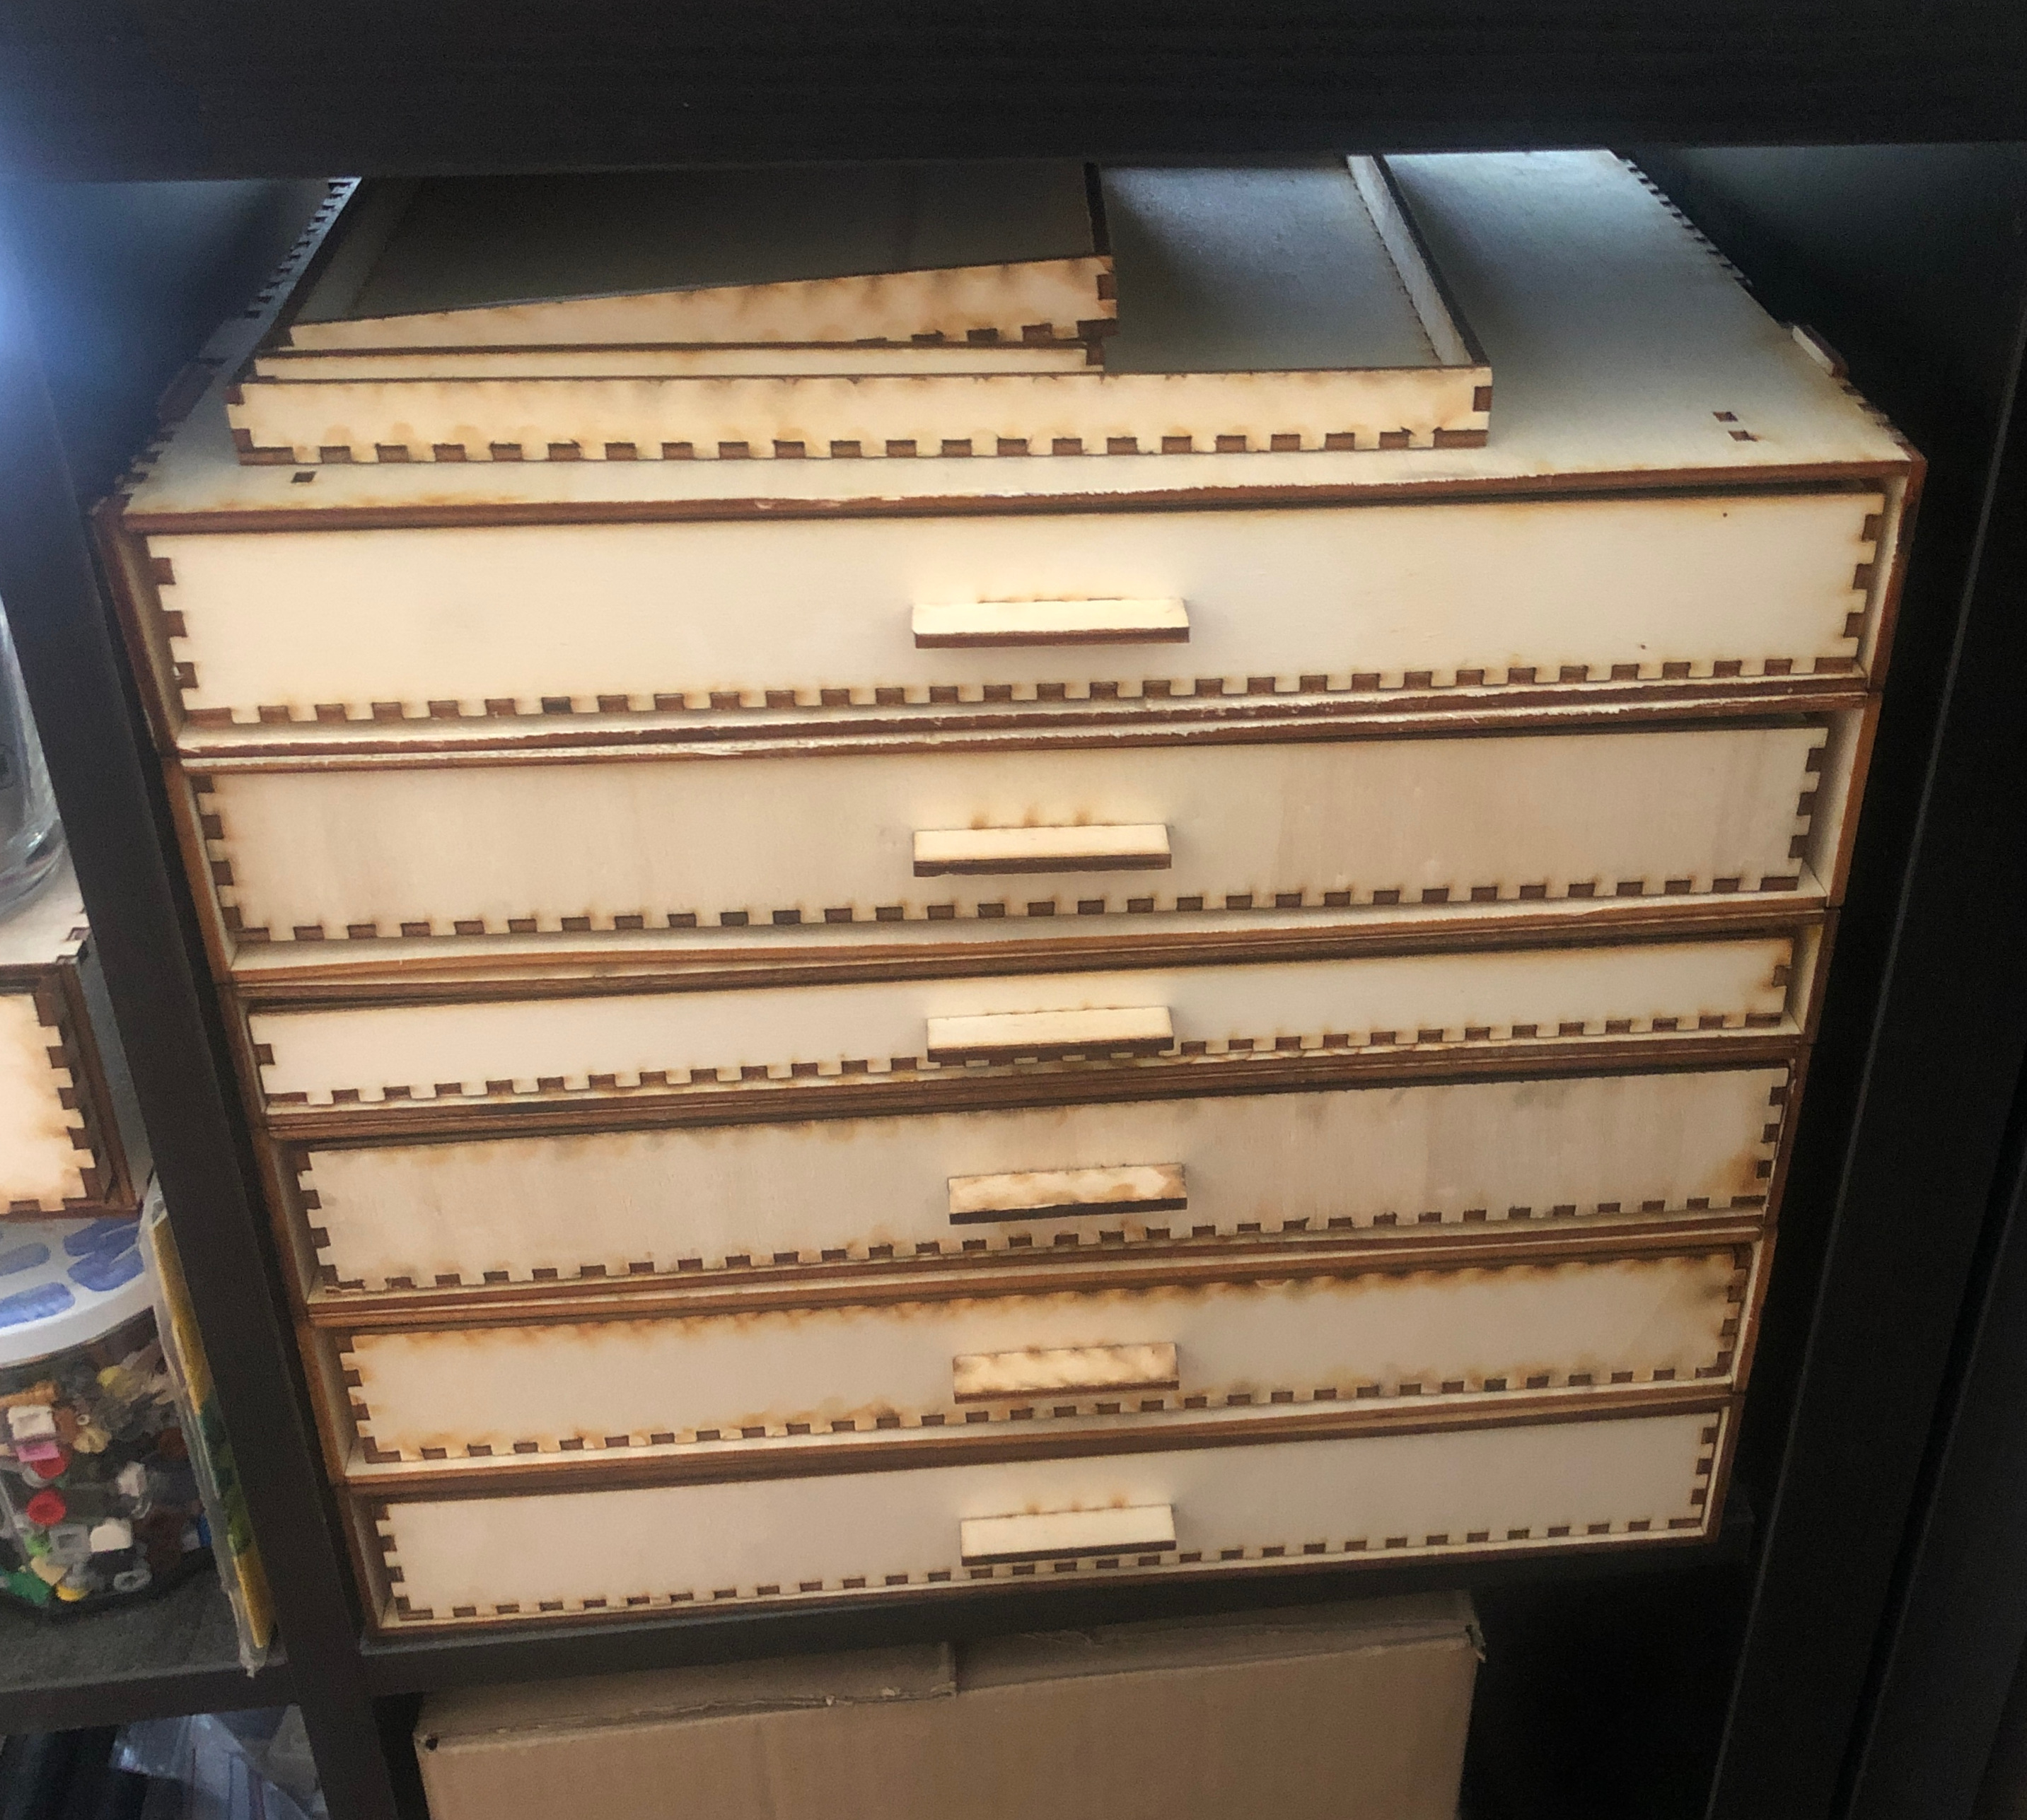
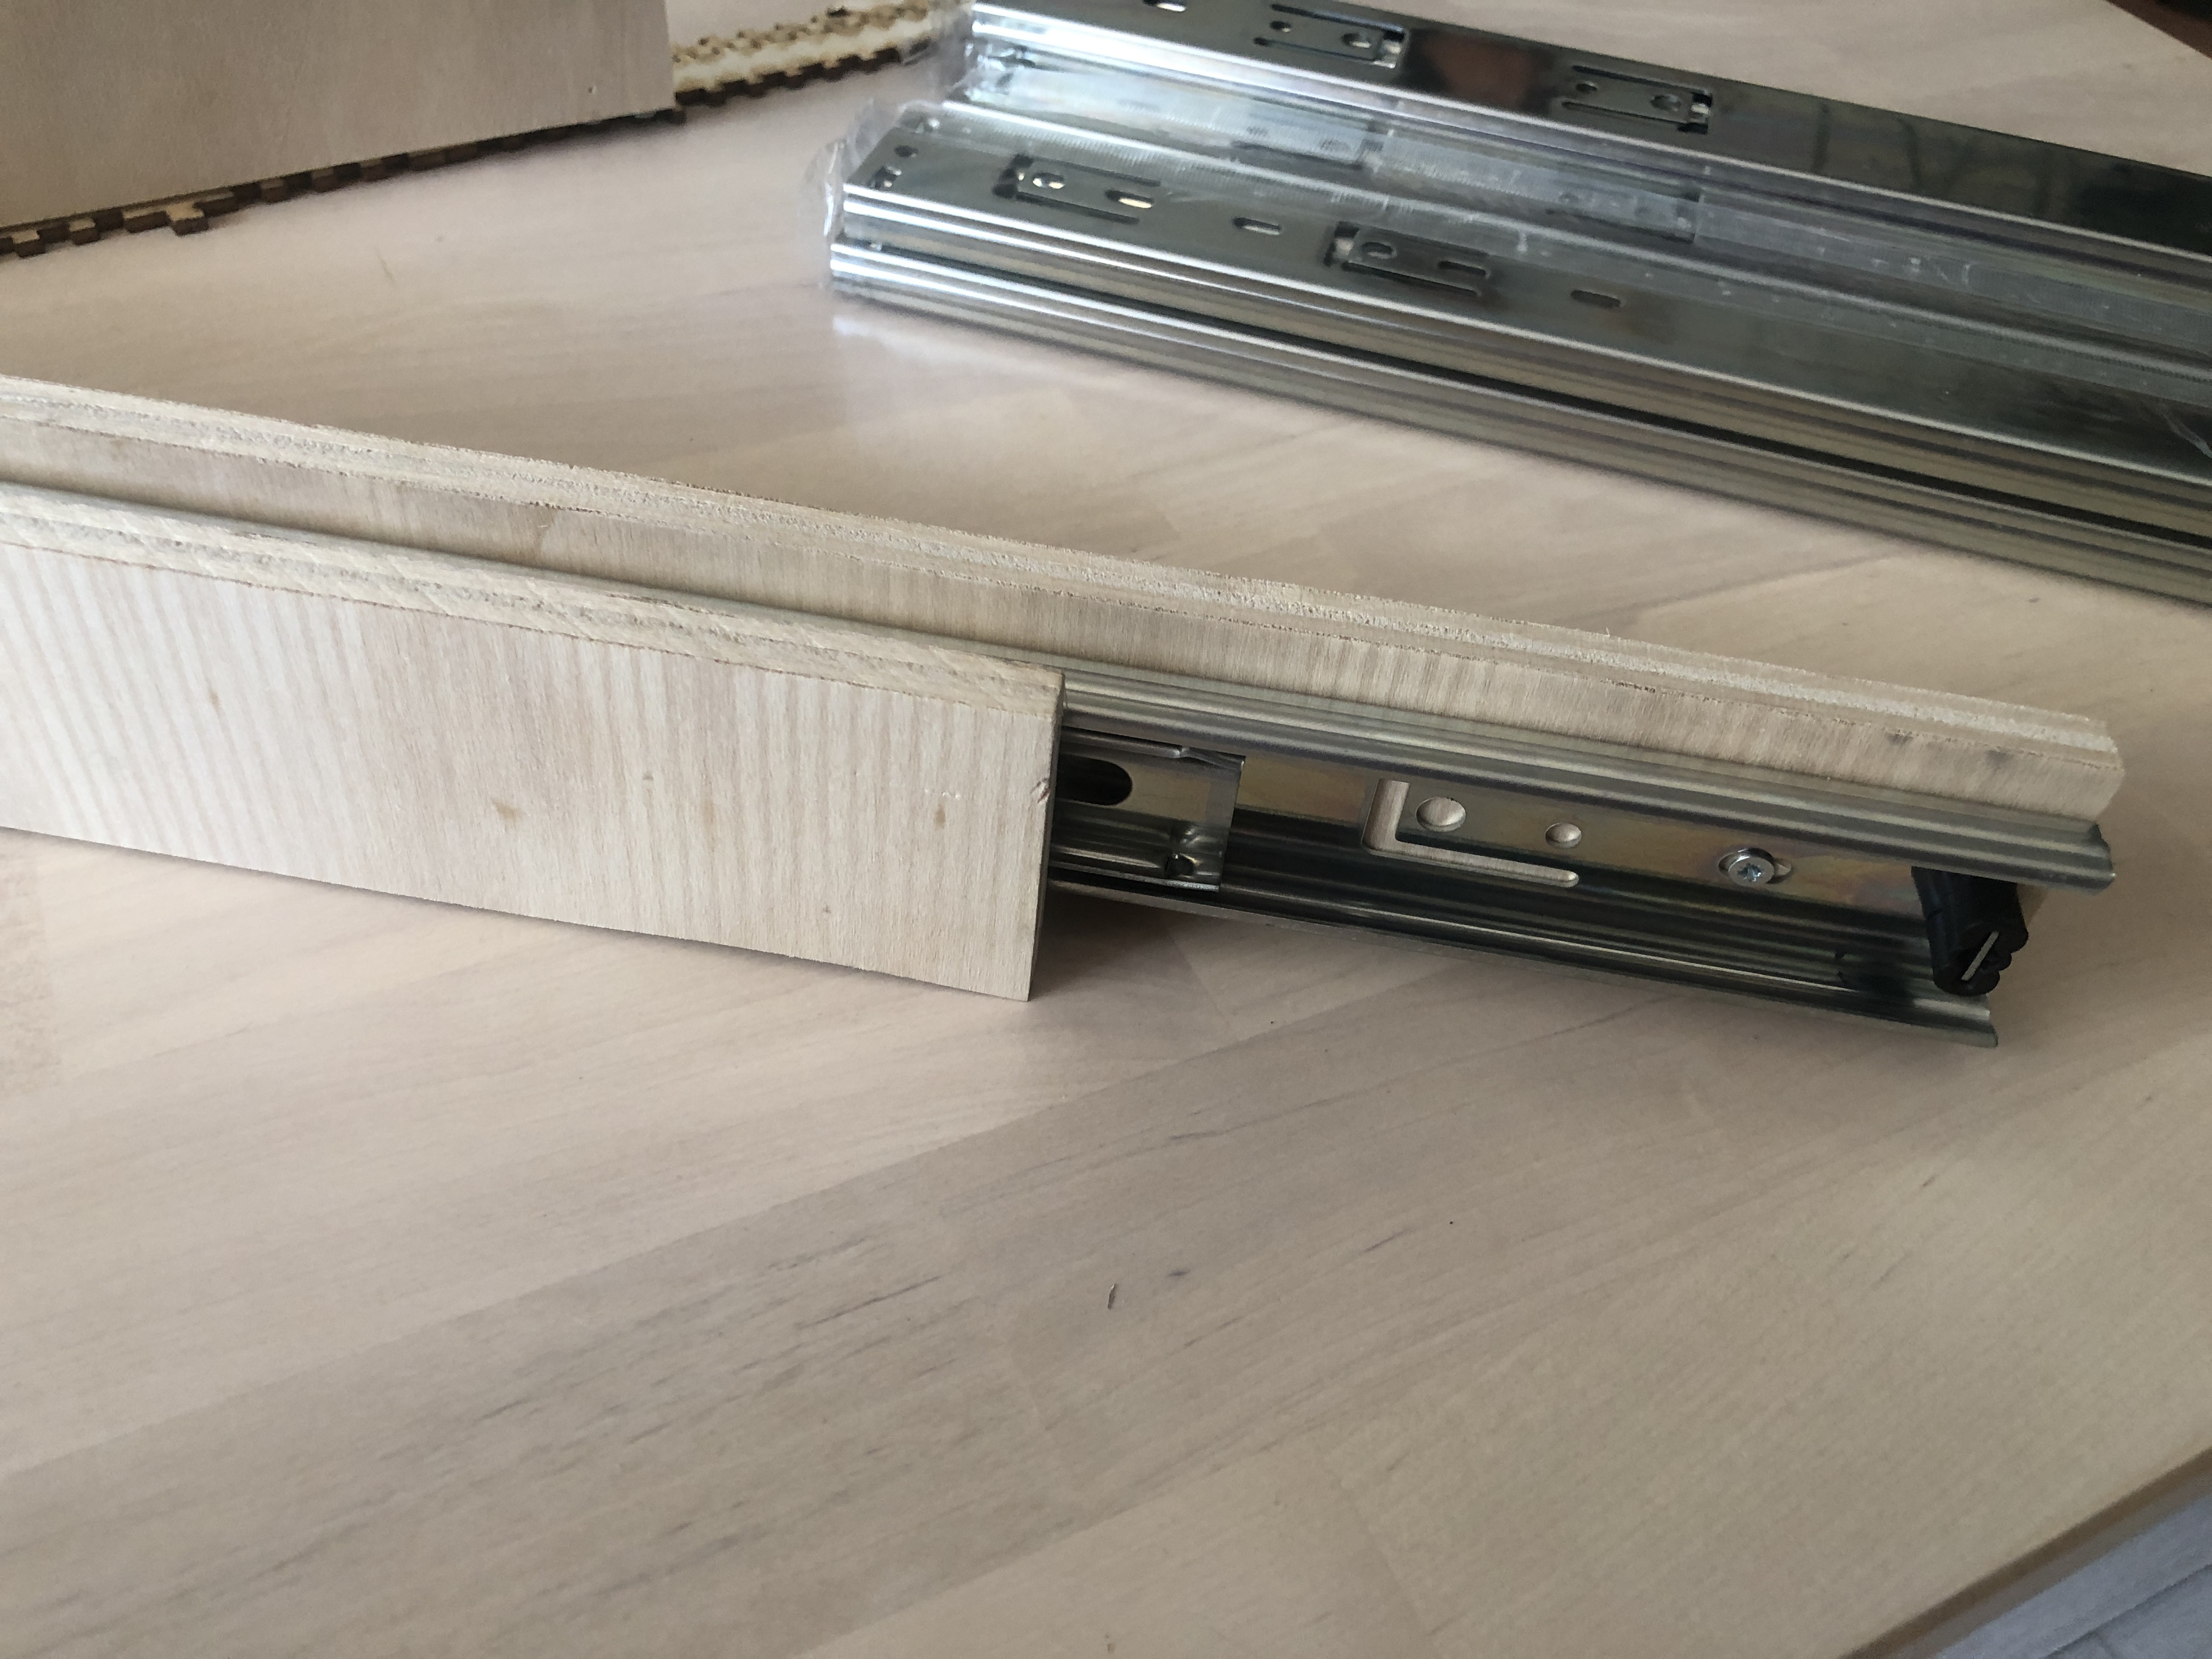
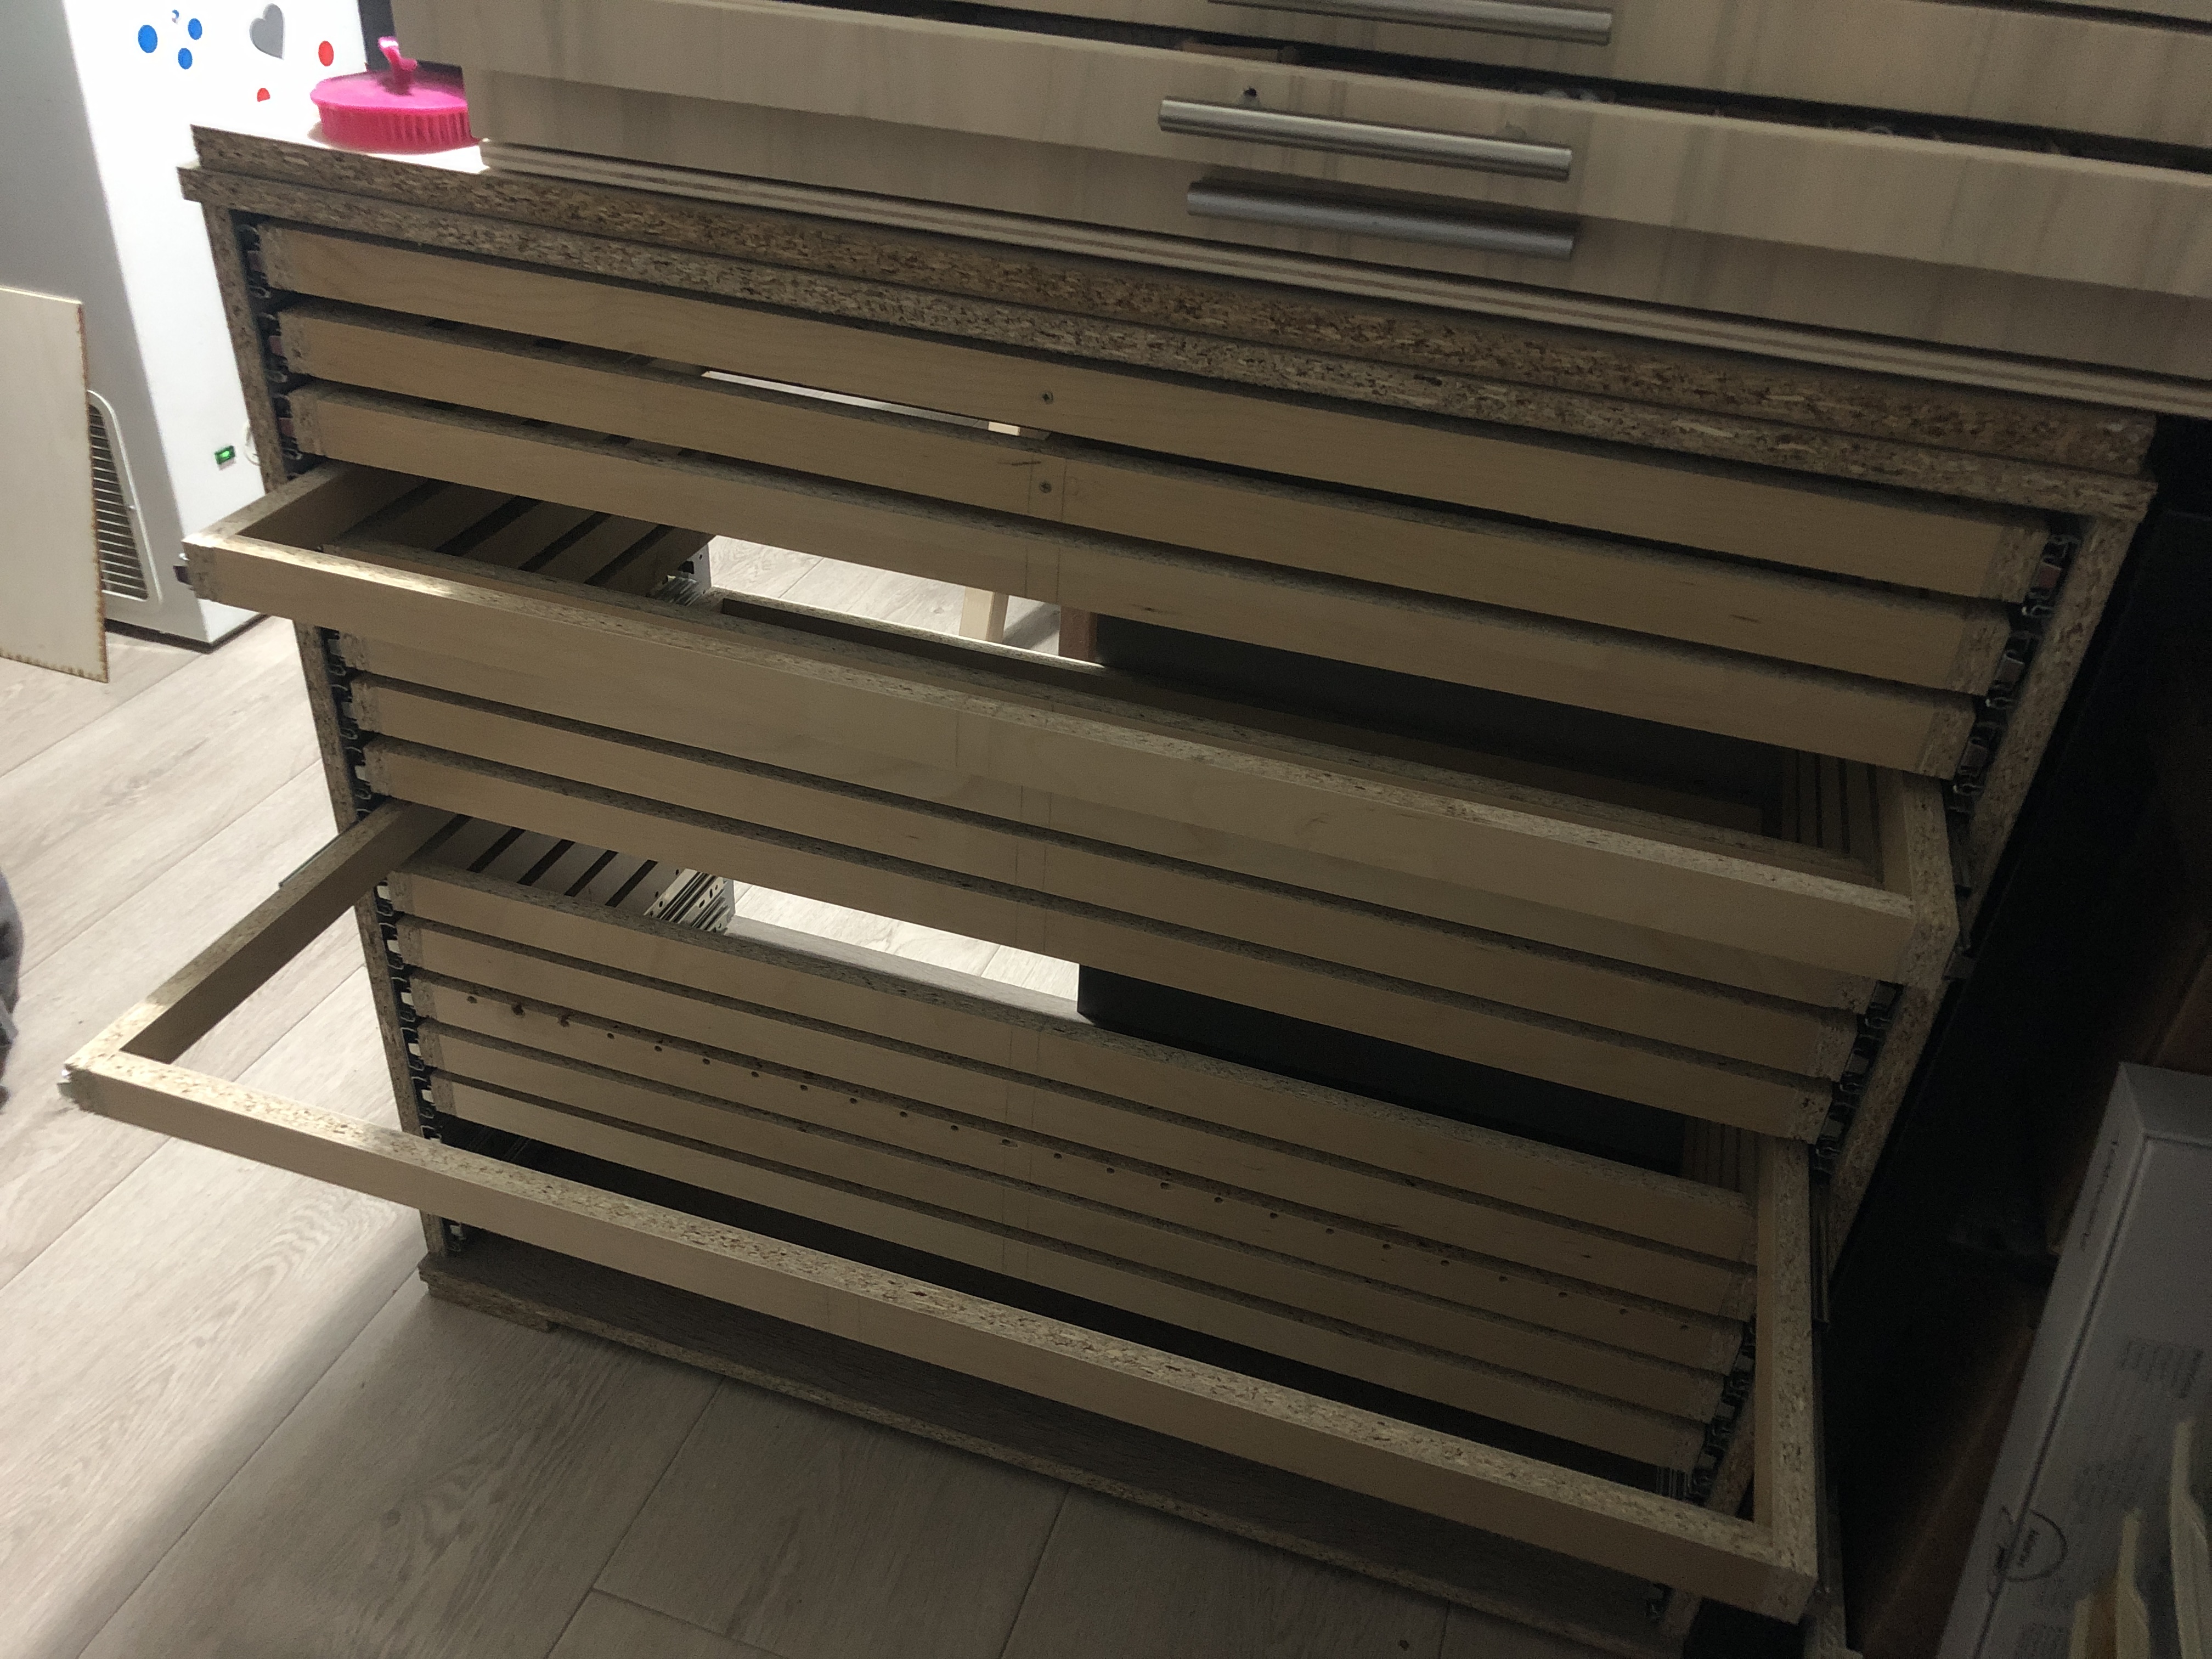
For the real drawers, I wanted a quality feel when opening and closing the drawers. This was important to me. I wanted my drawers to give an impression of solidity and quality, with smooth opening and closing, without tilting as the drawer opens, and without fear of dislodging the drawer if opened too quickly. I also wanted the drawers to be able to open to full depth to allow access even to boxes at the back.
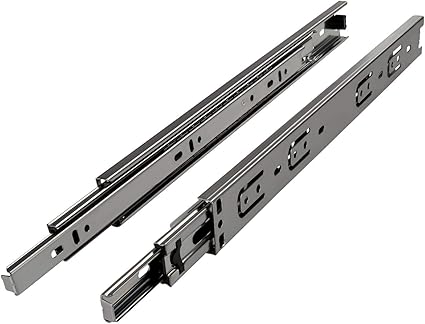
After some research, I found a model of full extension slides on Amazon, available in several lengths, that seemed to meet my quality requirements.
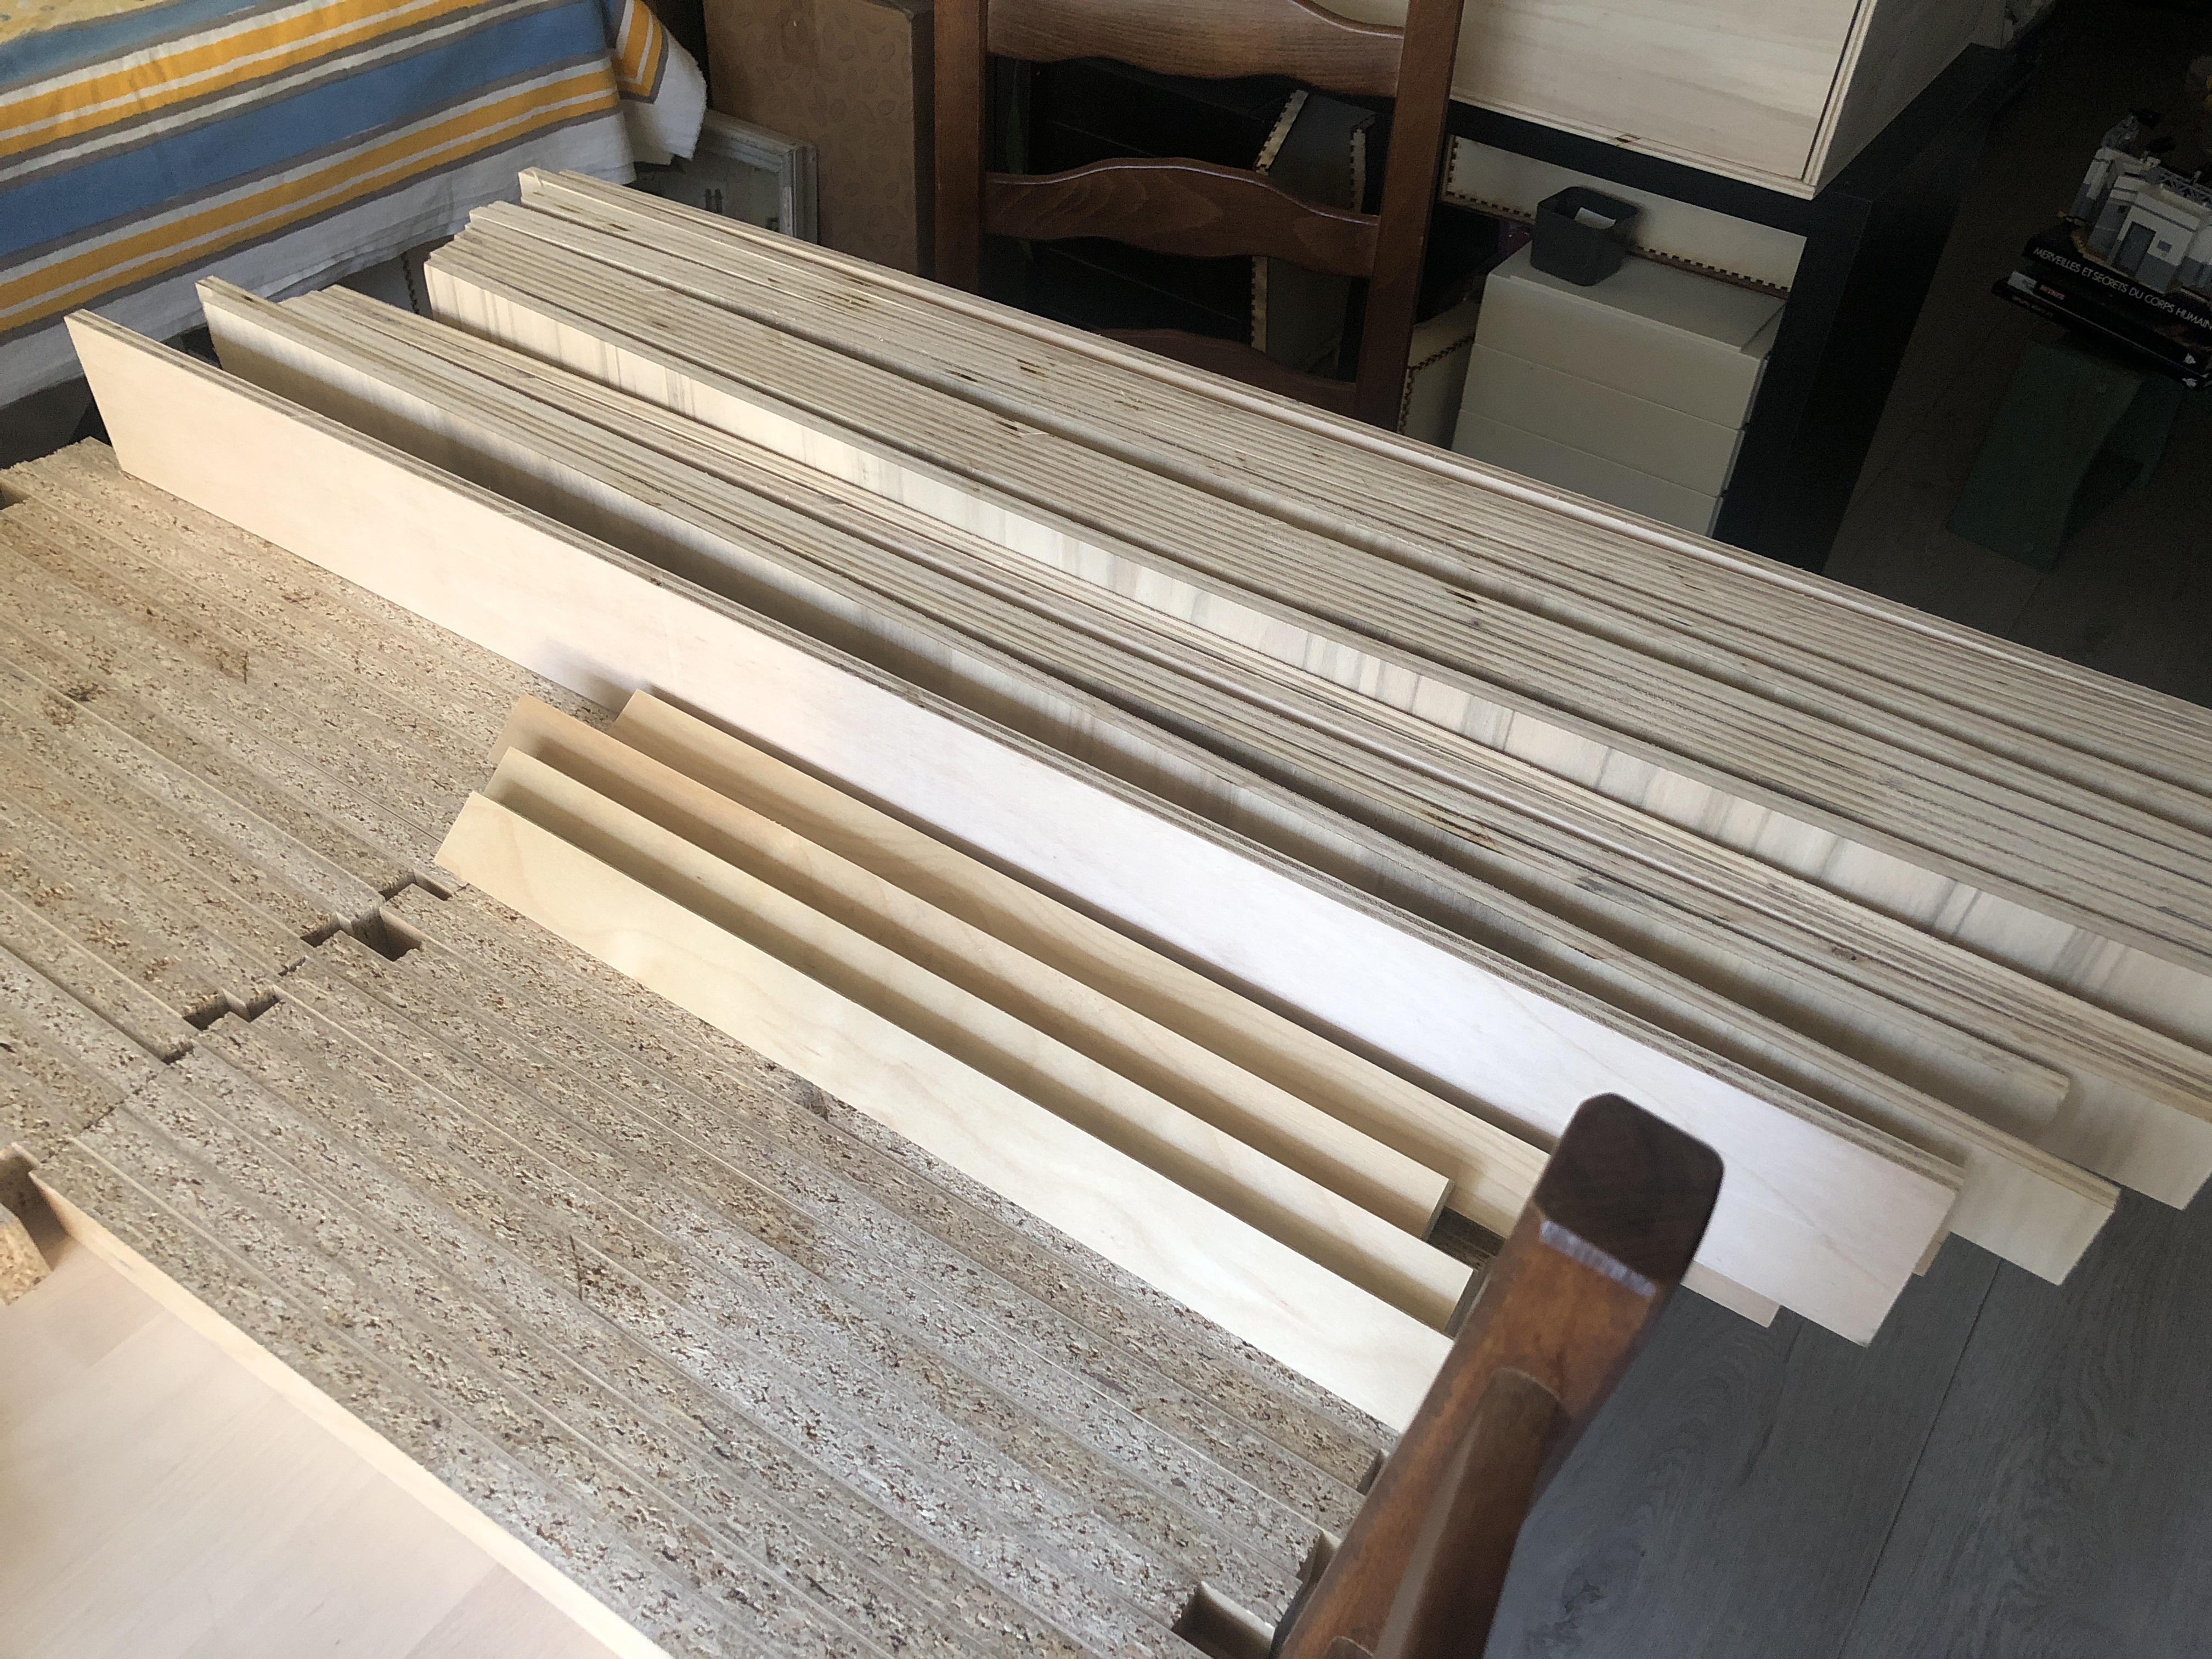
After some experimentation with the slides, I built a first furniture prototype with 10mm poplar plywood. I cut the pieces with a handheld jigsaw but the result was very mediocre. Despite my best efforts nothing was really straight, and the opening/closing of drawers wasn’t smooth and open drawers would collide.
The makerspace that houses the LASER cutter also has a woodworking shop. After completing the necessary training, I undertook a second prototype, this time using the table saw. The result was significantly better.
Real large cabinets
I had a prototype that I really liked and I was now very eager to continue by making larger furniture. I started by making a piece twice as wide based on the same model as the prototype. Apart from the drawer bottoms sagging under the load, it worked well and motivated me to continue.
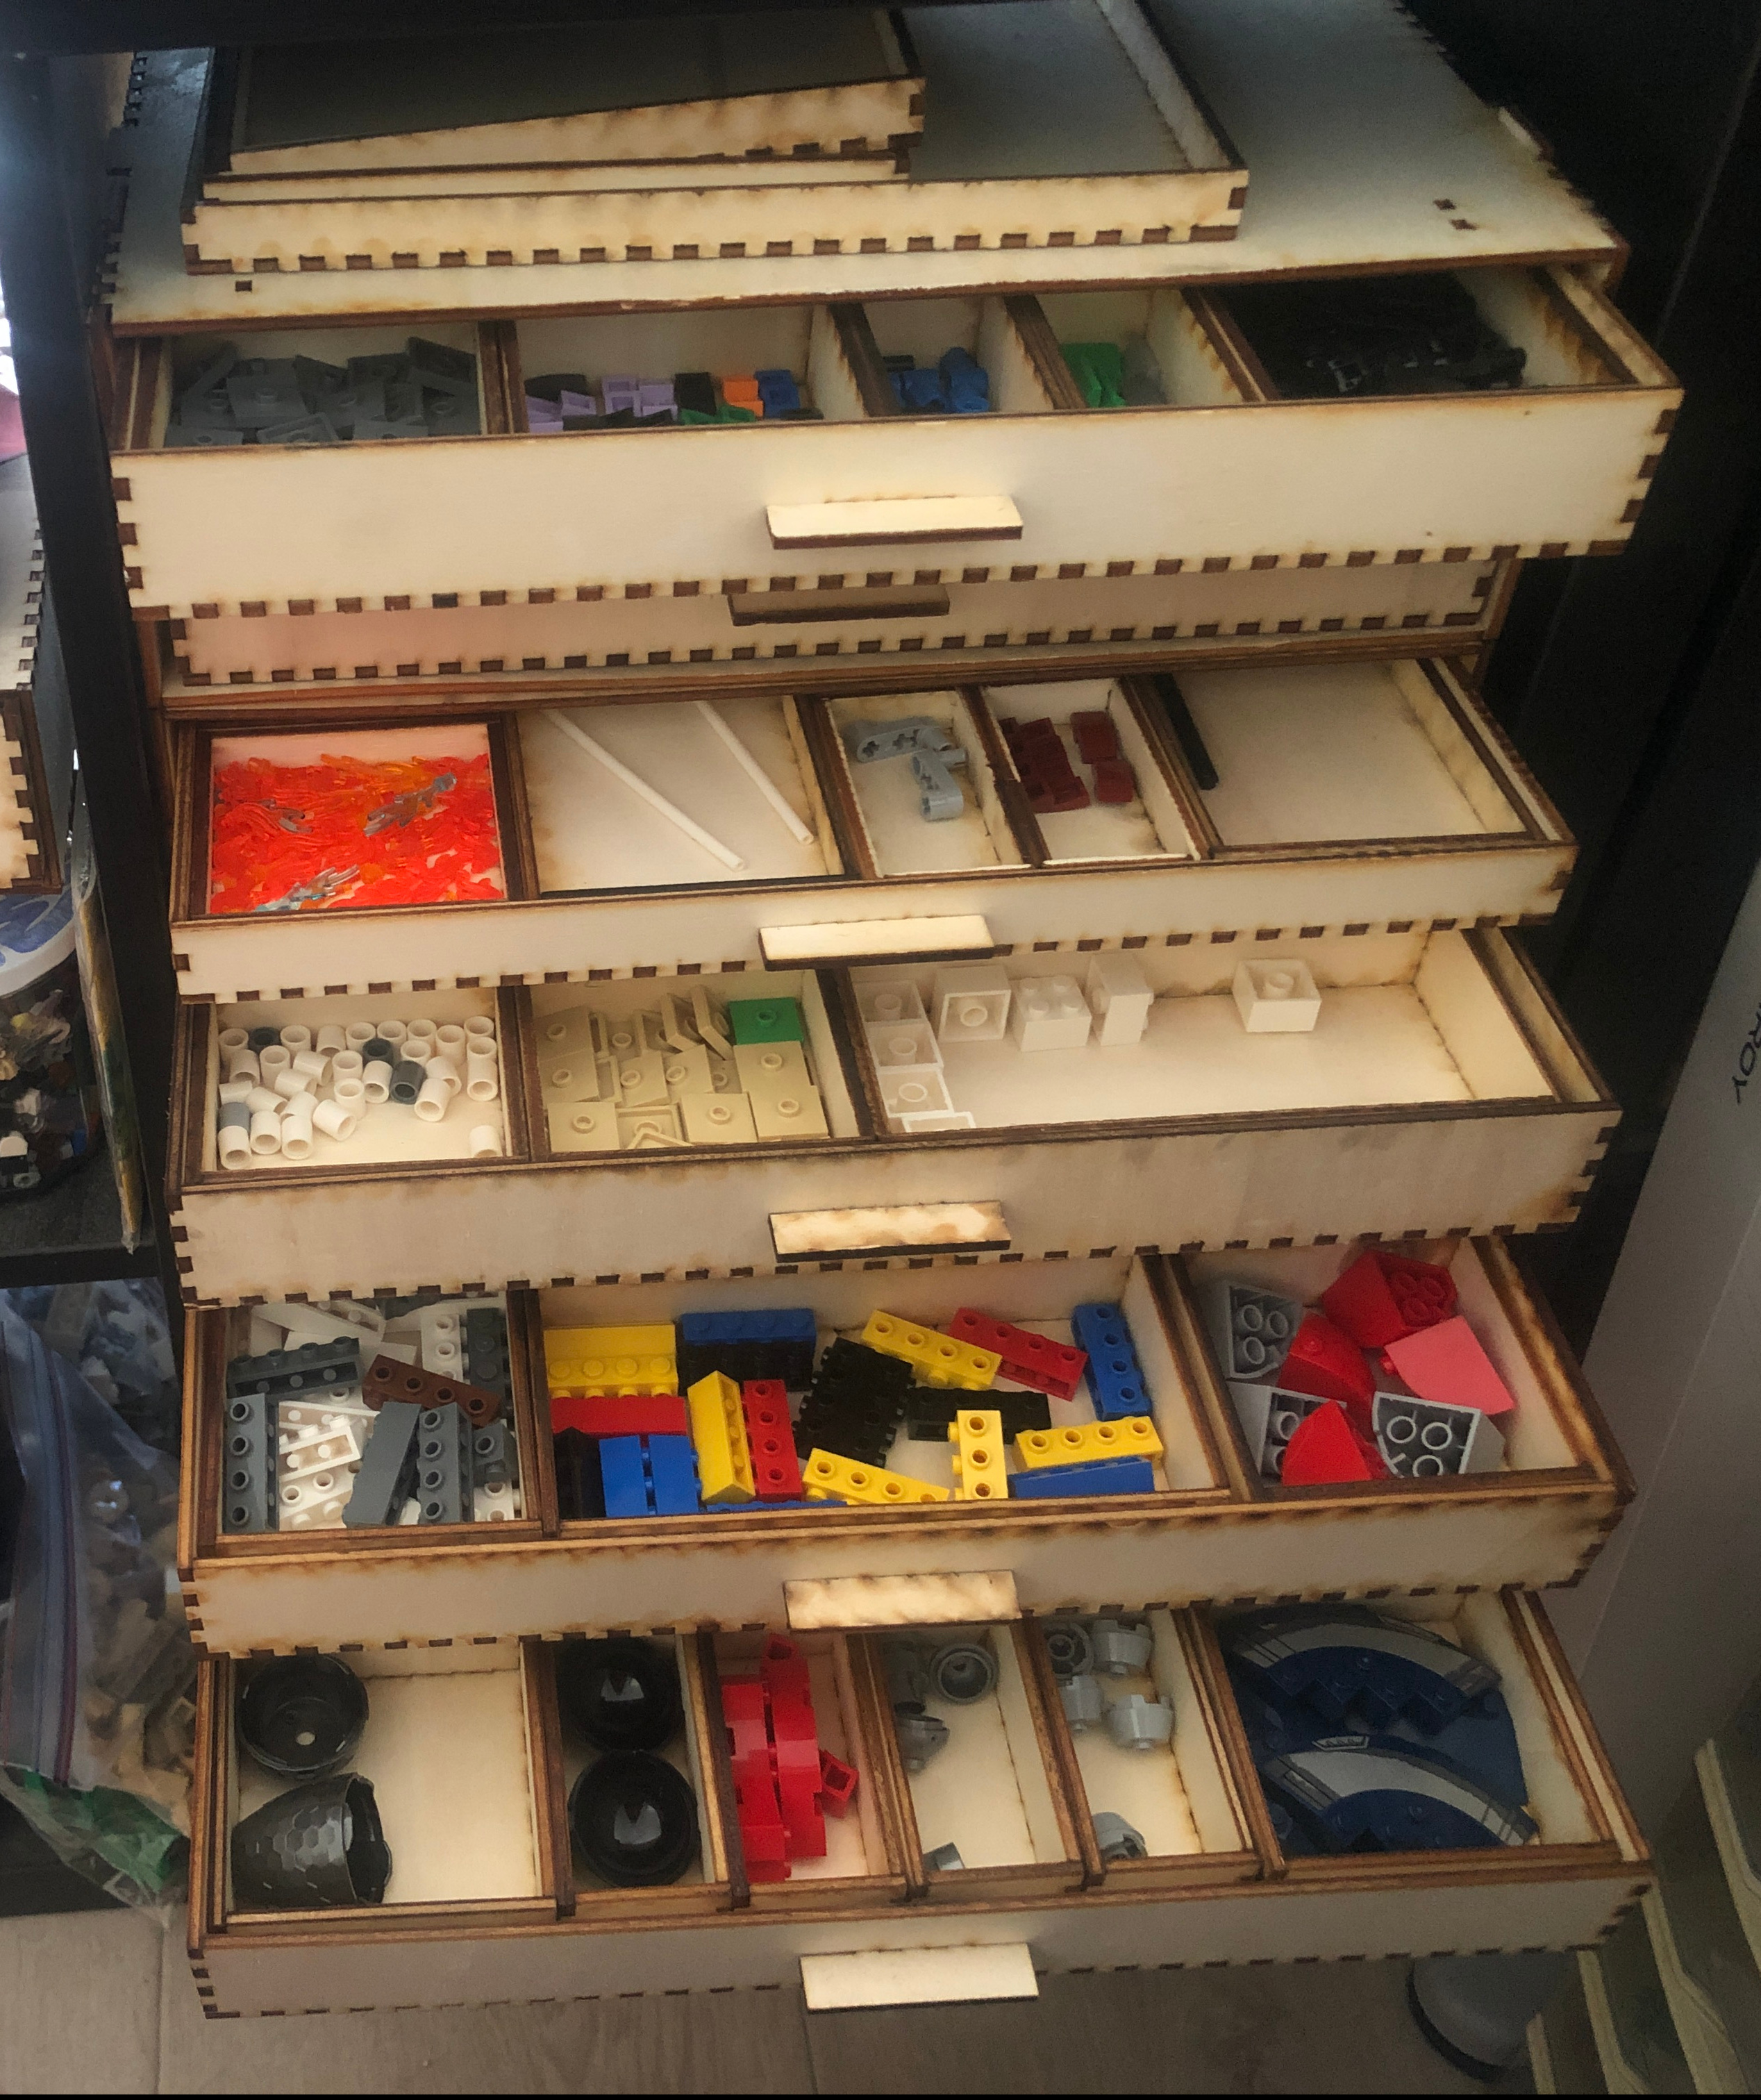
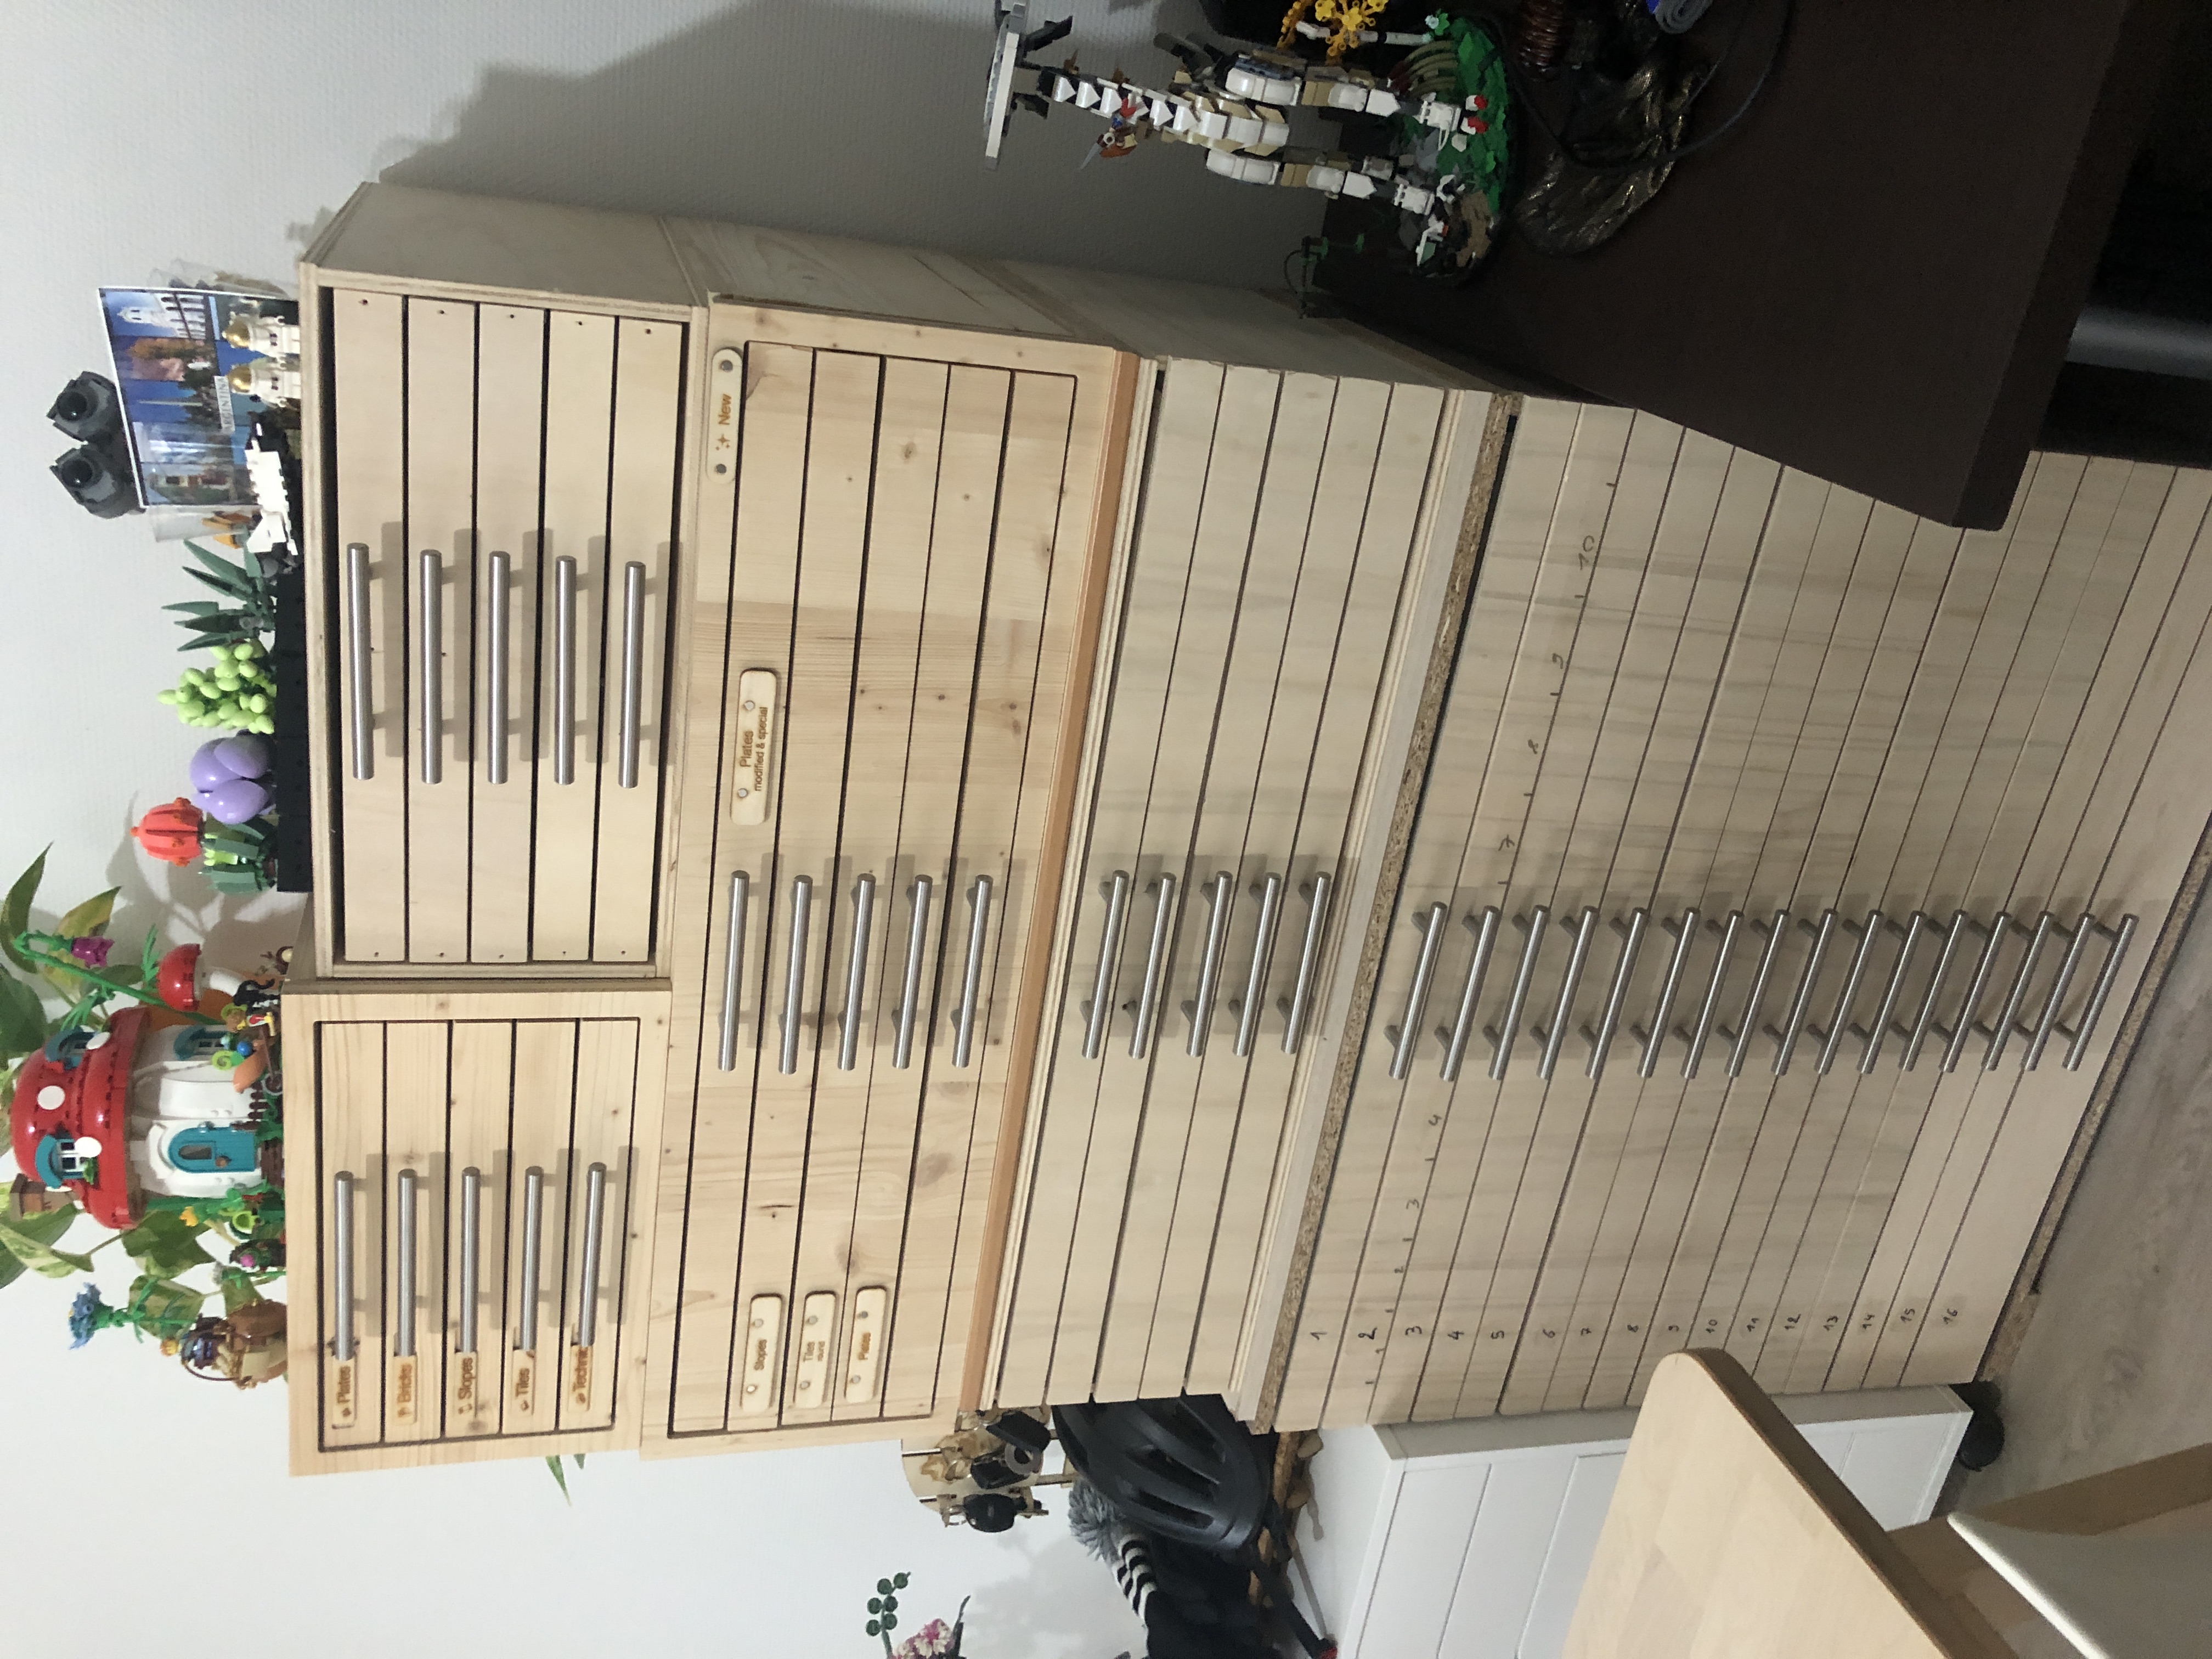
For the next piece of furniture, I went big right away: 15 drawers + 1 double height drawer for bigger pieces. Except for the fronts, everything was made from reclaimed materials. Compared to the previous model, I added a partition that cuts the drawer in two to support the bottom.
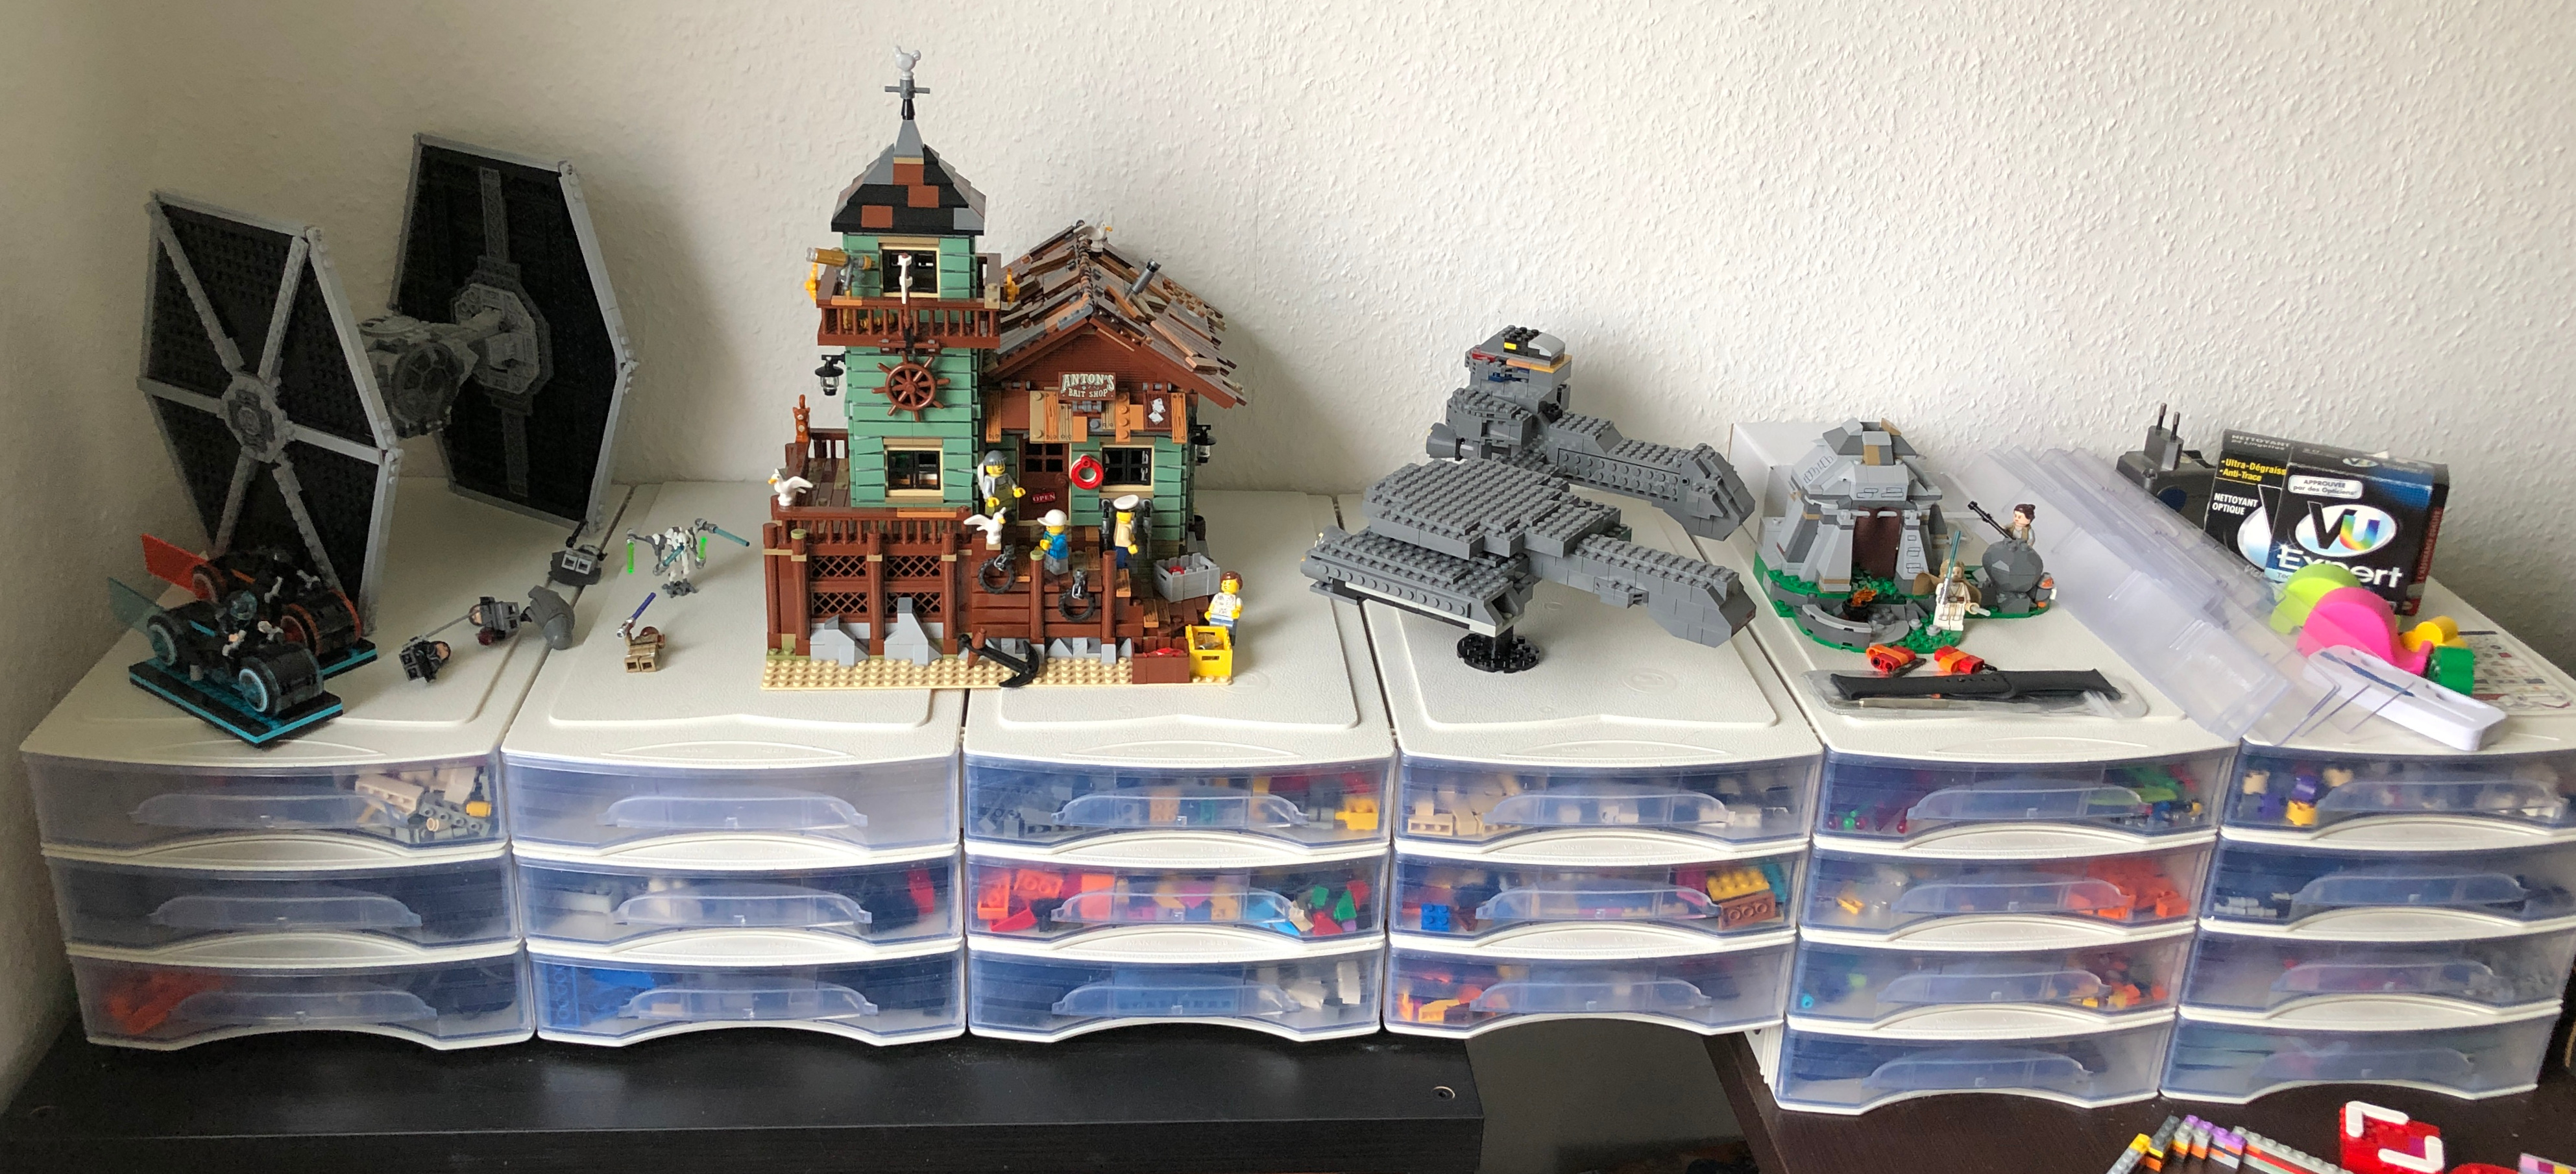
After that I continued experimenting with new techniques and designs. I ended up with a total of 5 pieces of furniture of different capacities and each one with its own identity. The modular box system allows carrying, moving, and arranging compartments in drawers at will. Drawer opening is smooth, effortless, and gives a quality feel that I really like. I was very happy.
Exploring IKEA and 3D printing
I wanted to continue expanding the storage capacity, and I took some time to think about the next thing I wanted to do. For a while I wanted to take the latest design and make a big integrated unit that would basically be an equivalent of the whole set of what I had so far, and maybe add more general compartments and shelves. I even started design work on that idea.
I was envisionning an ever expanding setup that could end up being very large, but building custom furniture out of wood is not cheap and takes time, and I wasn’t sure I wanted to continue on that route. So I started exploring other options. I had seen people use the ALEX cabinets from IKEA for LEGO storage and decided to give it a try. That was also the time I was finally able to acquire a 3D printer, and I was curious to try to make boxes with 3D printing instead of LASER cutting.
I got inspired by the Gridfinity system, which covers the bottom of the drawers with a grid that holds the boxes perfectly aligned even if some are missing. I took the idea but designed my own version of the grid and boxes from scratch. I added vertical tabs to help pick up the boxes in the drawers, which had always been a pain point with the wooden box. To find the size of the boxes I measured the length and width of the ALEX drawers and found that the largest common divider of both was 30mm. So that was the base unit of my modular box system.
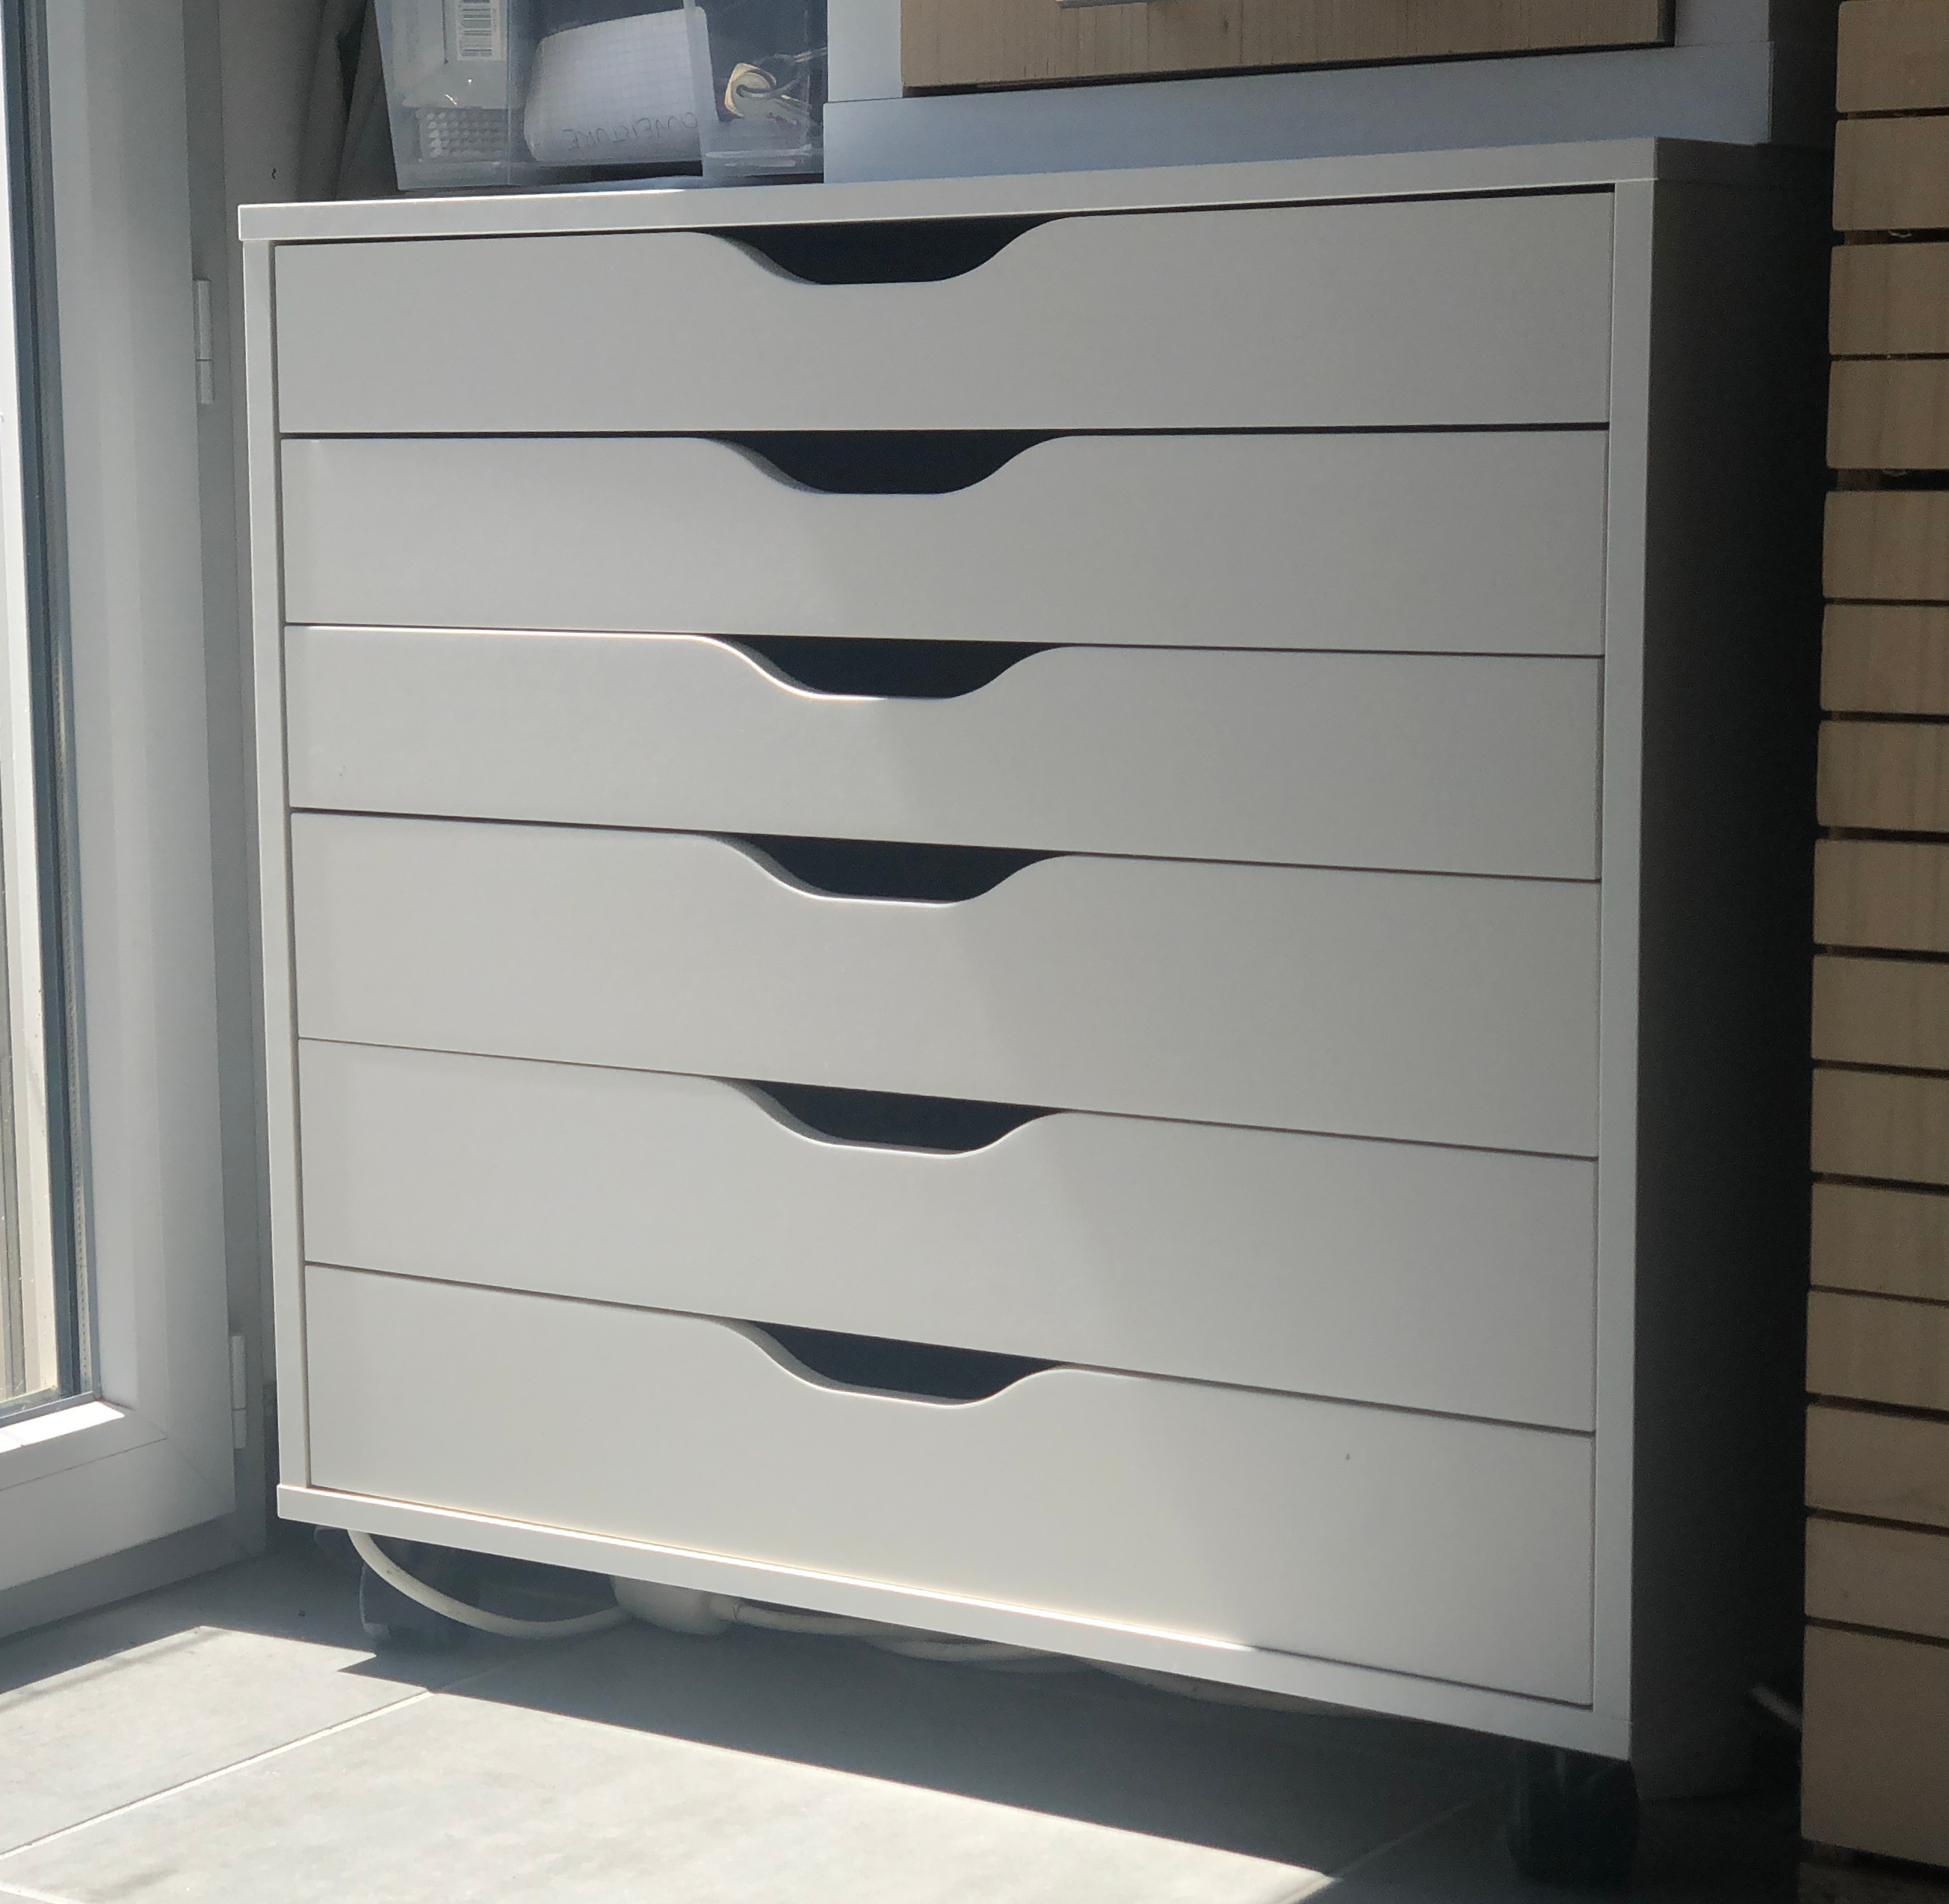
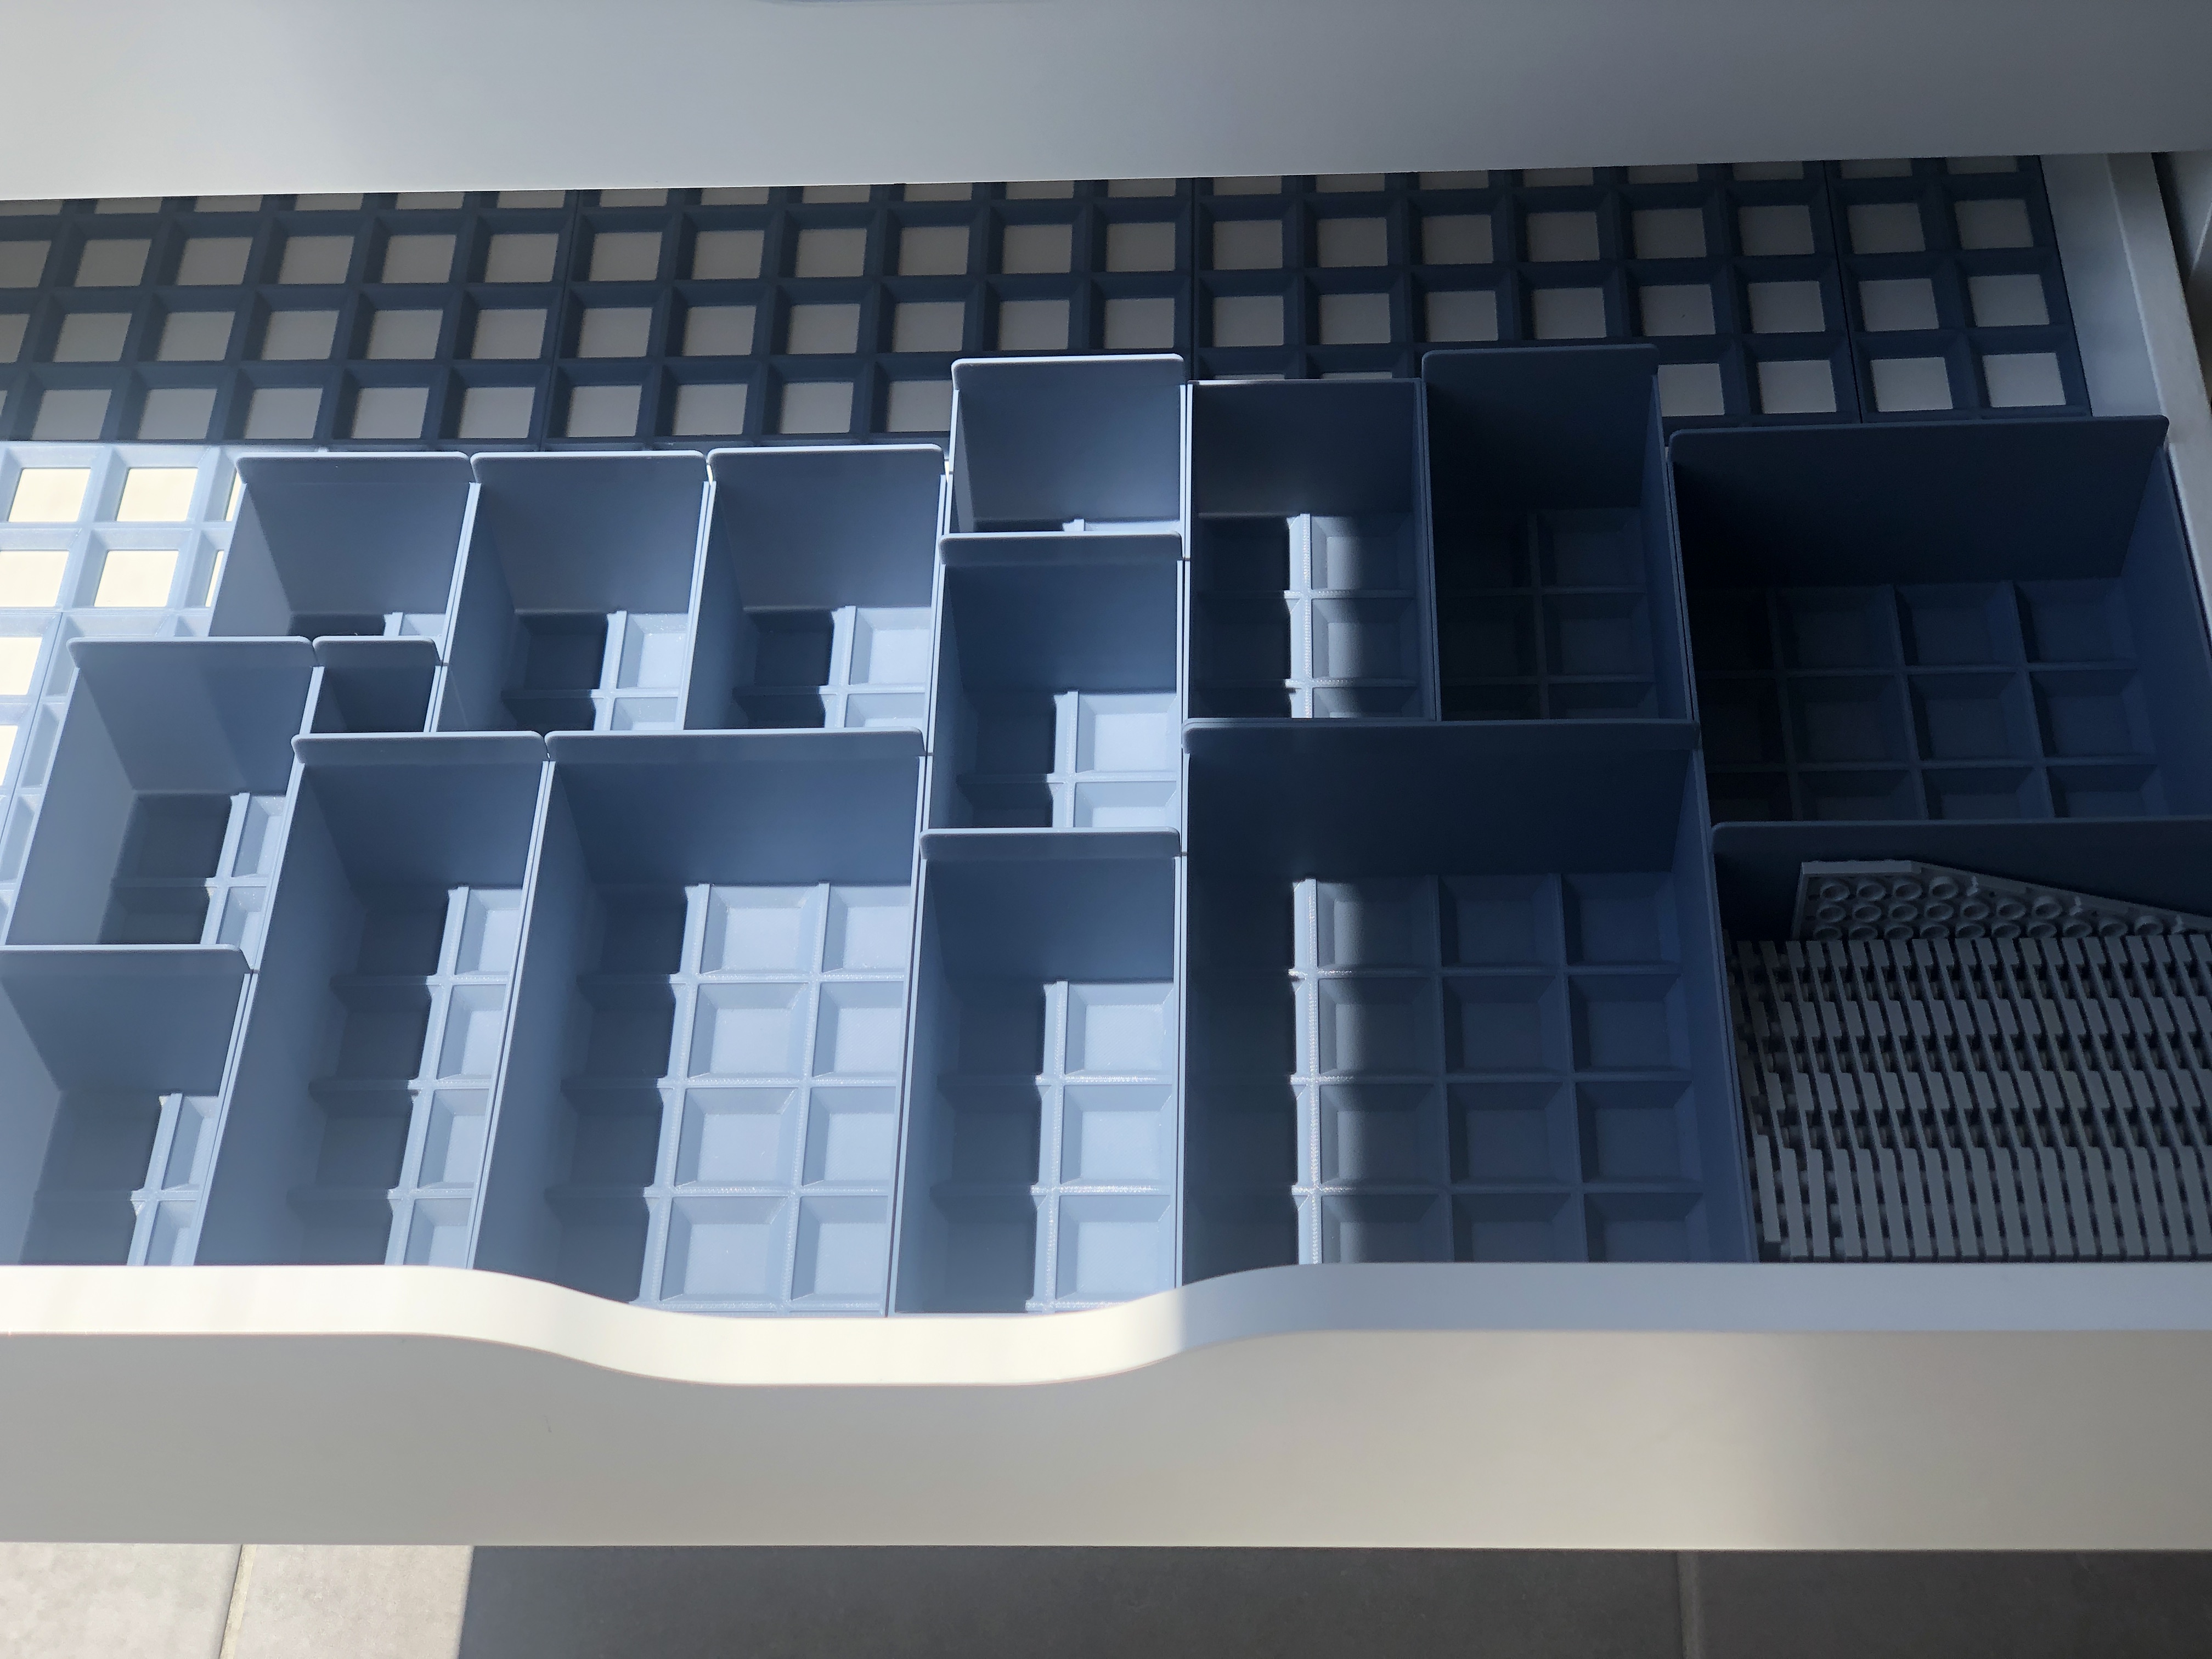
I printed a lot of boxes and grids. The system worked well, but there was a few issues. The ALEX drawers do not come out completly, which leaves a significant portion of the drawer inaccessible from the top. The only practical solution is to use long boxes that extend all the way to the back of the drawer. They can be used to store large pieces of smaller pieces in large quantities, but that is a pretty big constraint. Also, the drawer are quite deep and since I do not have large quantities of each piece it is not very practical. So the ALEX route seemed to be a dead end.
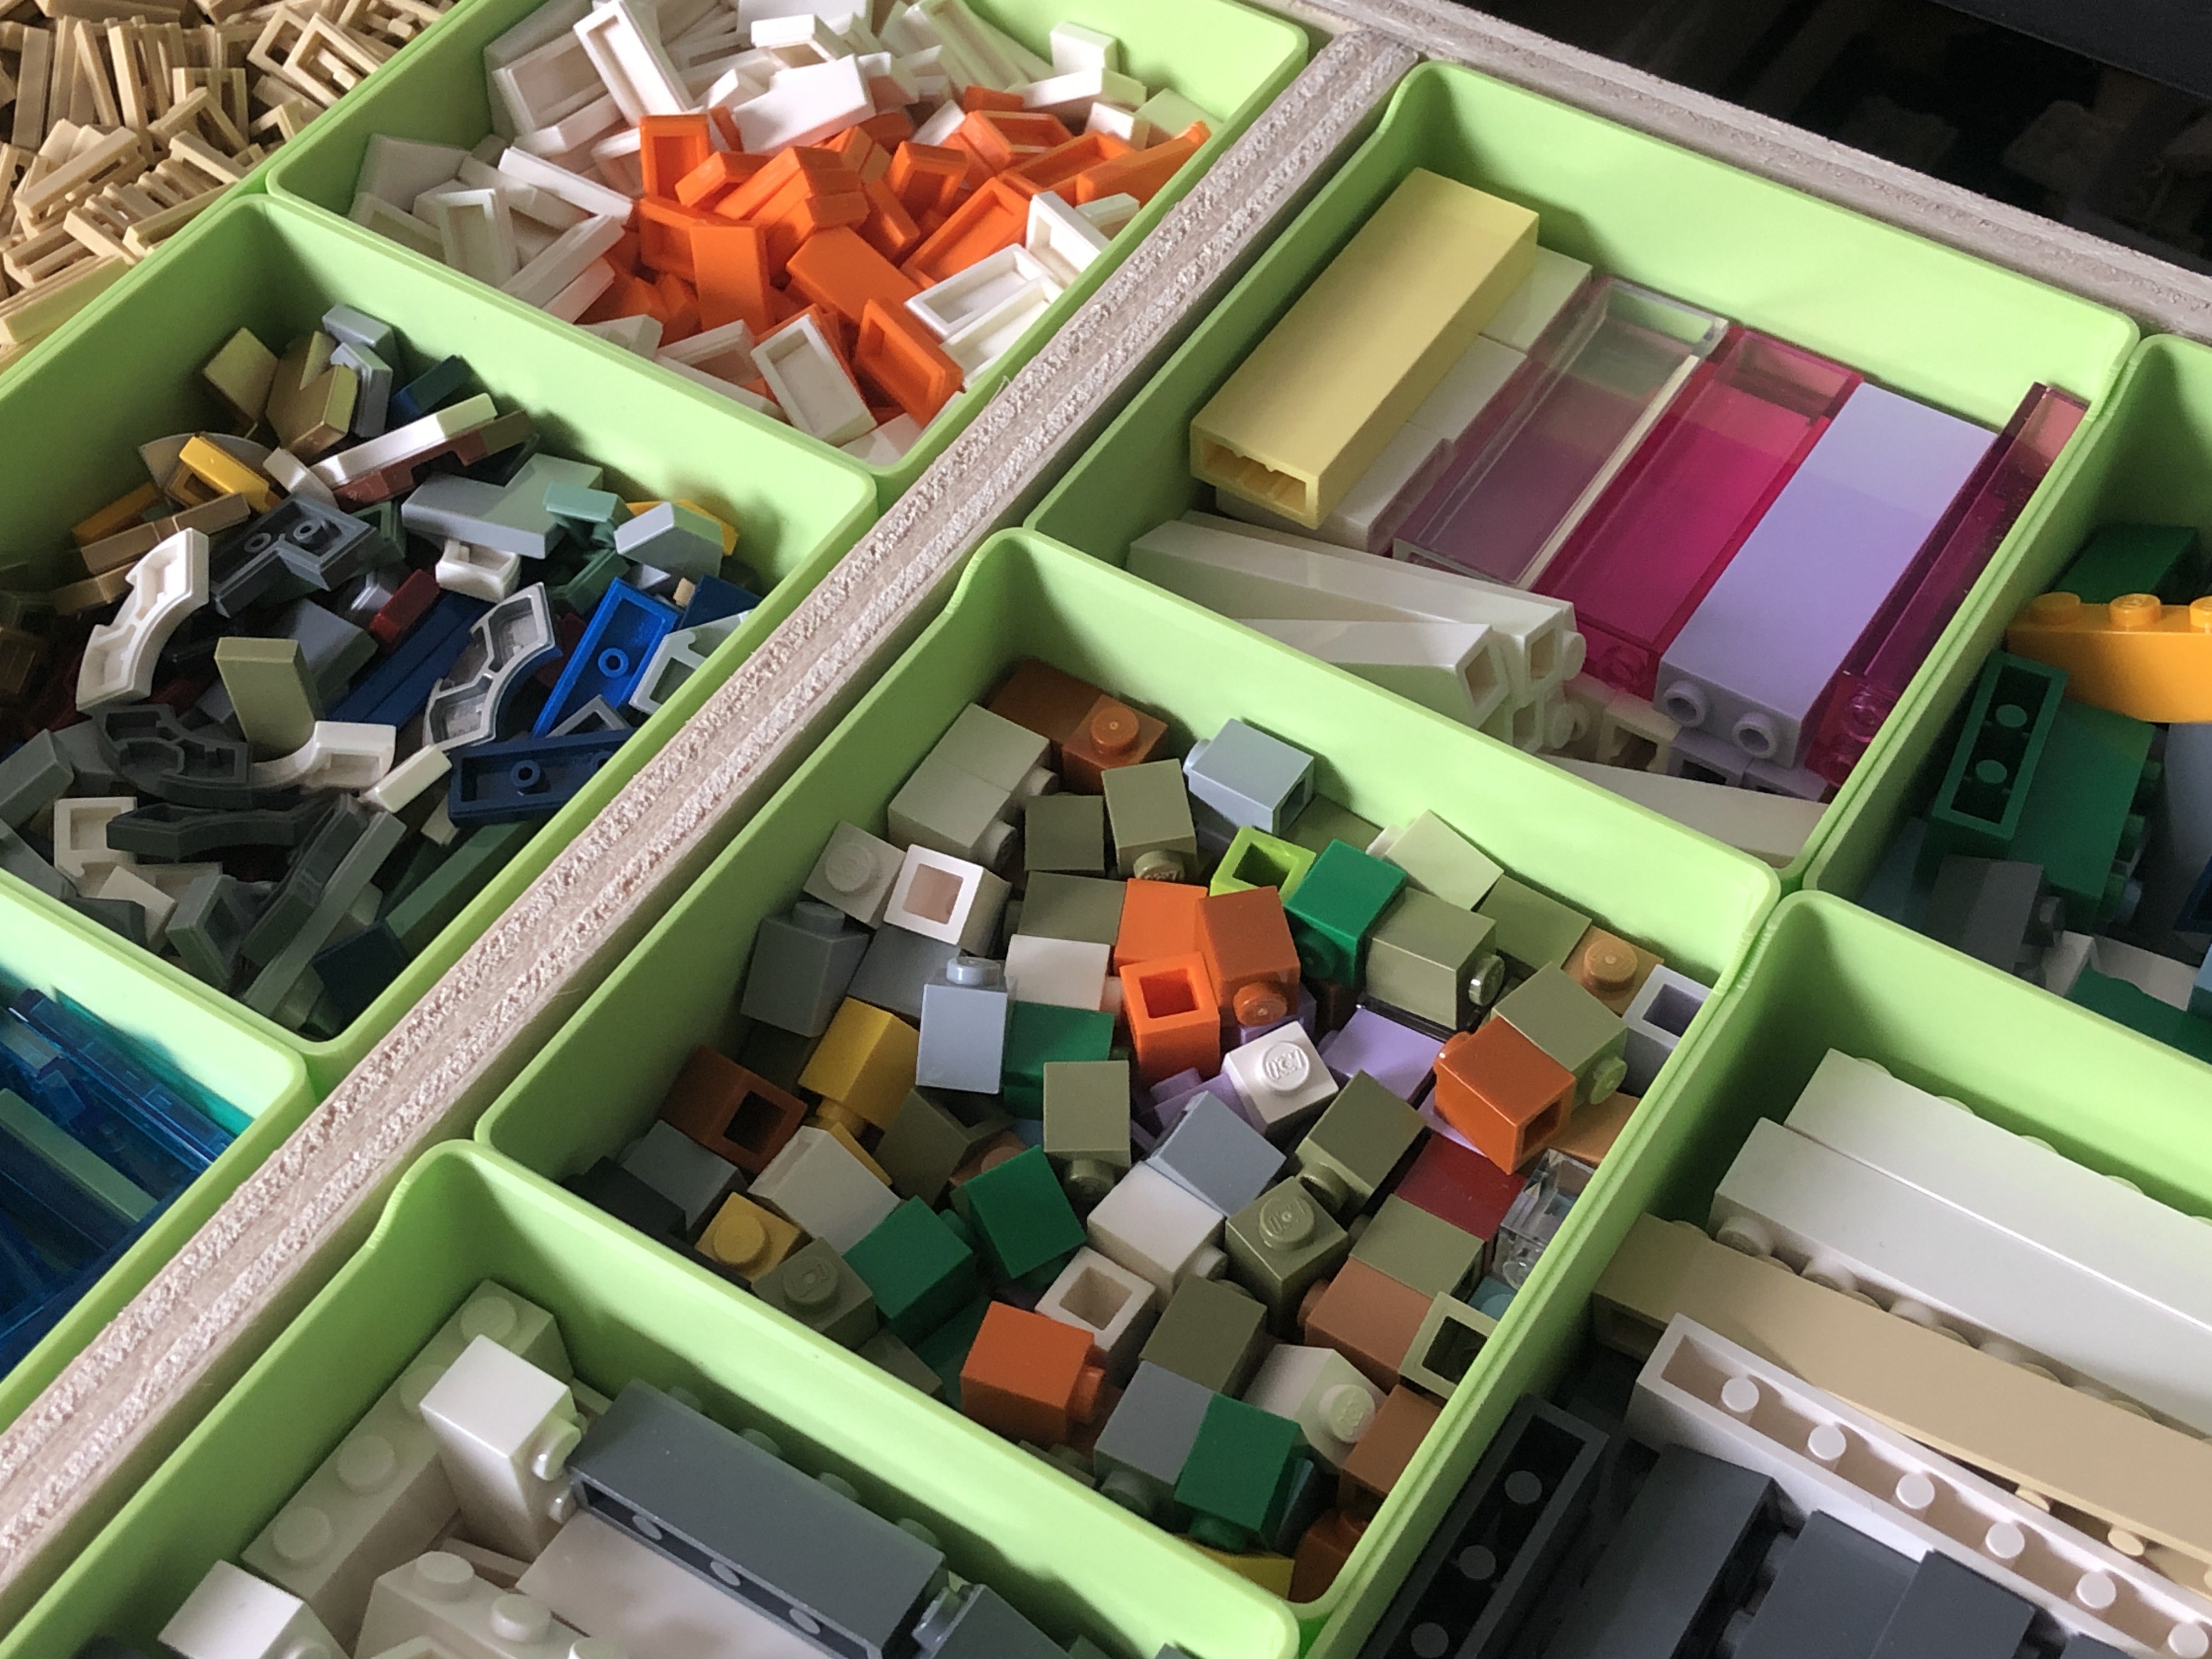
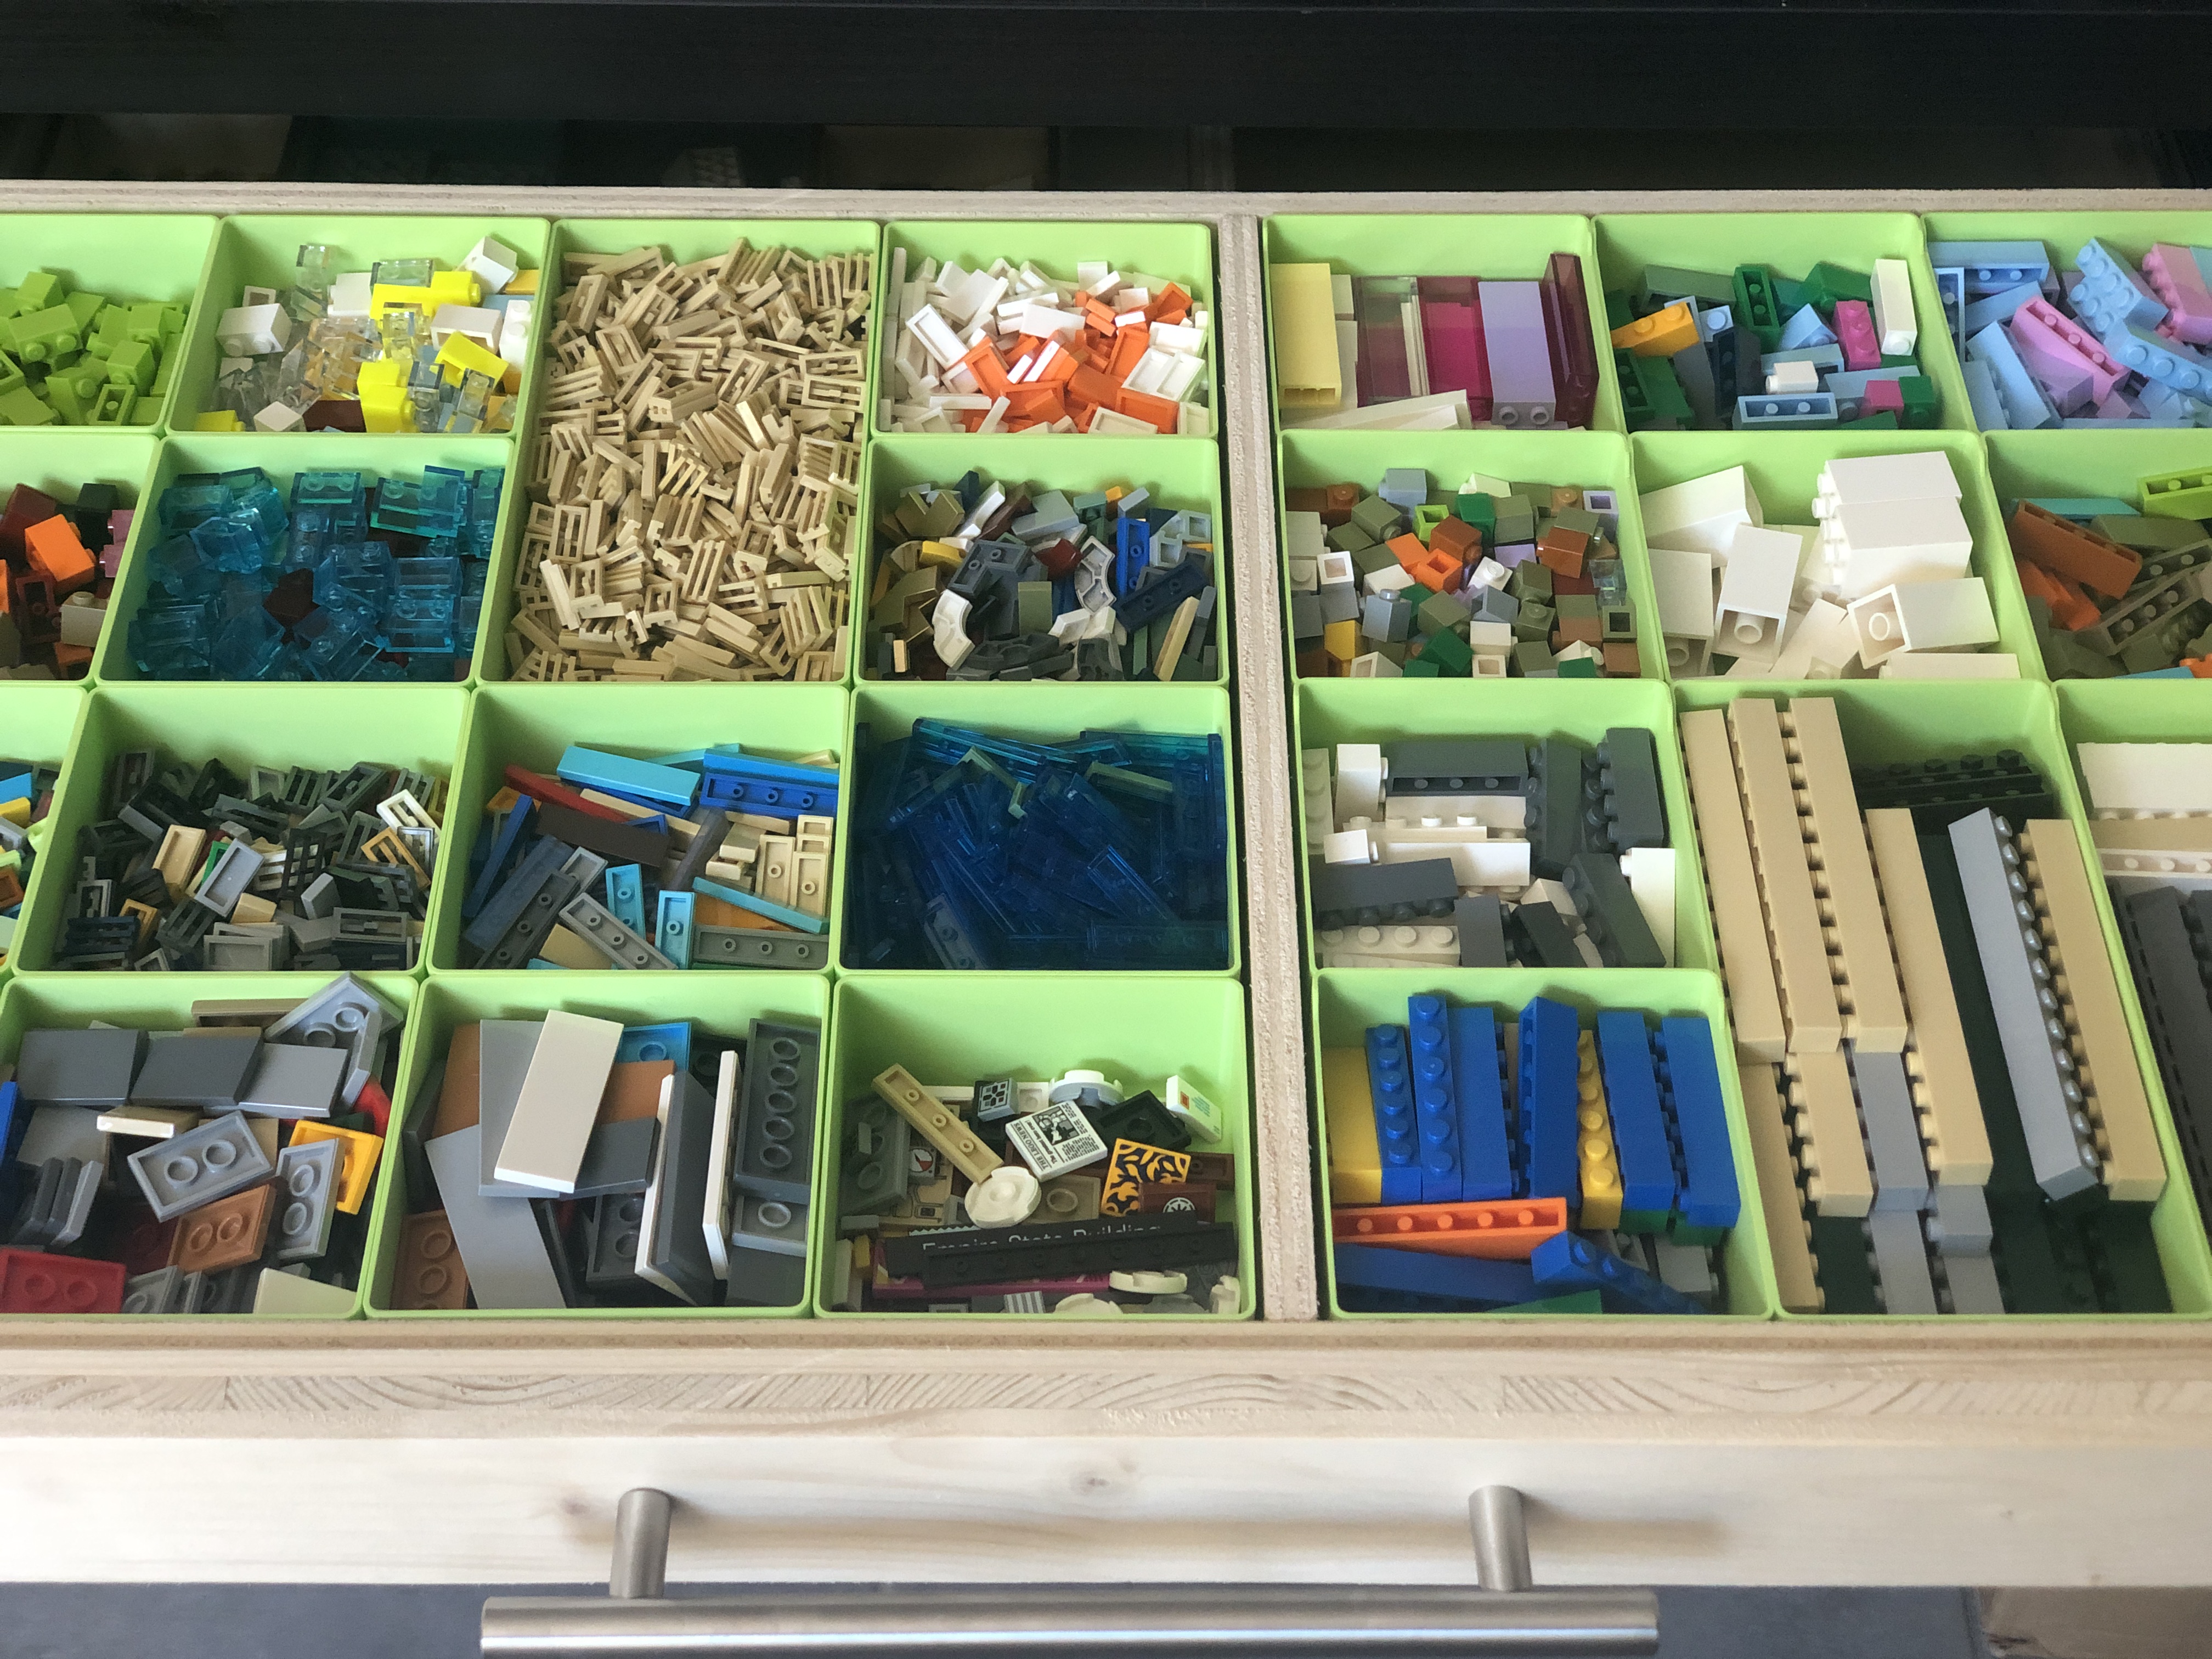
However the 3D printed boxes and grids idea stuck and I started using it in my previously built cabinets. I improved on the design, raising the bottom to have a flat surface, adding rounded edges and experimenting with smaller tab designs (or not tab at all) to fit in the smaller space available. I printed boxes with every color of filament I had on hand, and for a time it was a multicolor mess. But then I found one I felt comfortable scaling and stuck with it: BambuLab Matte Apple Green (11502).
What about KALLAX ?
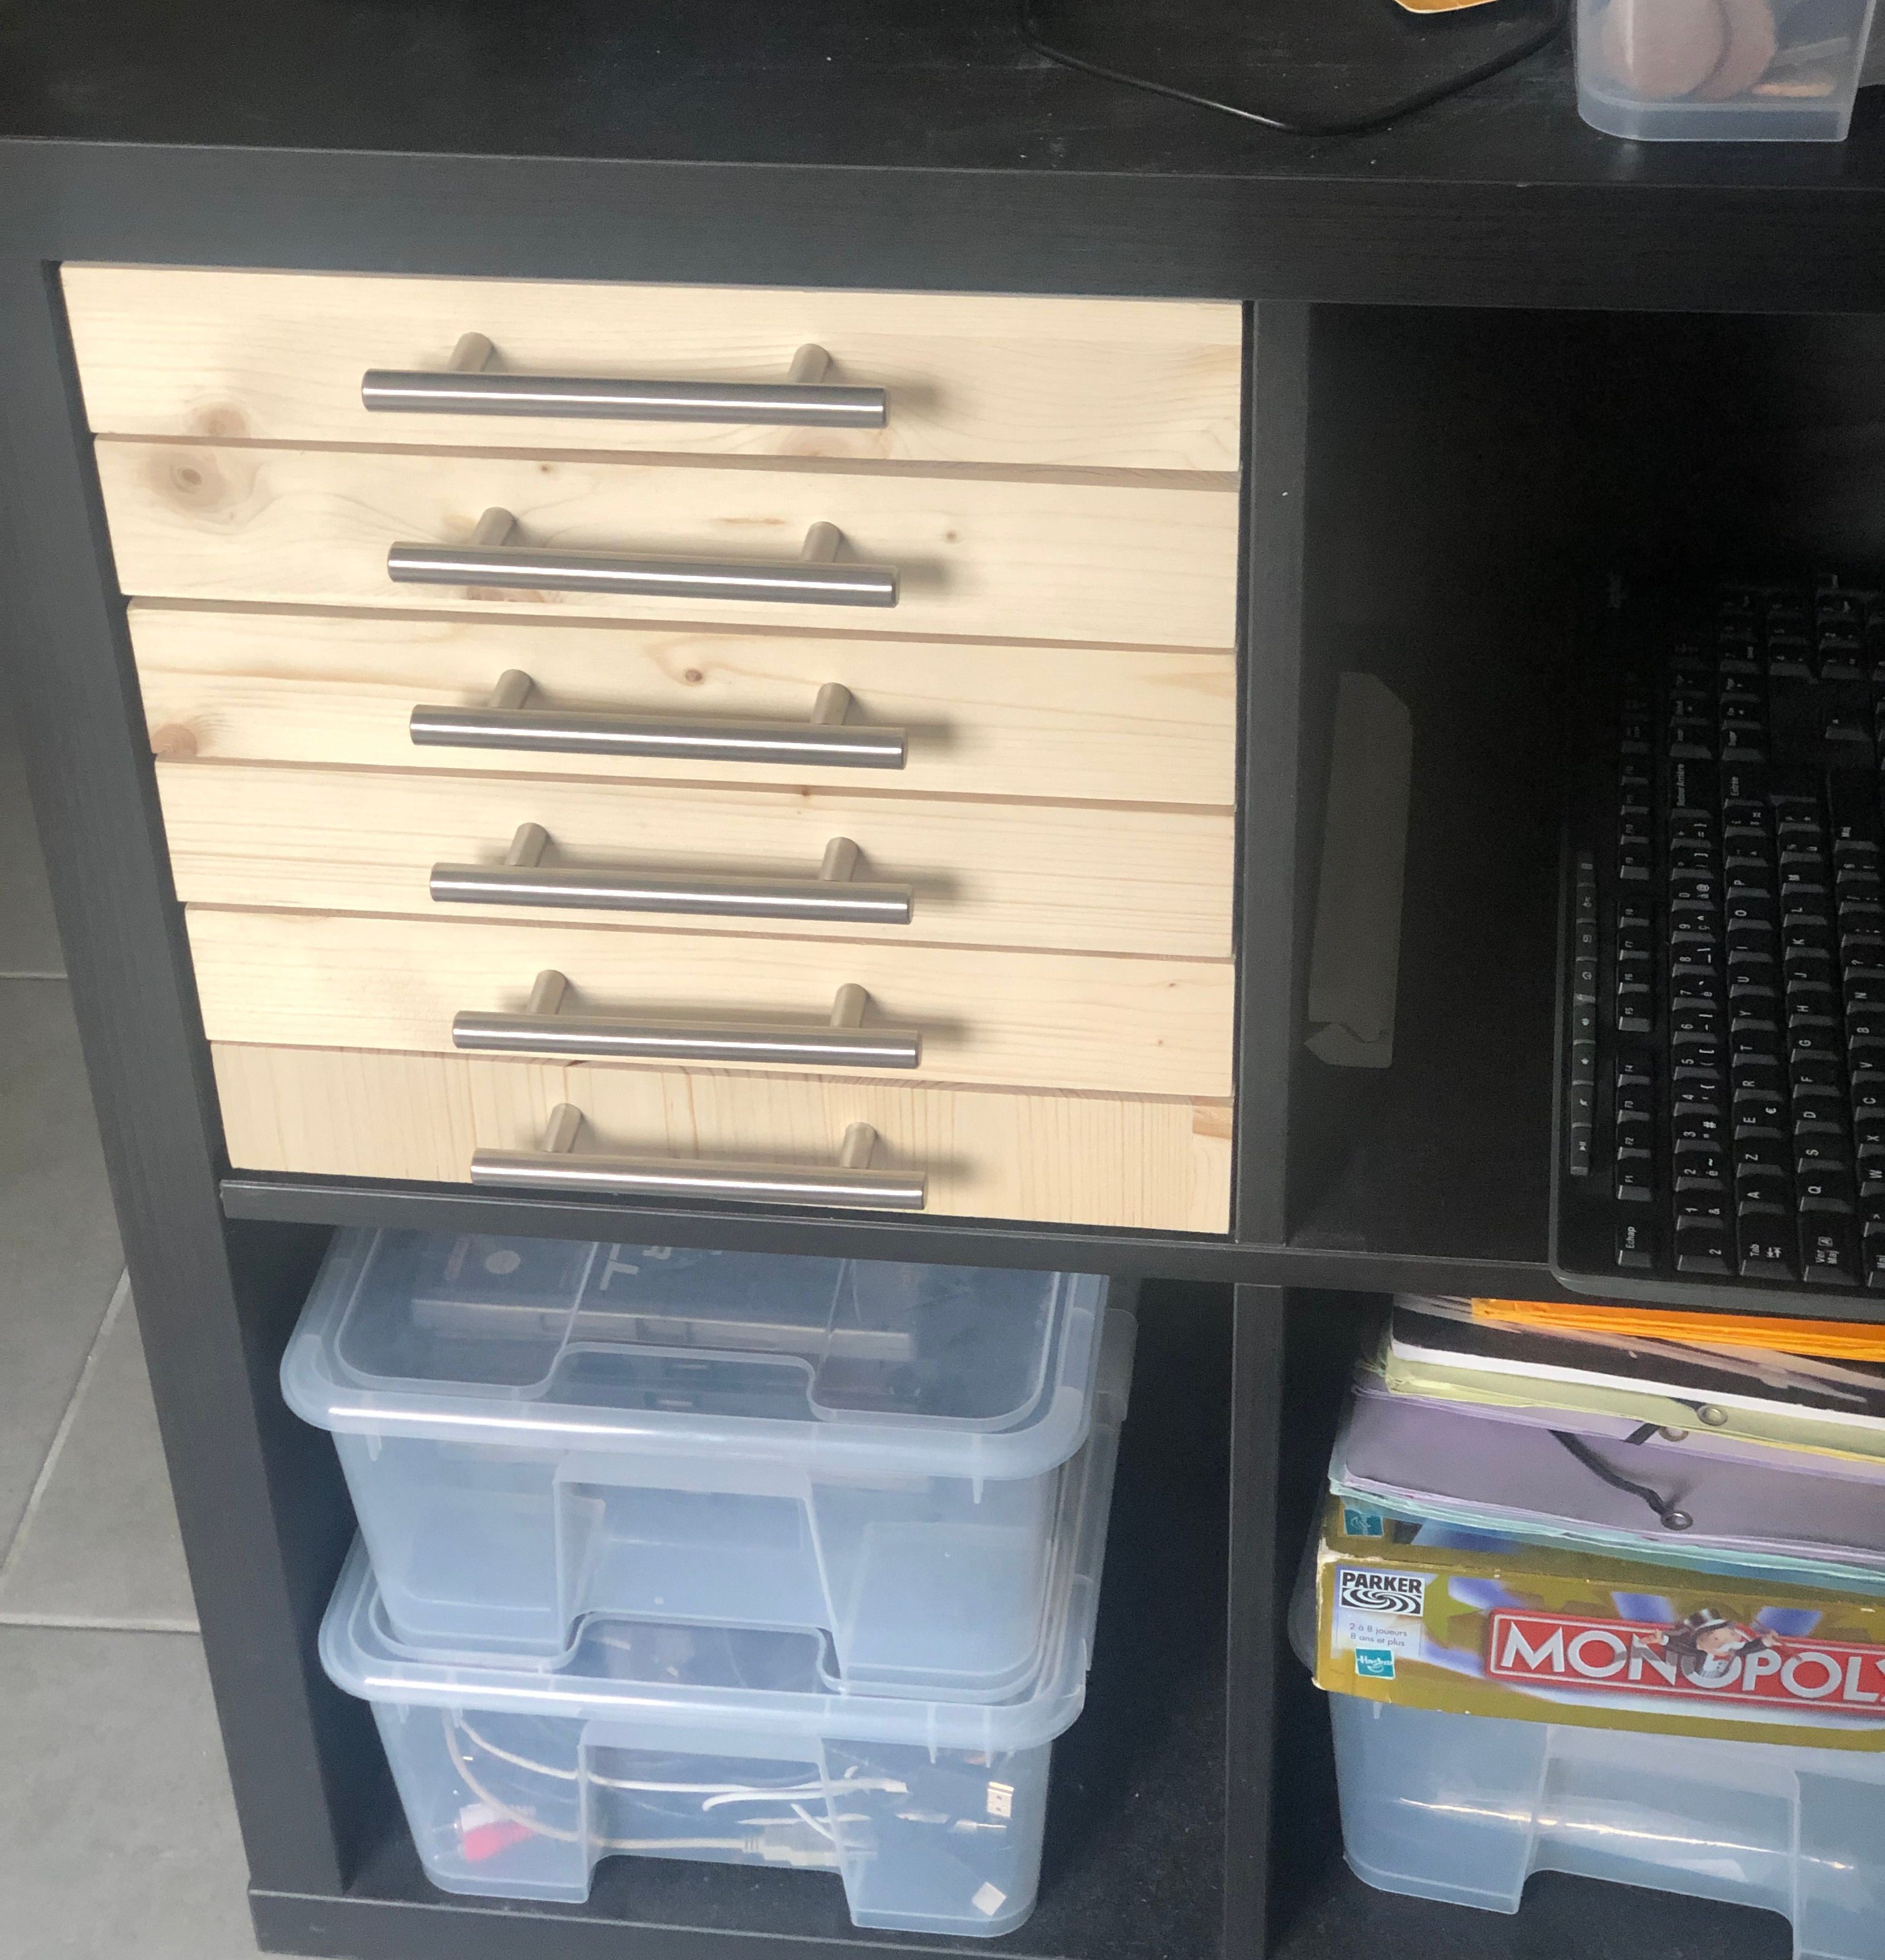
Some time passed, and when I started thinking about extending my storage again, I turned to another IKEA classic: KALLAX, a series that offers modular shelving. The main feature is that all compartments are identical, and a wide variety of accessories are available to be inserted into the compartments to add doors, drawers, additional shelves, etc. The units themselves come in various configurations like 2x2, 4x4, 2x4, 5x5, etc, and can be combined however you like.
My long term goal was to make a storage system that could evolve and adapt to my needs, while looking good and consistent all the way through. I wanted to go for something that was simple to build, flexible and easily scalable. By making modules that can be integrated into KALLAX units instead of standalone cabinets, I wouldn’t have to build the exterior frame, I can configure the ensemble as I want, and I can combine different modules to build a flexible setup. Seemed like a very good solution.
Since one compartment is quite tiny, I envisionned modules that would span two compartments. The design of the KALLAX units makes it easy to remove the separator between two compartments while leaving the other ones untouched.
Again I needed to decide the size of the boxes. I had been completly free to choose the size for the first wooden cabinet and completly constrained by the size of the ALEX drawers, but this time was in between. The drawers and the structure had to fit in the KALLAX width but could be smaller, I had some freedom for the depth, and I could make the boxes as tall as I wanted. After running the numbers I landed on 85mm base width and 45mm height.
I made a one-compartment module to validate the design, and then went on with a two-compartment module.
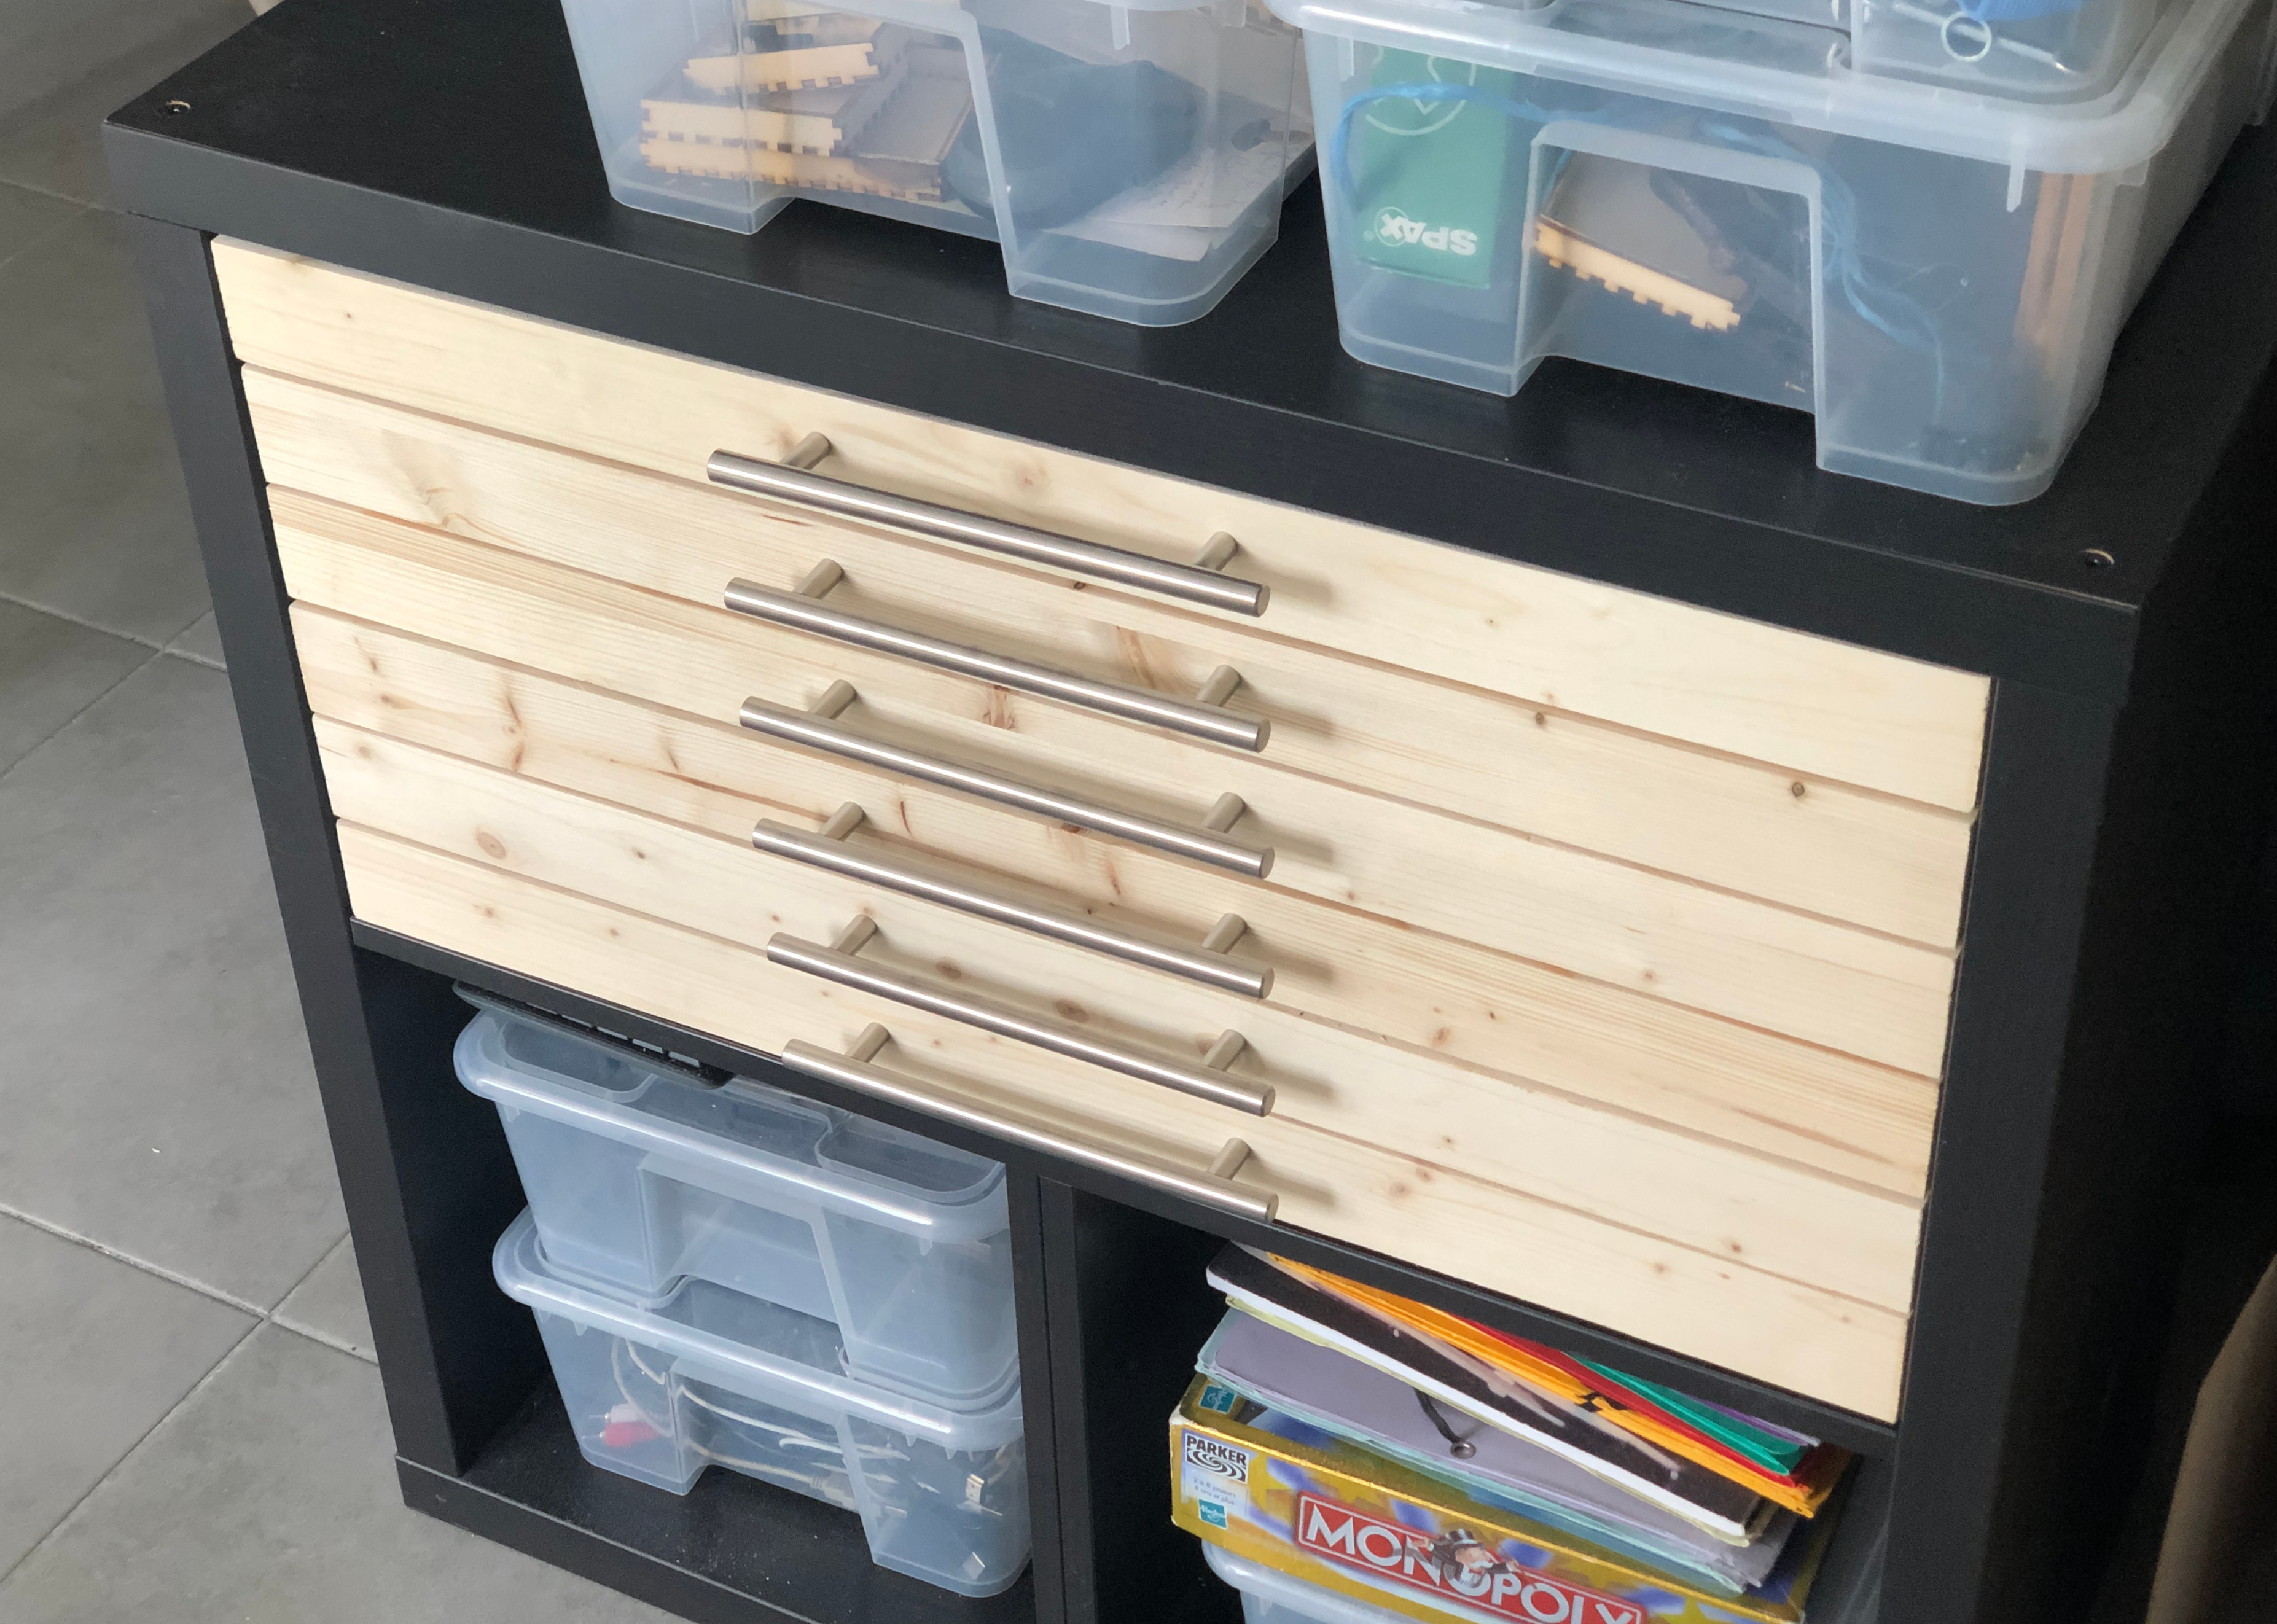
I am currently migrating my LEGO parts to this new system, printing as many boxes as needed, and plan on building more modules like this.
I use generative AI to write and/or translate the content featured on this website. AI serves only as a tool for productivity and inspiration, I make sure that the final texts always reflect my personal voice and style.