Speech Recognition in a SwiftUI App
In a previous article, we explored microphone access in a SwiftUI application on macOS. In this article, we will add speech recognition using the Speech framework.
Checking permissions
As with microphone access, the user must grant our app permission to use speech recognition. The principle is similar to microphone permission, and the possible statuses are: granted, denied/restricted, or undetermined.
Like with the microphone, I start by adding an optional boolean in the controller to reflect the status of speech recognition access permission, display the authorization value in the view, and modify the ready property to account for speech recognition.
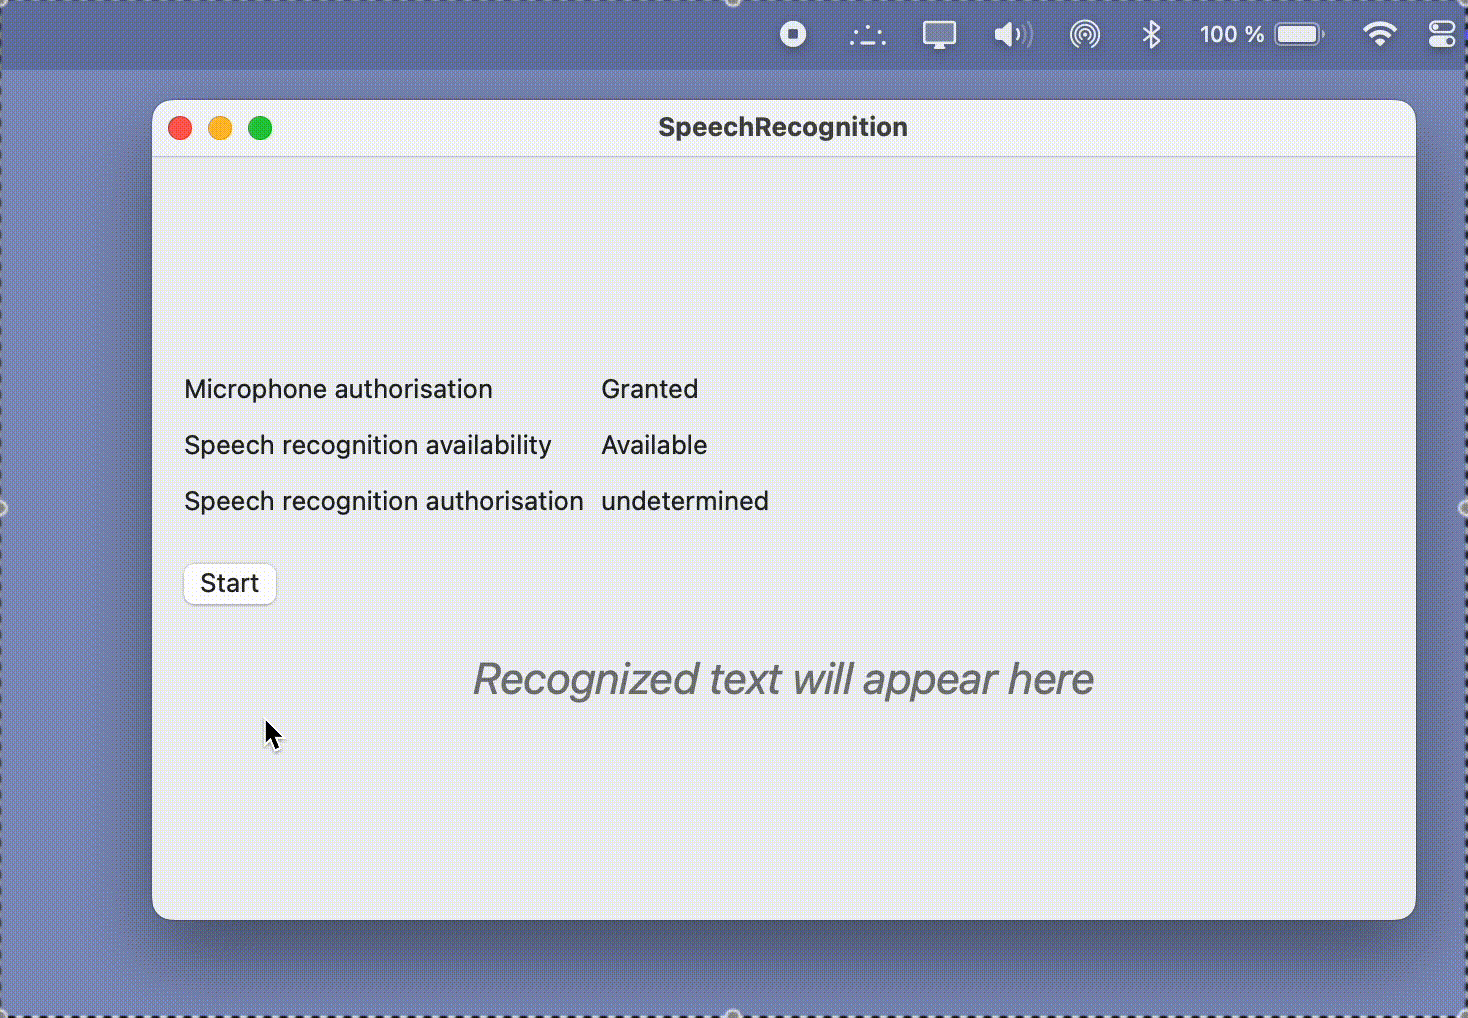
struct SpeechRecognitionRootView: View {
    @State var controller = SpeechRecognitionController()
    var body: some View {
        Grid(alignment: .leading, verticalSpacing: 12) {
            // ...
            GridRow {
                Text("Speech recognition authorization")
                if let authorized = controller.speechRecognitionAuthorized {
                    Text(authorized ? "Granted" : "Denied")
                } else {
                    Text("undetermined")
                }
            }
            HStack {
                // ...
            }
        }
    }
    var ready: Bool {
        // ...
        if let authorized = controller.speechRecognitionAuthorized, authorized == false {
            return false
        }
        // ...
    }
}

@Observable
class SpeechRecognitionController {
    //...
    public var speechRecognitionAuthorized: Bool?
}
The system function that indicates speech recognition authorization is SFSpeechRecognizer.authorizationStatus().
Similar to the microphone, I create a computed property in the controller to encapsulate the system function call, along with a function that updates the observable property based on the raw permission value, and I perform an initial update in the initializer.
import Speech

class SpeechRecognitionController {
    //...
    private var speechRecognitionAuthorizationStatus: SFSpeechRecognizerAuthorizationStatus {
        SFSpeechRecognizer.authorizationStatus()
    }
    private func updateSpeechRecognitionAuthorizationStatus() {
        speechRecognitionAuthorized = {
            switch speechRecognitionAuthorizationStatus {
            case .notDetermined: nil
            case .authorized: true
            default: false
            }
        }()
    }
    override init() {
        //...
        updateSpeechRecognitionAuthorizationStatus()
    }
}
Requesting permission
The system function to request permission is SFSpeechRecognizer.requestAuthorization(:). It returns the authorization value in a closure. Similar to the microphone, I create a function that encapsulates the system function call and returns the authorization value. I use withCheckedContinuation(:) to utilize async/await.
class SpeechRecognitionController {
    //...
    private func requestSpeechRecognitionAuthorization() async -> SFSpeechRecognizerAuthorizationStatus {
        await withCheckedContinuation { continuation in
            SFSpeechRecognizer.requestAuthorization { _ in
                self.updateSpeechRecognitionAuthorizationStatus()
                continuation.resume(returning: self.speechRecognitionAuthorizationStatus)
            }
        }
    }
}
As with the microphone, the requestSpeechRecognitionAuthorization() method can be called systematically to retrieve the authorization state, and the user is prompted only if necessary.
I call this function in start().
class SpeechRecognitionController {
    //...
    public func start() async {
        //...
        let speechRecognitionStatus = await requestSpeechRecognitionAuthorization()
        guard speechRecognitionStatus == .authorized else {
            print("Speech recognition not authorized (\(speechRecognitionStatus))")
            return
        }
    }
}
The following command resets the permission request, which is useful during development.
tccutil reset SpeechRecognition <bundle.id>
Initialization and availability check
Everything is now ready to start speech recognition. The main class is SFSpeechRecognizer. In the controller, I add a property to store an instance of this class. Although the controller can start and stop speech recognition at will, only one instance of SFSpeechRecognizer is needed.
By default, speech recognition recognizes the language configured on the device, but it is possible to specify a specific locale. Here, I force the French language in its France variant.
Speech recognition may not be available on a given device at a certain time, particularly regarding the state of the Internet connection. Real-time availability is provided by the SFSpeechRecognizerDelegate.speechRecognizer(_:availabilityDidChange:) function. I implement this function in the controller and configure the delegate of the SFSpeechRecognizer object. Note that there is also the property SFSpeechRecognizer.isAvailable that allows direct querying of availability.
For an optimal user experience, it is best to adjust the display and behavior of the application based on the availability of speech recognition from the start. If we wait for the user to try accessing related features to check for availability, it may lead to frustration if these features turn out to be unavailable. Thus, I initialize the SFSpeechRecognizer instance in the initializer.
In the view, I display the availability of speech recognition and modify ready to account for this new information. In this case, we only allow access if we are sure the functionality is available.
struct SpeechRecognitionRootView: View {
    @State var controller = SpeechRecognitionController()
    var body: some View {
        Grid(alignment: .leading, verticalSpacing: 12) {
            // ...
            GridRow {
                Text("Speech recognition availability")
                if let available = controller.speechRecognitionAvailable {
                    Text(available ? "Available" : "Unavailable")
                } else {
                    Text("undetermined")
                }
            }
            HStack {
                // ...
            }
        }
    }
    var ready: Bool {
        // ...
        if controller.speechRecognitionAvailable != true {
            return false
        }
        // ...
    }
}

@Observable
class SpeechRecognitionController: NSObject, SFSpeechRecognizerDelegate {
    // ...
    var speechRecognizer: SFSpeechRecognizer!
    var speechRecognitionAvailable: Bool?
    // ...
    override init() {
        super.init()
        // ...
        // init speech recognizer with forced locale
        let locale = Locale(identifier: "fr_FR")
        guard let recognizer = SFSpeechRecognizer(locale: locale) else { fatalError("Unable to create a SFSpeechRecognizer object with locale \(locale)") }
        speechRecognizer = recognizer
        speechRecognizer.delegate = self
        print("Speech recognition ready, using locale \(locale)")
    }
    func speechRecognizer(_ speechRecognizer: SFSpeechRecognizer, availabilityDidChange available: Bool) {
        self.speechRecognitionAvailable = available
    }
}
Starting recognition and processing results
We can now start speech recognition when the user clicks Start. I begin by creating startRecognition() and stopRecognition() functions, which I call respectively in start() and stop().
class SpeechRecognitionController {
    // ...
    public func start() async {
        // ... (check permissions)
        // ... (start audio)

        startRecognition()
        print("Recognition active")

        listening = true
    }

    public func stop() {
        stopRecognition()
        stopAudio()
        listening = false
    }

    private func startRecognition() {
        // TODO
    }

    private func stopRecognition() {
        // TODO
    }
}
For a recognition session, we need an instance of SFSpeechAudioBufferRecognitionRequest and SFSpeechRecognitionTask. I add two corresponding properties in the controller.
class SpeechRecognitionController {
    // ...
    private var recognitionRequest: SFSpeechAudioBufferRecognitionRequest!
    private var recognitionTask: SFSpeechRecognitionTask!
    // ...
}
We start by initializing a request. Next, we need to feed the request with audio data from the microphone. For this, we use the “tap” set up previously. Finally, we launch a speech recognition task from the request. The results are sent to a closure as the person speaks, and result.bestTranscription contains the transcription of the spoken words.
class SpeechRecognitionController {
    // ...
    private func startRecognition() {
        recognitionRequest = SFSpeechAudioBufferRecognitionRequest()

        let recordingFormat = inputNode.outputFormat(forBus: 0)
        inputNode.installTap(onBus: 0, bufferSize: 1024, format: recordingFormat) { (buffer, time) in
            self.recognitionRequest.append(buffer)
        }

        recognitionTask = speechRecognizer.recognitionTask(with: recognitionRequest) { result, error in
            if let error = error {
                print("Recognition error: \(error)")
            } else if let result = result {
                self.recognizedText = result.bestTranscription.formattedString
            }
        }
    }
}
To stop recognition, we can call recognitionTask.finish() and recognitionRequest.endAudio(), and remove the tap.
class SpeechRecognitionController {
    // ...
    private func stopRecognition() {

        recognitionRequest?.endAudio()
        recognitionRequest = nil

        recognitionTask?.finish()
        recognitionTask = nil

        inputNode.removeTap(onBus: 0)
    }
}
And there, everything is working.