Jun 13th, 2026
Adding MagSafe magnets to an iPhone X with a 3D-printed case
Introduction
In 2026, my iPhone X is starting to show its age. I’ve never used cases on my phones, and the iPhones I’ve owned in the past have always survived the occasional drop despite my best efforts to be careful. The most recent drop cracked the back glass of my iPhone X, and I’m no longer quite as comfortable leaving it unprotected. Since I own a 3D printer, I became interested in making my own cases.
I found a model online, made a few modifications, and customized it to my liking. I’m quite happy with the result. It almost feels like having a new phone. I’ve also experimented with different colors and I like being able to change styles.
Recently, the Lightning port on my iPhone X stopped working. Fortunately, this iPhone model supports wireless charging (in fact, it is the first model to support it), which is now the only way I can recharge the battery. I was already charging it wirelessly at home most of the time, but I still relied on the Lightning port when traveling or in the car. That’s no longer possible.
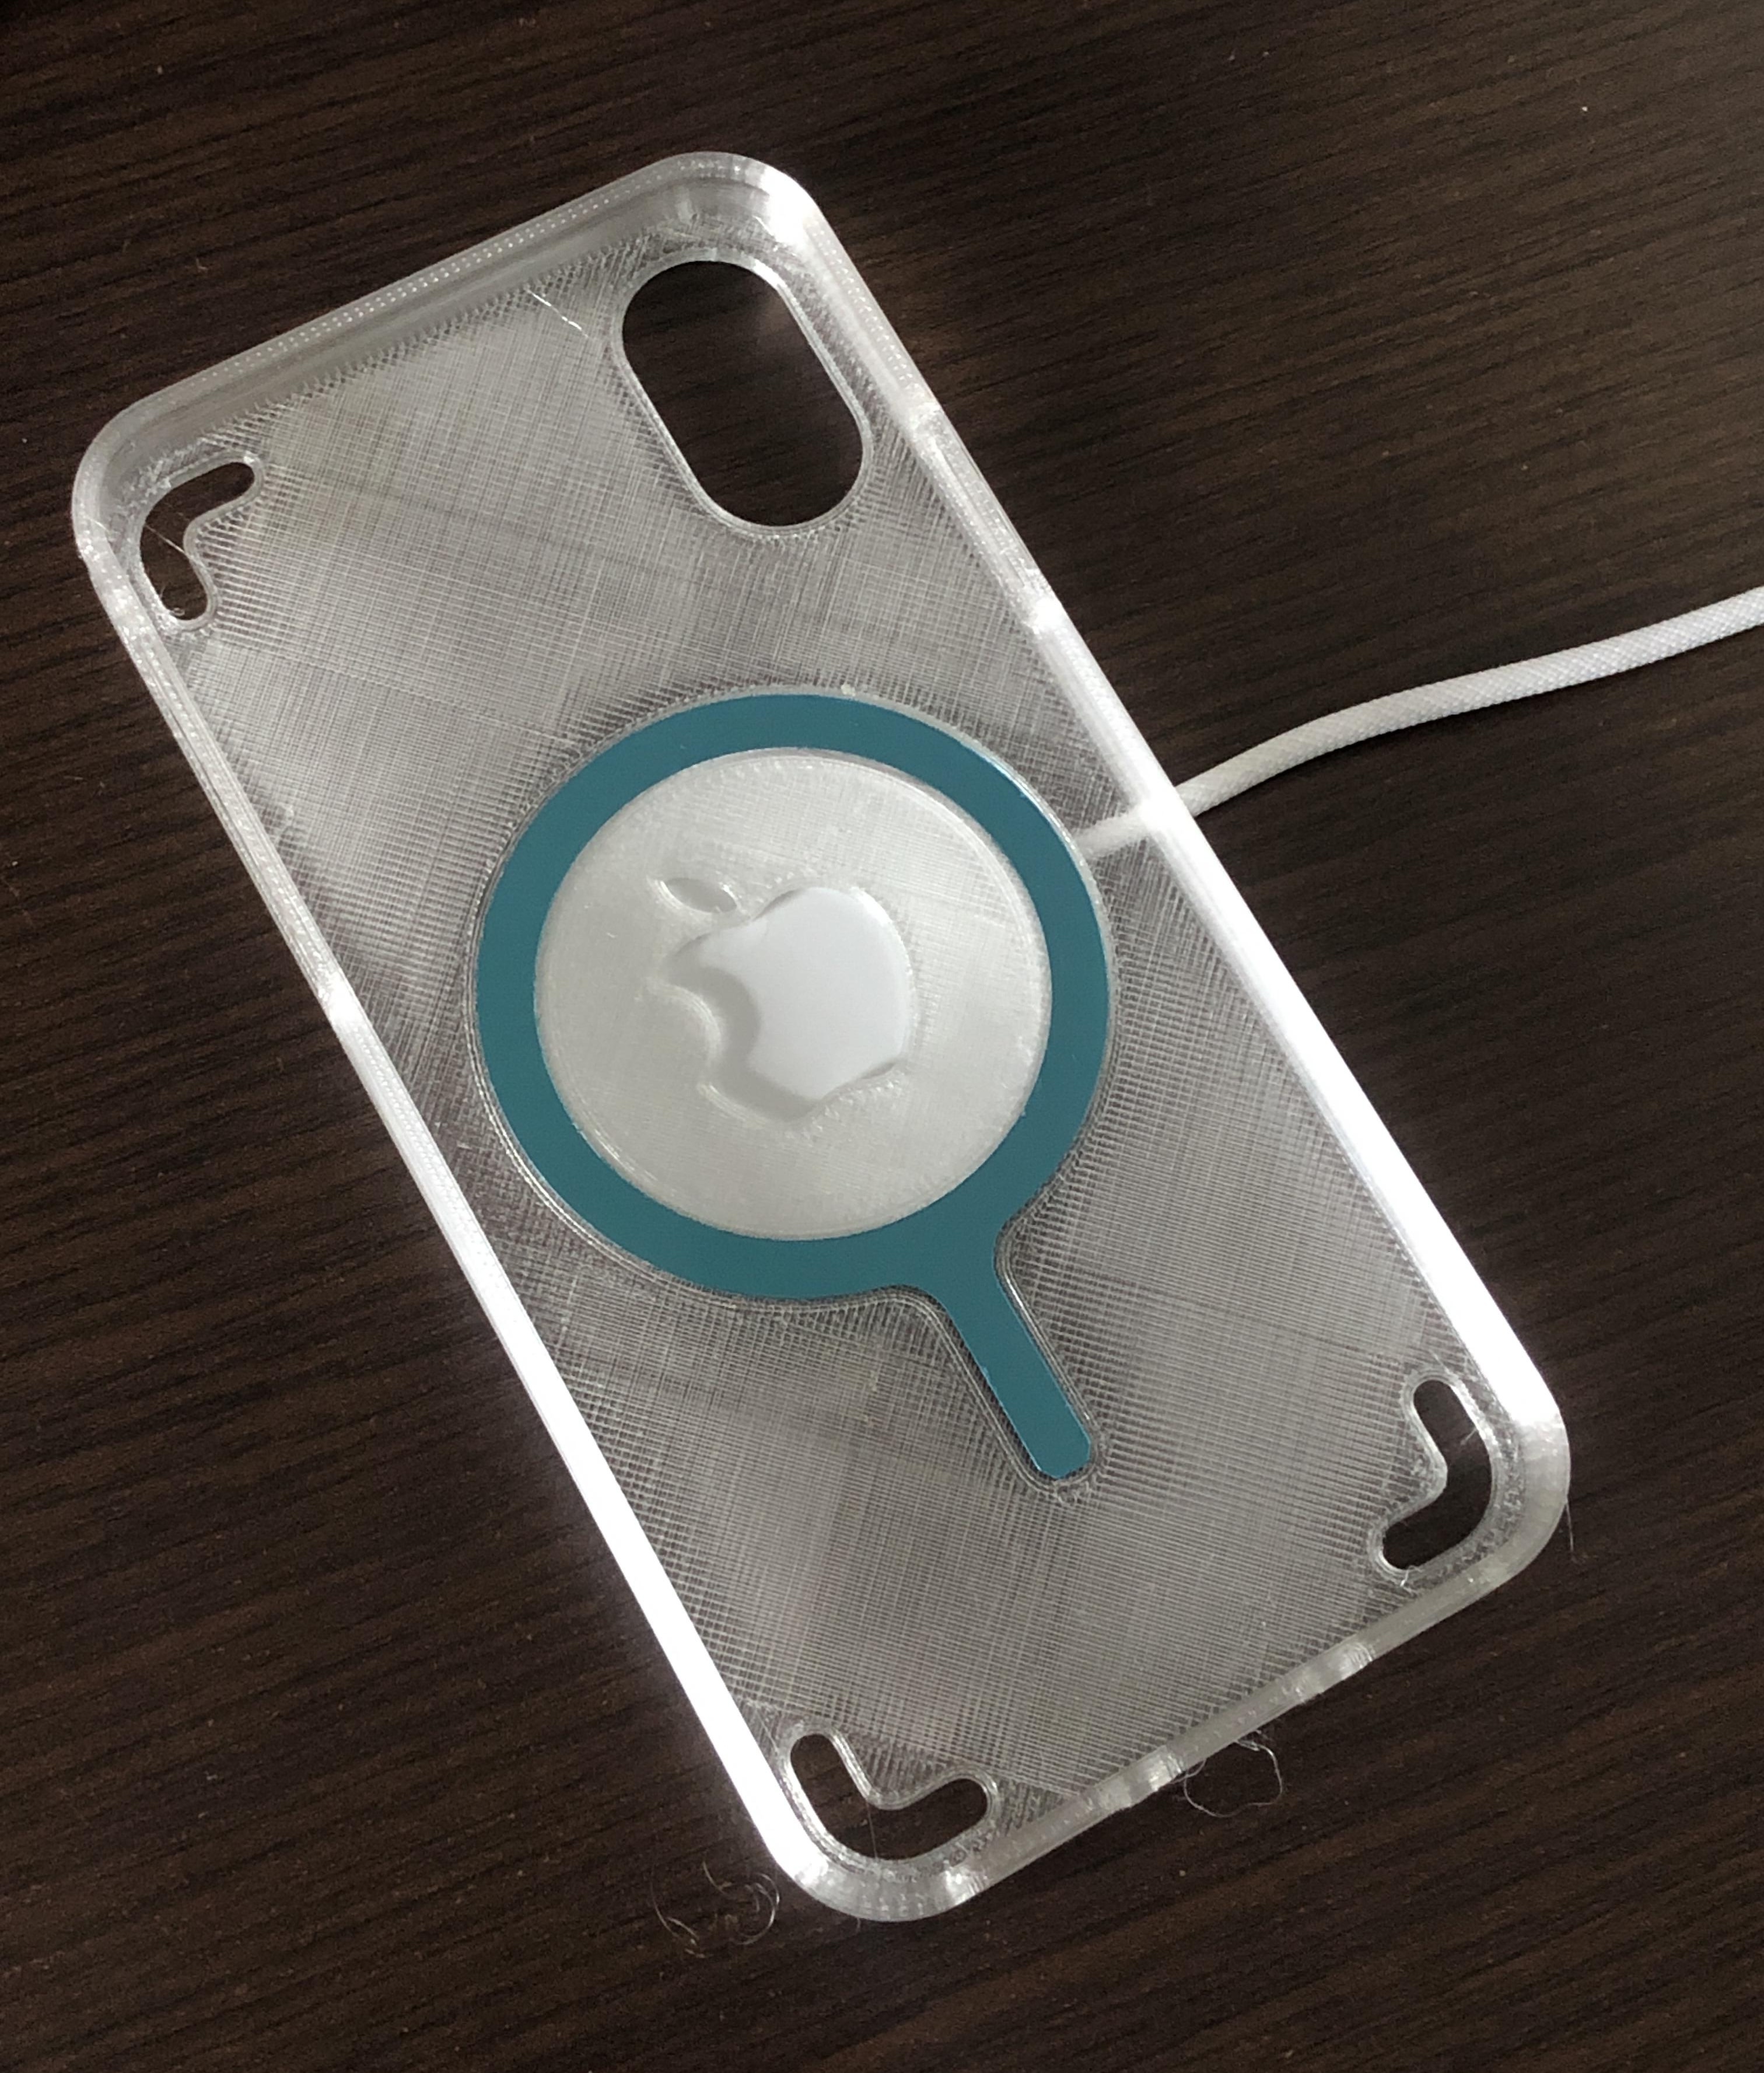
The iPhone X predates MagSafe, meaning it doesn’t include the magnets used to align and attach the phone to the charger. This isn’t a problem at home, but it’s more inconvenient when traveling or when I want to use the phone while it’s charging. To solve this, I bought a MagSafe charger and a case that includes the famous magnetic ring, and it works very well. However, I wanted to try integrating the ring into the cases I make myself.
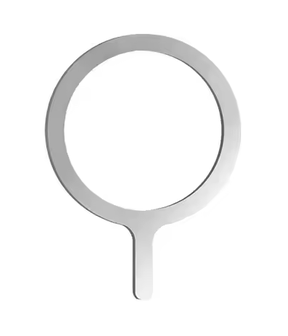
I found some compatible rings on AliExpress and ordered a few. In reality, they aren’t magnets at all but simply metal rings. The AliExpress description mentions a “magnetic metal plate” and a “self-adhesive iron sheet,” so I probably should have expected that. I tested one on my charger, and it sticks reasonably well 👍.
Updating the 3D model
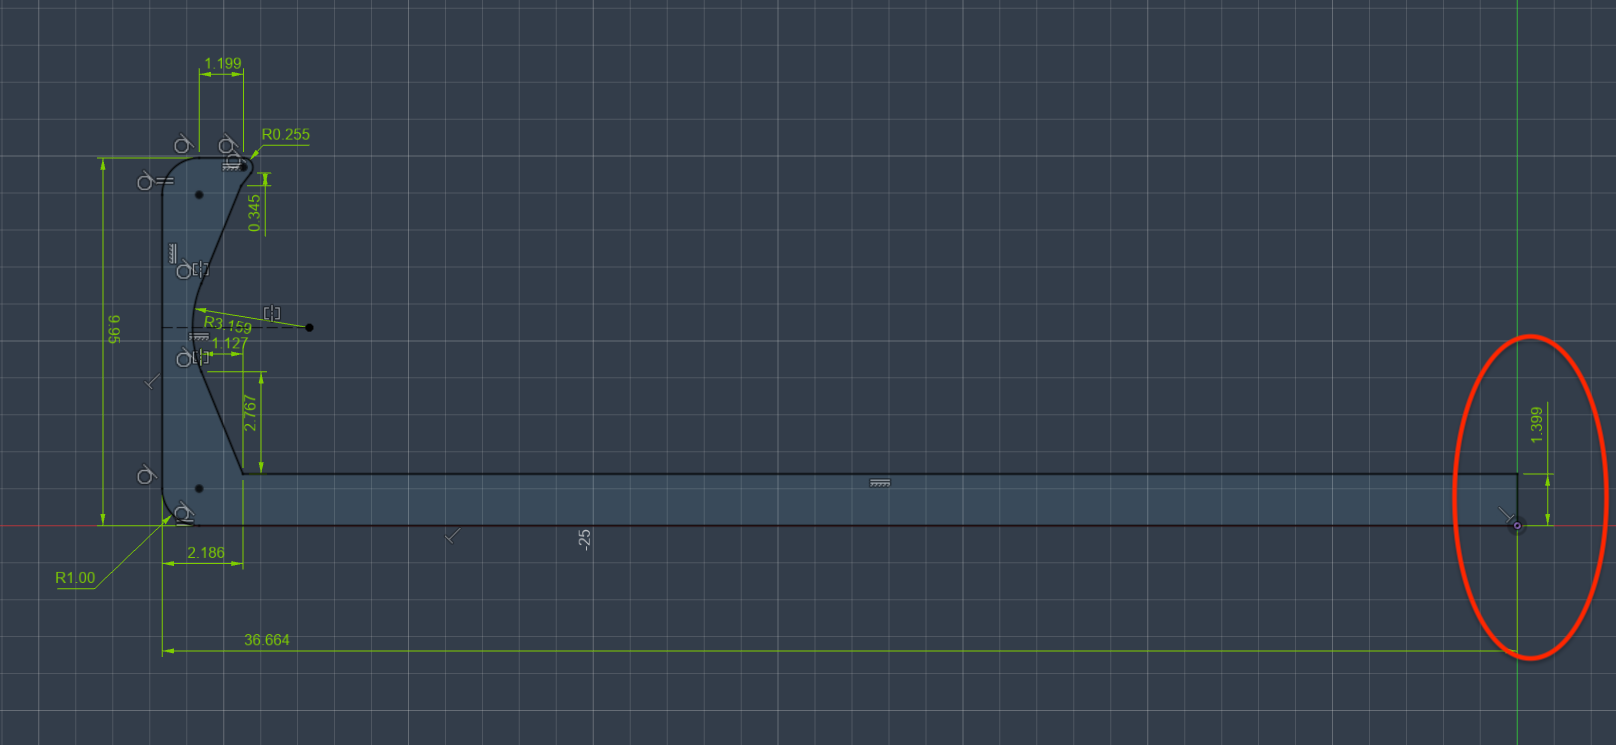
I started by taking precise measurements of the ring. The first thing I wanted to check was its thickness to determine whether it could fit inside the case. Using calipers, I measured between 0.4 and 0.5mm. Taking the adhesive layer into account, let’s say the ring itself is 0.4mm thick. I then measured my case, which is 1.4mm thick. That leaves plenty of material to integrate the ring.
My goal was to minimize the amount of plastic between the ring and the charger in order to maximize the magnetic attraction. I therefore decided to leave only 0.4mm of plastic on the outside, or two print layers with the usual settings. That seemed like the minimum thickness that would still provide sufficient strength.
I considered fully enclosing the ring inside the part by pausing the print and resuming it after inserting the ring. I’ve never tried this kind of technique before, and it would be a good opportunity to experiment. However, for a first prototype, I preferred to keep things simple.
I opened Fusion and confirmed that the back of the case is indeed 1.4mm thick.
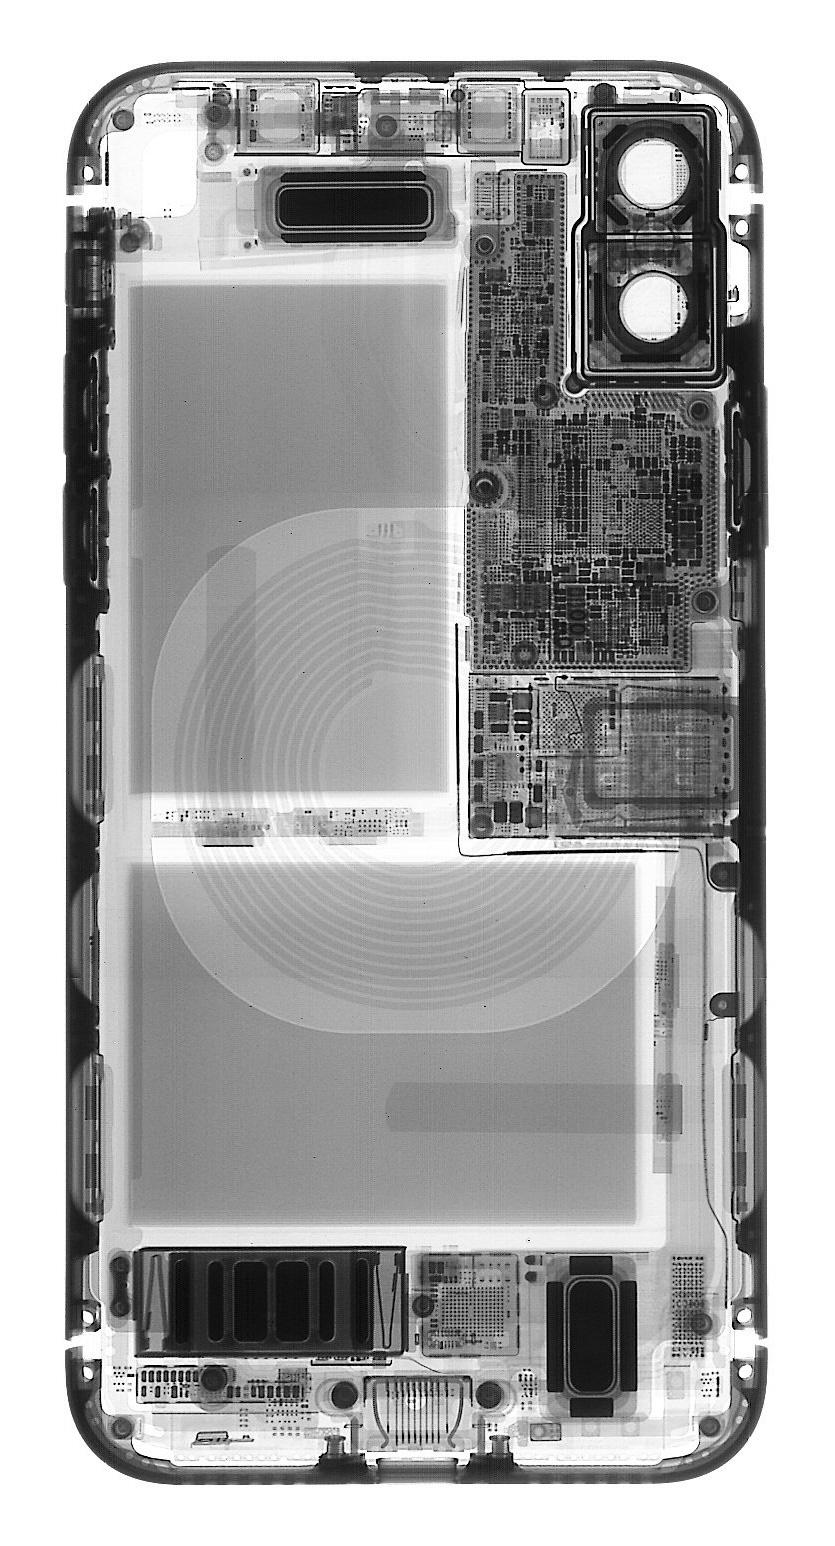
I had already determined the position of the charging coil using an X-ray image of the iPhone X. All that remained was to design the ring recess.
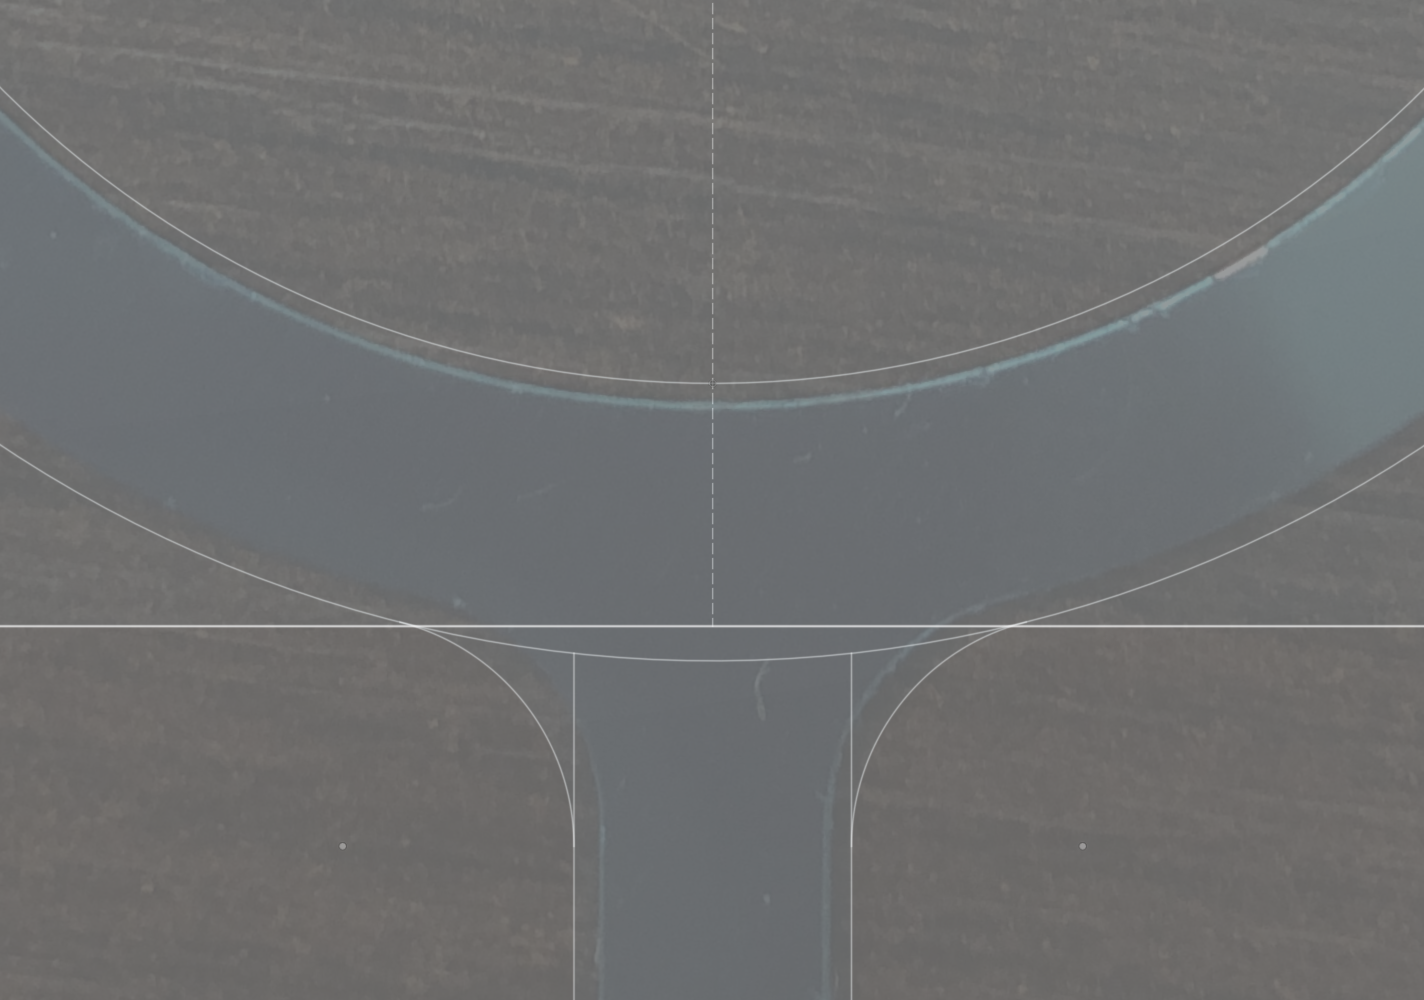
I measured the ring and added 1 mm of clearance to all dimensions to make insertion easier. To accurately reproduce the rounded shape connecting the circle and the tip, I took a photo of the ring and imported it into Fusion as a reference.
Printing
Before printing, I checked the slicer to make sure the remaining thickness beneath the ring recess was indeed two layers.
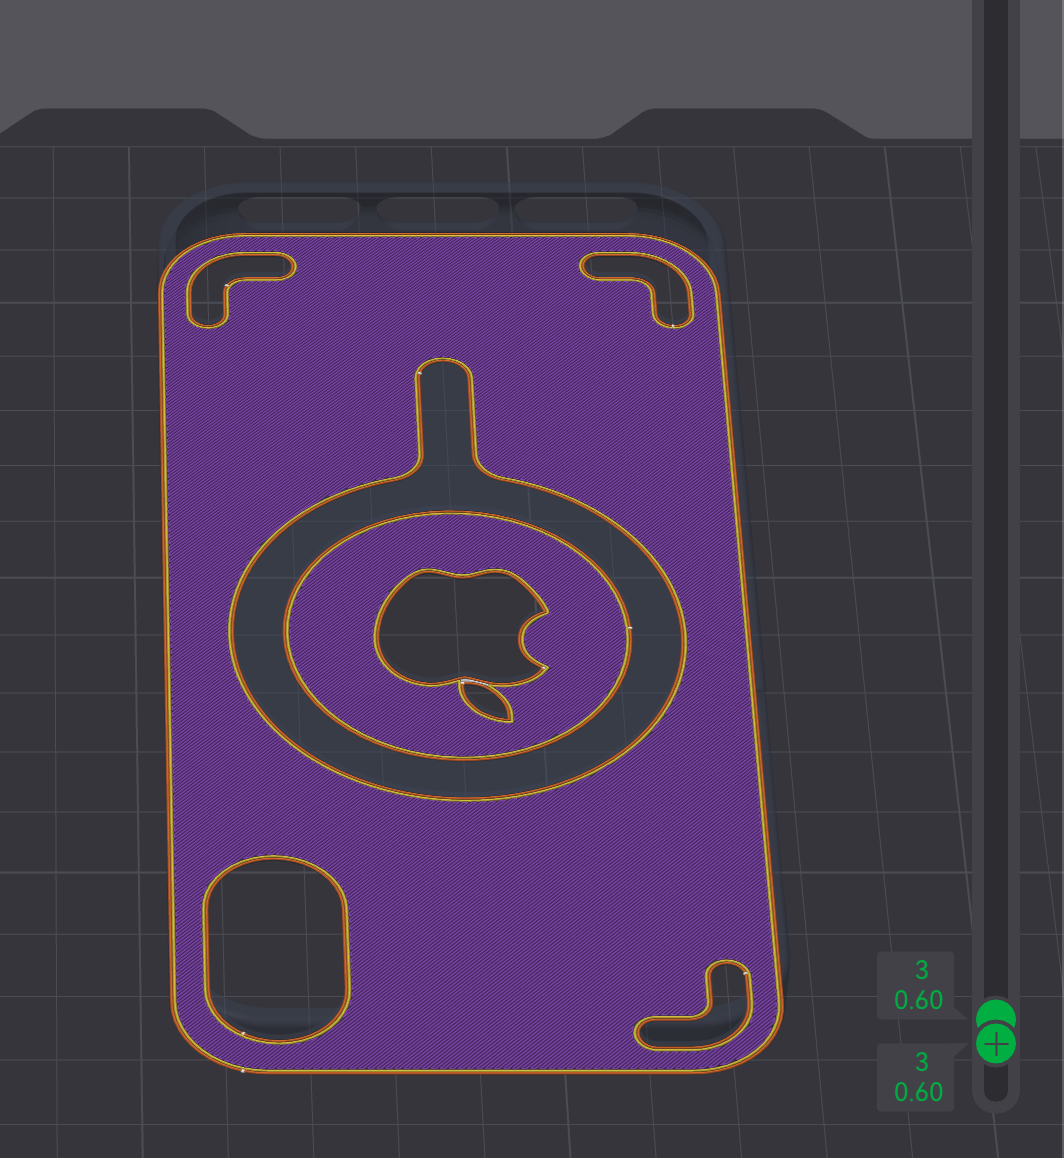
For projects like this, I like to use transparent filament. In this case, it allows me to verify the ring’s position and ensure it remains securely in place once the case is installed. So I loaded the filament and started the print.
The print took 38 minutes ⏳
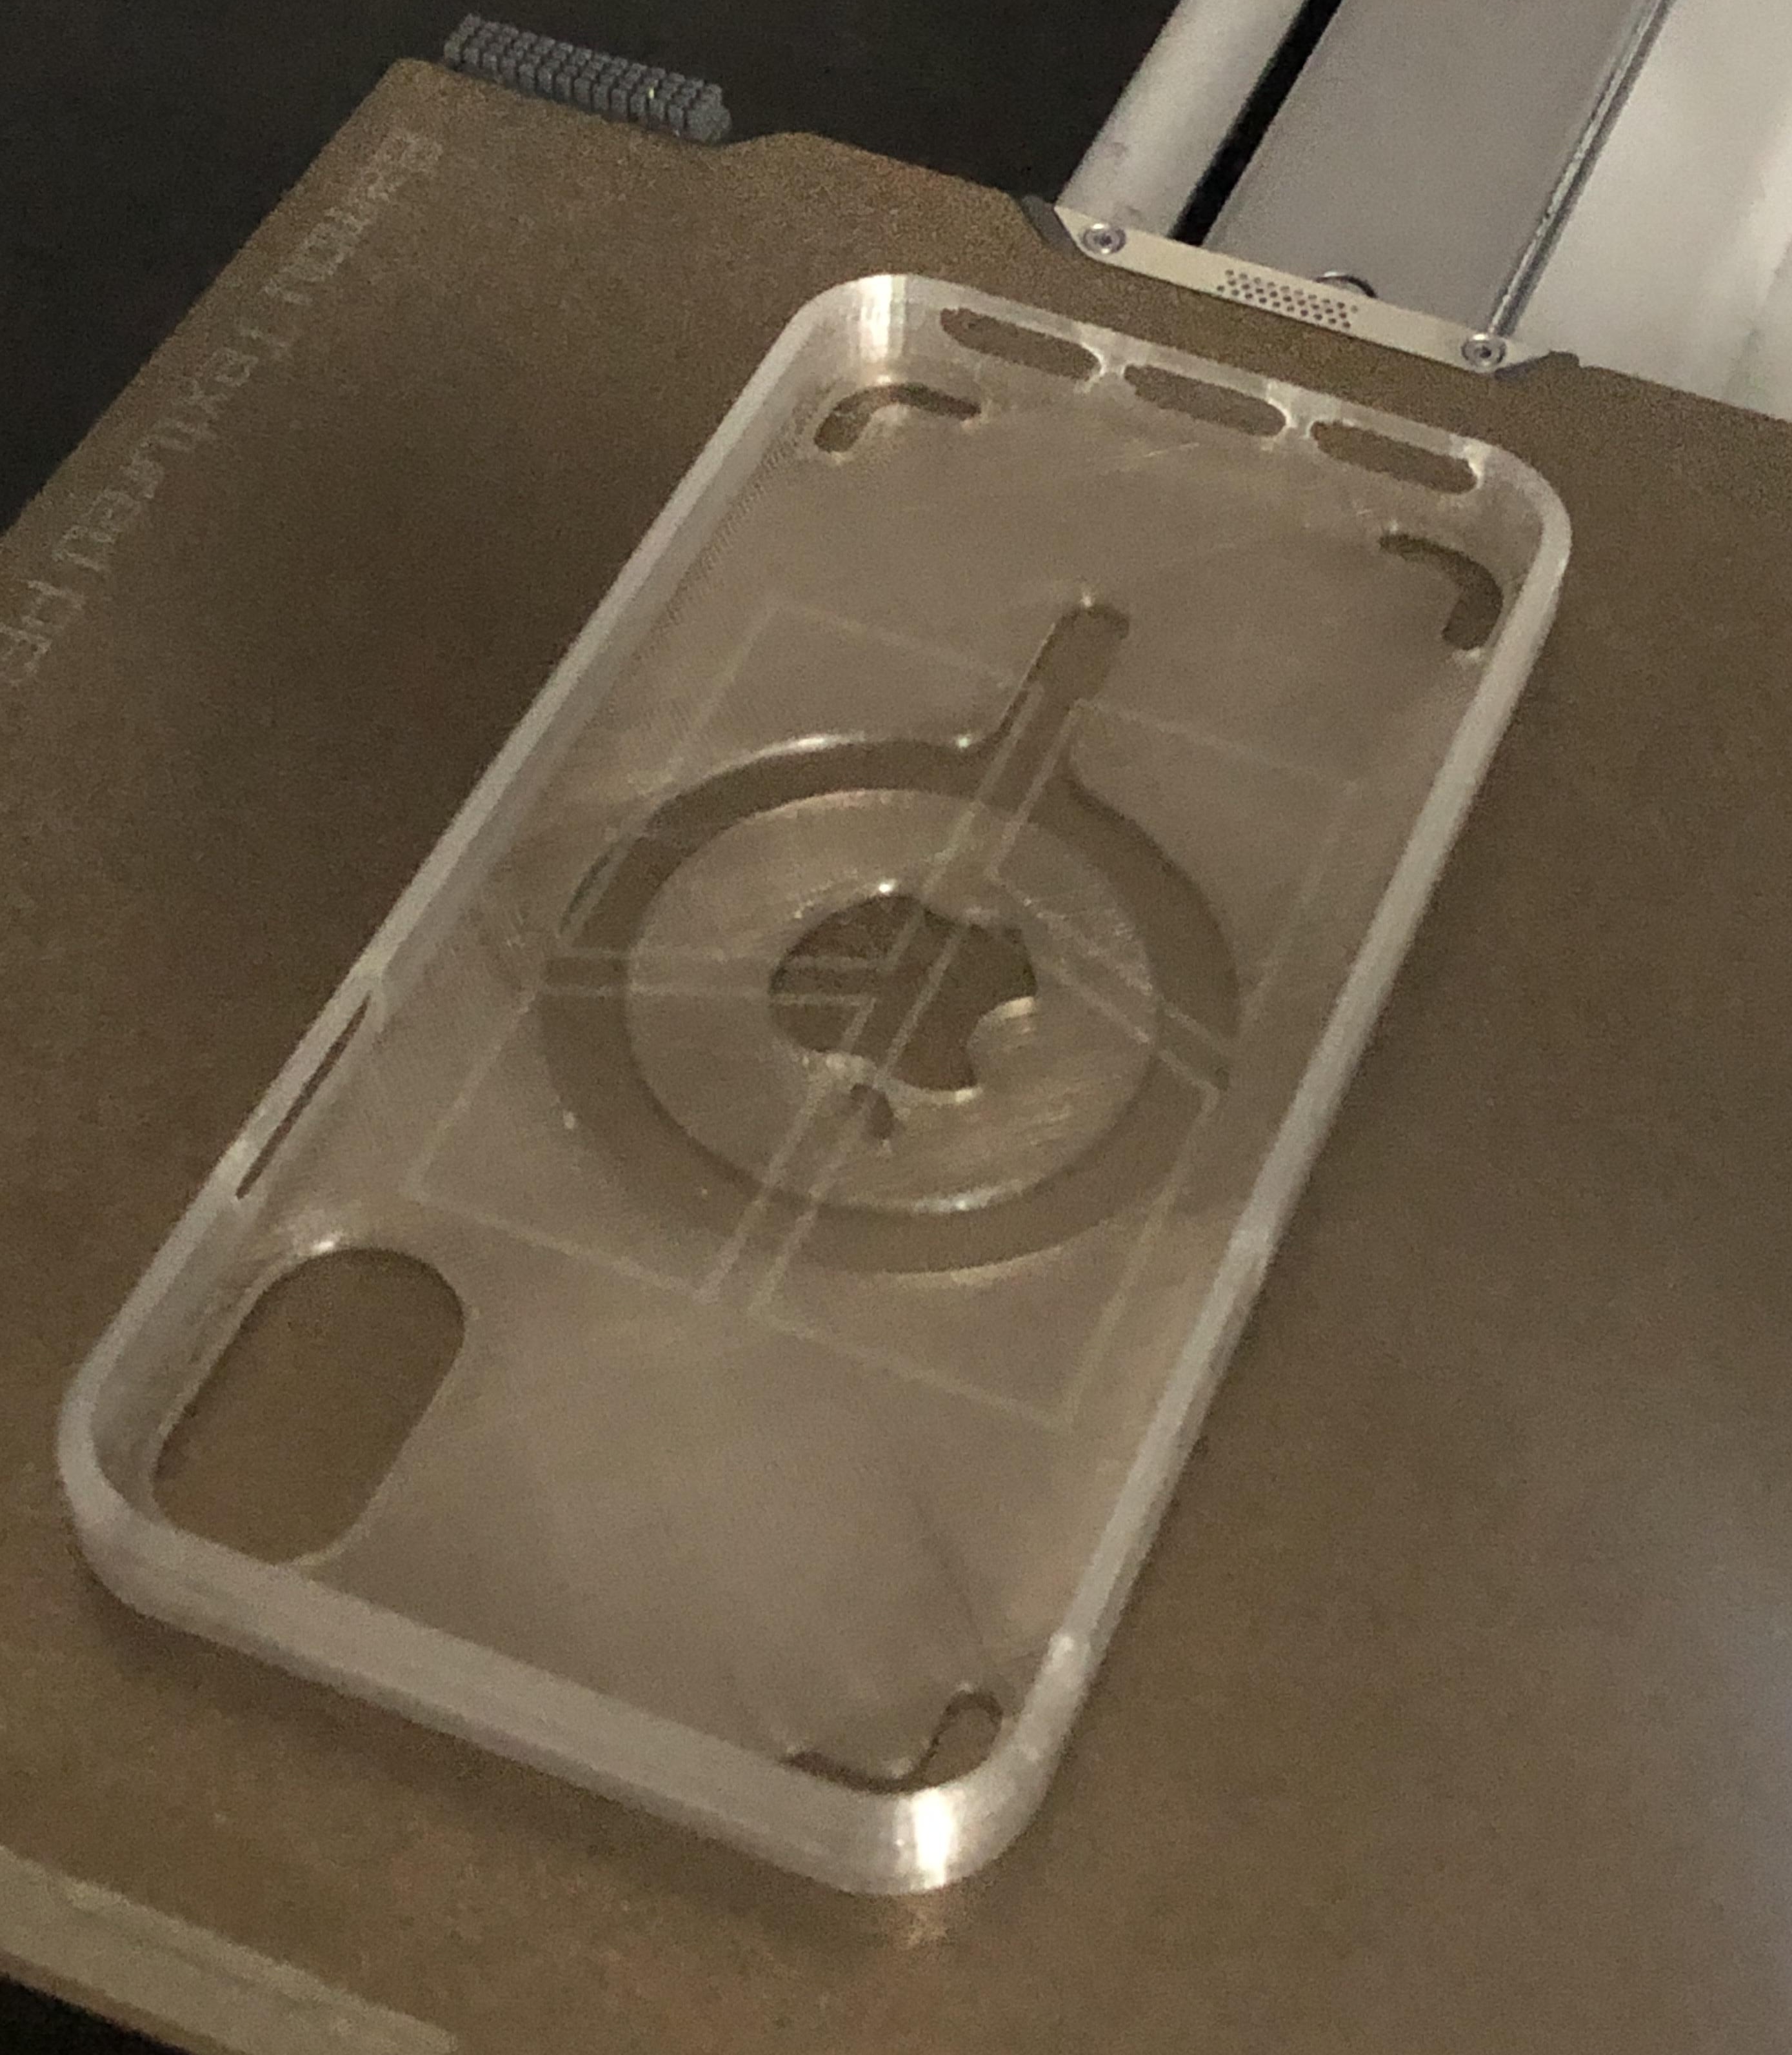
Since the part is quite thin, I waited until it had cooled completely before removing it from the build plate. That’s less risky than peeling it off immediately after printing by flexing the plate, which is what I often do. Another advantage of transparent filament is that it’s easy to see which areas have already detached from the plate and which have not.
Assembly
I first checked that the ring fit properly into its recess, and it did perfectly. I also confifrmed that there was still enough material left to fully enclose the ring in a future version.
Before permanently attaching the ring, I tested it with the MagSafe charger. The attraction is noticeably weaker than with my commercial case, which contains actual magnets. Still it holds reasonably well, but the main issue is that the charger does not always self-align correctly. That was a little disappointing.
I continued anyway, removing the protective backing from the adhesive, and stuck the ring into its recess.
Conclusion
The charger does not snap into the exact position as reliably as it does with a genuine MagSafe case, so I still need to pay attention to the alignment. That’s one advantage of the transparent case: the ring remains visible. In practice, there is still a sort of magnetic “potential well” that allows you to feel when the charger reaches the correct position. You can also hover the phone over the charger and wait for it to “click” into place on its own. When it does, the alignment is generally correct.
Other than that, the holding force is quite good. The charger stays firmly attached, and I can comfortably use the phone while it charges. I’m satisfied with this first prototype. Mission accomplished.
I use generative AI to write and/or translate the content featured on this website. AI serves only as a tool for productivity and inspiration, I make sure that the final texts always reflect my personal voice and style.